Best Sleeping Bags for High Altitude Camping 2026: Expert Reviews and Safety-Focused Buying Guide
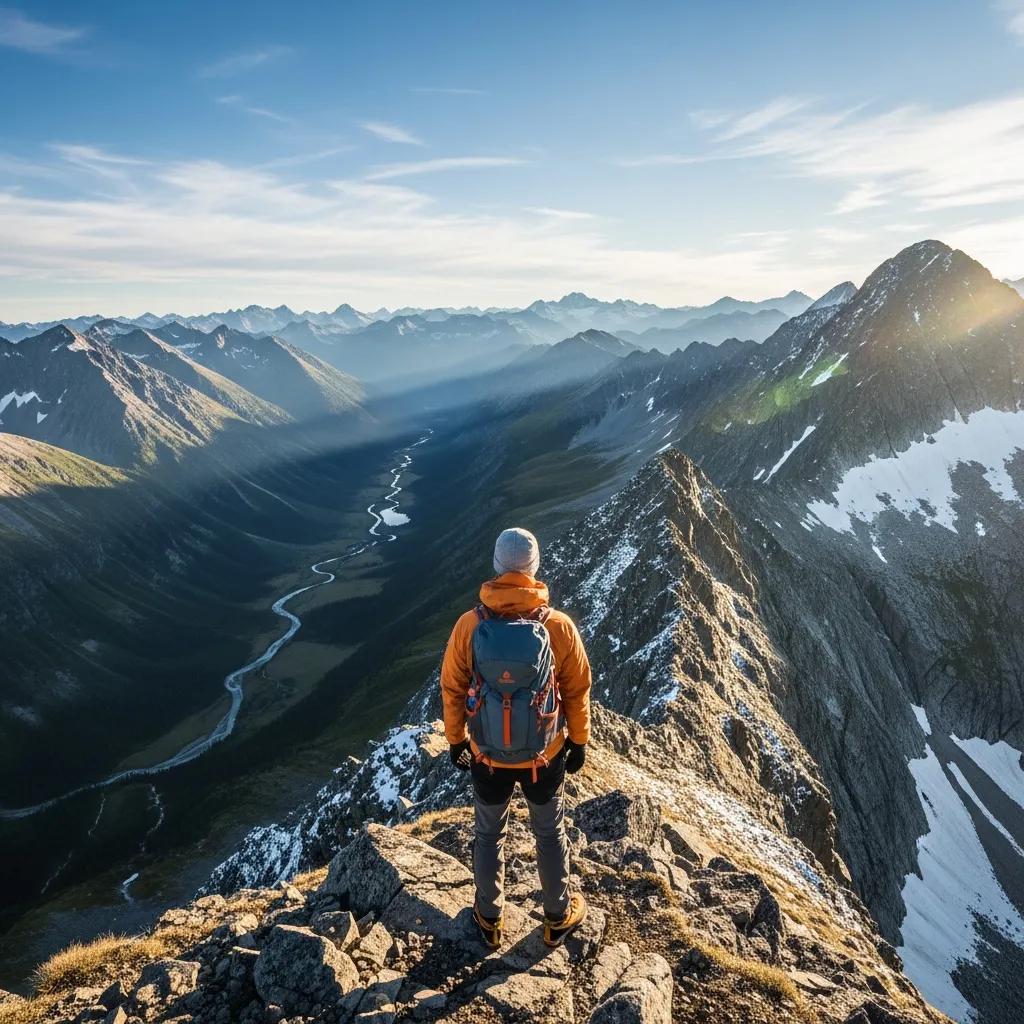
When it comes to high altitude camping, selecting the right sleeping bag is crucial for ensuring a comfortable and safe experience. High altitude environments present unique challenges, including extreme temperatures and unpredictable weather conditions. This guide will explore the essential features of sleeping bags designed for high altitude camping, helping you make an informed decision. You will learn about temperature ratings, insulation types, and the best-rated sleeping bags for 2026. Additionally, we will discuss the benefits of ultralight sleeping bags and how leading brands compare in terms of quality and performance. By the end of this article, you will be equipped with the knowledge to choose the perfect sleeping bag for your next alpine adventure.
What Are the Essential Features of High Altitude Sleeping Bags?
High altitude sleeping bags are specifically designed to provide warmth and comfort in extreme conditions. The essential features include insulation type, temperature rating, and weight considerations. Insulation is critical as it determines how well the bag retains heat. Temperature ratings indicate the lowest temperature at which the bag will keep you warm, while weight is a significant factor for backpackers who need to minimize their load.
These features collectively ensure that a sleeping bag can withstand the rigors of high altitude camping, providing safety and comfort.
How Do Temperature Ratings Affect Sleeping Bag Selection?
Temperature ratings are a vital aspect of selecting a sleeping bag for high altitude camping. They are typically categorized into three ratings: comfort, limit, and extreme. The comfort rating indicates the lowest temperature at which a sleeper can expect to be comfortable, while the limit rating is the lowest temperature at which a sleeper can expect to survive. The extreme rating is the temperature at which the bag will keep a user alive for a limited time.
Understanding these ratings helps campers choose the right sleeping bag based on the expected weather conditions. For instance, if you plan to camp in areas where temperatures can drop below freezing, selecting a bag with a lower limit rating is essential for safety and comfort.
Further research underscores the critical link between accurate temperature ratings and preventing hypothermia, especially when selecting sleeping bags for challenging conditions.
Sleeping Bag Thermal Comfort & Hypothermia Risk
Six models for determining air temperatures for thermal comfort of people using sleeping bags were reviewed. These models were based on distinctive metabolic rates and mean skin temperatures. All model predictions of air temperatures are low when the insulation values of the sleeping bag are high. Nevertheless, prediction variations are greatest for the sleeping bags with high insulation values, and there is a high risk of hypothermia if an inappropriate sleeping bag is chosen for the intended conditions of use.
Prediction of air temperature for thermal comfort of people using sleeping bags: a review, 2008
What Insulation Types Are Best for Extreme Cold Conditions?
When it comes to insulation types for extreme cold conditions, there are two primary options: down insulation and synthetic insulation.
- Down Insulation: Known for its excellent warmth-to-weight ratio, down insulation is highly compressible and provides superior insulation. However, it loses its insulating properties when wet, making it less suitable for damp conditions unless treated with water-resistant coatings.
- Synthetic Insulation: This type of insulation retains its insulating properties even when wet, making it a reliable choice for unpredictable weather. While generally heavier than down, synthetic options have improved significantly in terms of warmth-to-weight ratios.
Choosing between these insulation types depends on the specific conditions you expect to encounter during your high altitude camping trip.
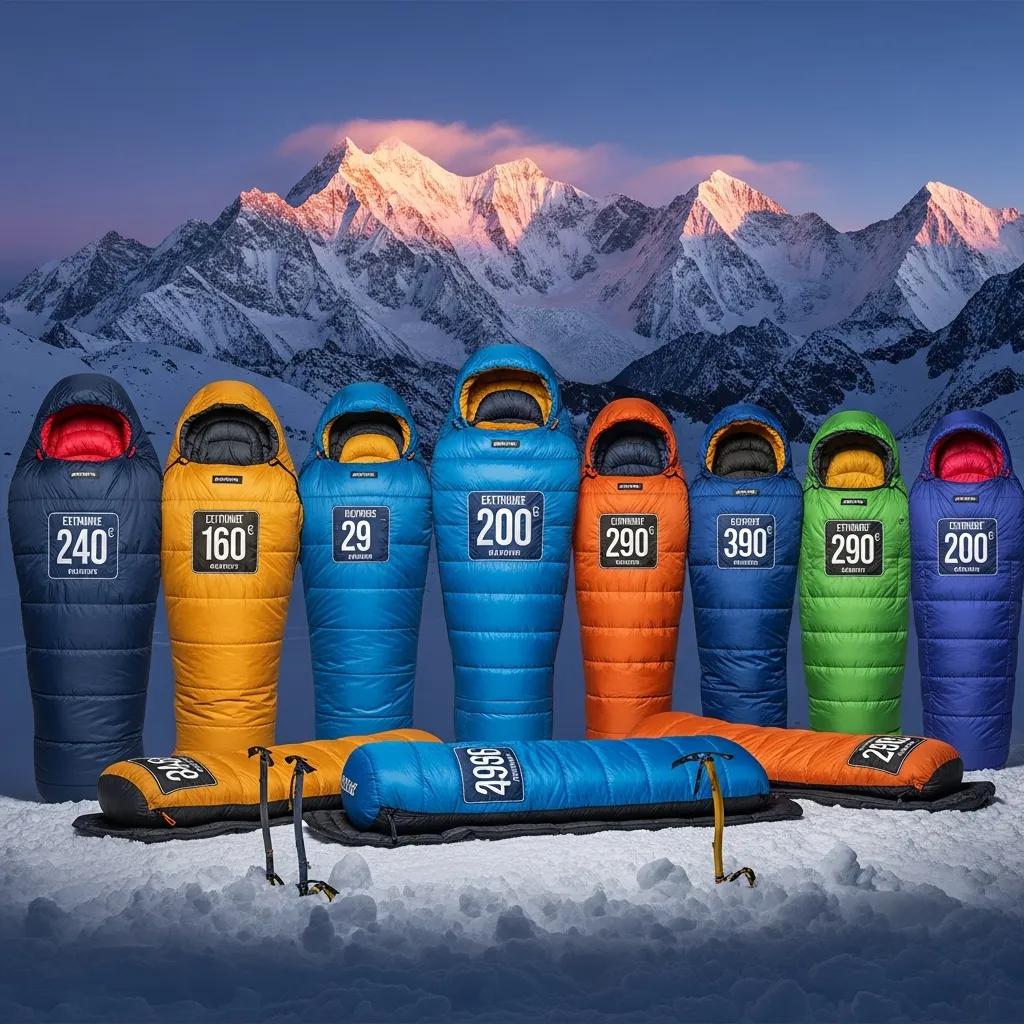
Which Sleeping Bags Are Top-Rated for High Altitude Camping in 2026?
Several sleeping bags stand out for high altitude camping in 2025, offering a combination of warmth, weight, and durability. Here are some top-rated options:
- The North Face Summit Series: Renowned for its down insulation and lightweight design, this bag is generally reviewed as perfect for extreme conditions.
- Marmot Lithium: This sleeping bag features a high warmth-to-weight ratio and is designed for sub-zero temperatures, making it ideal for high altitude.
- Mountain Hardwear Ghost Whisperer: Known for its ultralight design, this bag is praised by backpackers who prioritize weight without sacrificing warmth.
These options have been highly rated by users for their performance in extreme conditions, making them excellent choices for high altitude camping.
For those seeking high-quality sleeping bags, Information Hub offers a selection of top-rated options that cater to various needs and preferences.
What Are the Benefits of Ultralight Sleeping Bags for Mountaineering?
Ultralight sleeping bags are specifically designed for mountaineering and long treks where every ounce counts. The primary benefits include:
- Weight Savings: Ultralight bags are significantly lighter than traditional options, making them easier to carry during long hikes.
- Packability: These bags compress down to a small size, allowing for more efficient packing in your backpack.
- Comfort in Extreme Conditions: Despite their lightweight design, many ultralight bags still provide excellent insulation, ensuring warmth during cold nights.
These advantages make ultralight sleeping bags a popular choice among serious mountaineers and backpackers.
How Do Leading Brands Compare: The North Face, Marmot, and Mountain Hardwear?
When comparing leading brands like The North Face, Marmot, and Mountain Hardwear, several factors come into play, including brand reputation, product range, and customer satisfaction.
- The North Face: Known for its innovative designs and high-quality materials, The North Face offers a wide range of sleeping bags suitable for various conditions.
- Marmot: This brand is celebrated for its commitment to performance and durability, with many bags featuring advanced insulation technologies.
- Mountain Hardwear: Focused on the needs of serious adventurers, Mountain Hardwear provides sleeping bags that excel in extreme conditions.
Each brand has its strengths, making it essential for campers to consider their specific needs when choosing a sleeping bag.
How to Choose Between Down and Synthetic Sleeping Bags for Mountain Camping?
Choosing between down and synthetic sleeping bags involves weighing the pros and cons of each type.
- Down Sleeping Bags:Pros: Lightweight, compressible, and excellent warmth-to-weight ratio.Cons: Expensive and loses insulation when wet.
- Synthetic Sleeping Bags:Pros: Retains warmth when wet, generally more affordable.Cons: Heavier and bulkier compared to down.
Ultimately, the choice depends on the expected weather conditions and personal preferences regarding weight and insulation performance.
What Are the Durability and Maintenance Differences?
Durability and maintenance are crucial factors to consider when selecting a sleeping bag. Down sleeping bags require more careful handling and maintenance, as they can be damaged by moisture and require special washing techniques. In contrast, synthetic bags are generally more durable and easier to clean, making them a practical choice for frequent use.
To ensure longevity, it is essential to follow the manufacturer’s care instructions, including proper washing and storage techniques.
How Does Moisture Impact Insulation Performance?
Moisture can significantly impact the performance of insulation in sleeping bags. When down insulation becomes wet, it loses its ability to trap heat, leading to a cold and uncomfortable experience. Synthetic insulation, while more resistant to moisture, can also suffer in terms of insulation efficiency when saturated.
To mitigate moisture issues, it is advisable to use a waterproof stuff sack and consider the weather conditions when choosing a sleeping bag.
What Packing and Maintenance Tips Ensure Sleeping Bag Longevity at High Altitudes?
Proper packing and maintenance are essential for ensuring the longevity of your sleeping bag, especially in high altitude conditions. Here are some tips:
- Use a Compression Sack: This helps reduce the bag’s volume for easier packing.
- Store Loosely: When not in use, store your sleeping bag in a loose cotton sack to maintain loft.
- Regular Cleaning: Follow the manufacturer’s instructions for cleaning to prevent buildup of dirt and oils.
These practices will help maintain the performance and lifespan of your sleeping bag.
How Should You Properly Store and Clean Your Sleeping Bag?
Proper storage and cleaning of your sleeping bag are vital for maintaining its insulation properties.
- Storage: Always store your sleeping bag in a cool, dry place, preferably in a loose storage sack to avoid compression.
- Cleaning: Use a front-loading washing machine on a gentle cycle with mild detergent. Avoid fabric softeners, and dry the bag on low heat with dryer balls to restore loft.
Following these guidelines will help keep your sleeping bag in optimal condition for your next adventure.
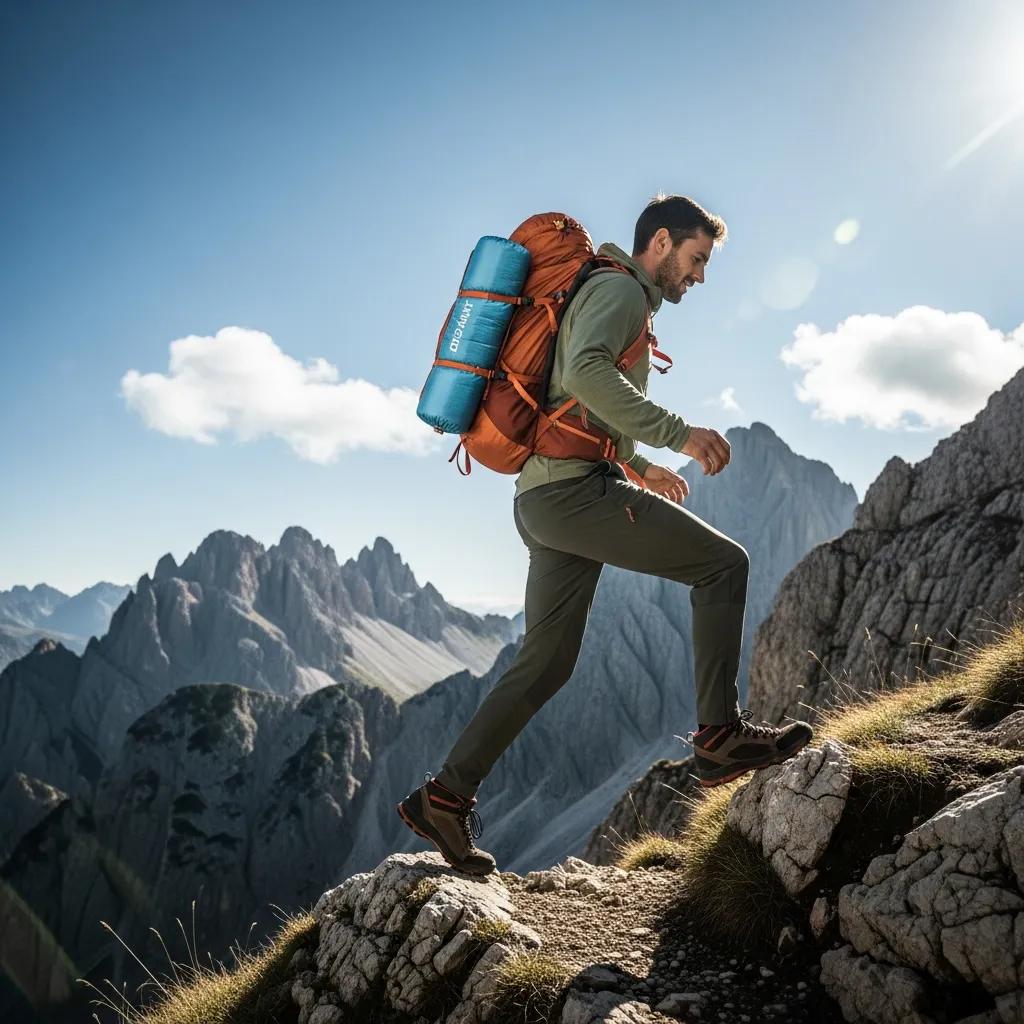
What Are Essential Packing Strategies for Alpine Expeditions?
Packing for alpine expeditions requires careful consideration to ensure you have all necessary gear while minimizing weight. Here are some essential strategies:
- Prioritize Gear: Focus on essential items that provide the most utility.
- Use Multi-Functional Items: Choose gear that serves multiple purposes to save space and weight.
- Organize Efficiently: Use packing cubes or dry bags to keep your gear organized and accessible.
These strategies will help you pack efficiently for your alpine adventure.
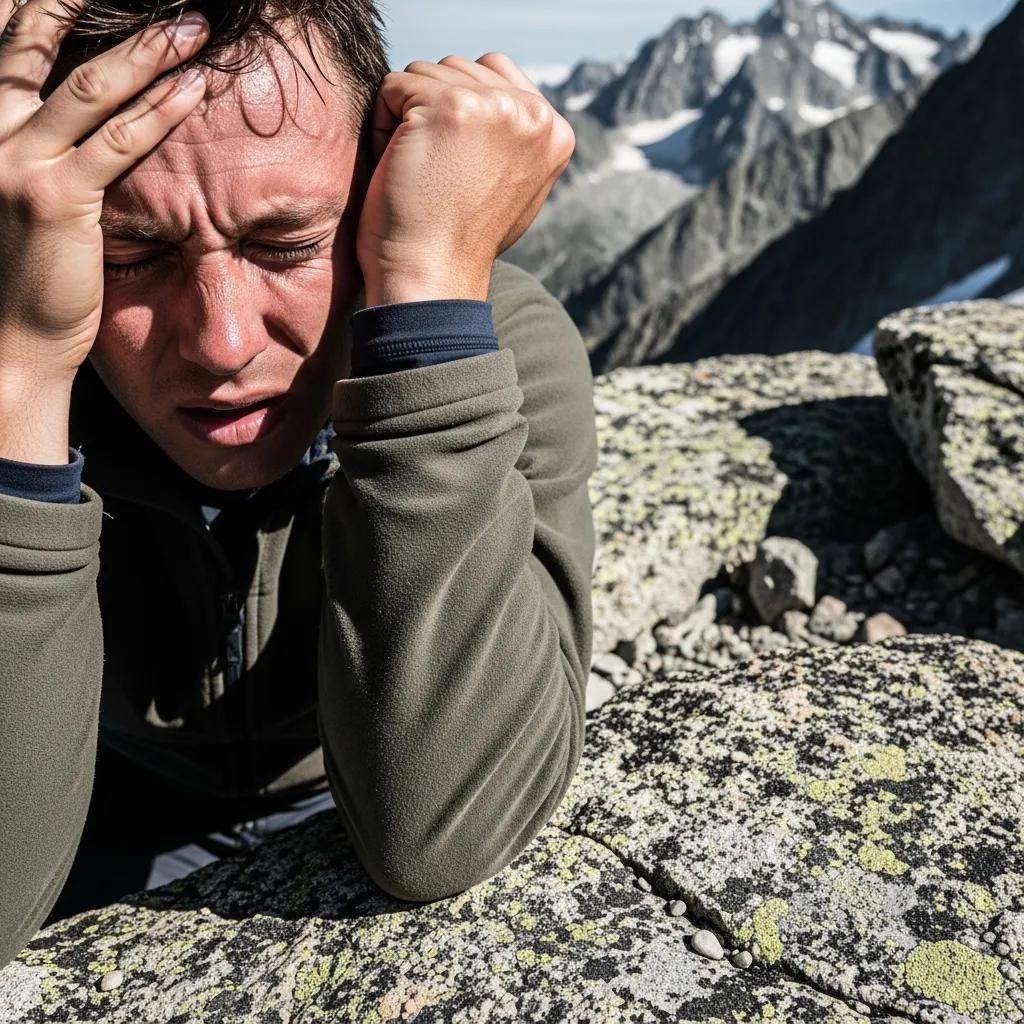
What Safety Considerations Should You Know When Using Sleeping Bags in Extreme Conditions?
Safety is paramount when using sleeping bags in extreme conditions. Here are some key considerations:
- Choose the Right Bag: Ensure your sleeping bag is rated for the temperatures you expect to encounter.
- Use Insulated Pads: An insulated sleeping pad can provide additional warmth and comfort.
- Stay Hydrated: Dehydration can lead to increased heat loss, so ensure you drink enough water.
By following these safety tips, you can enhance your comfort and reduce risks during high altitude camping.
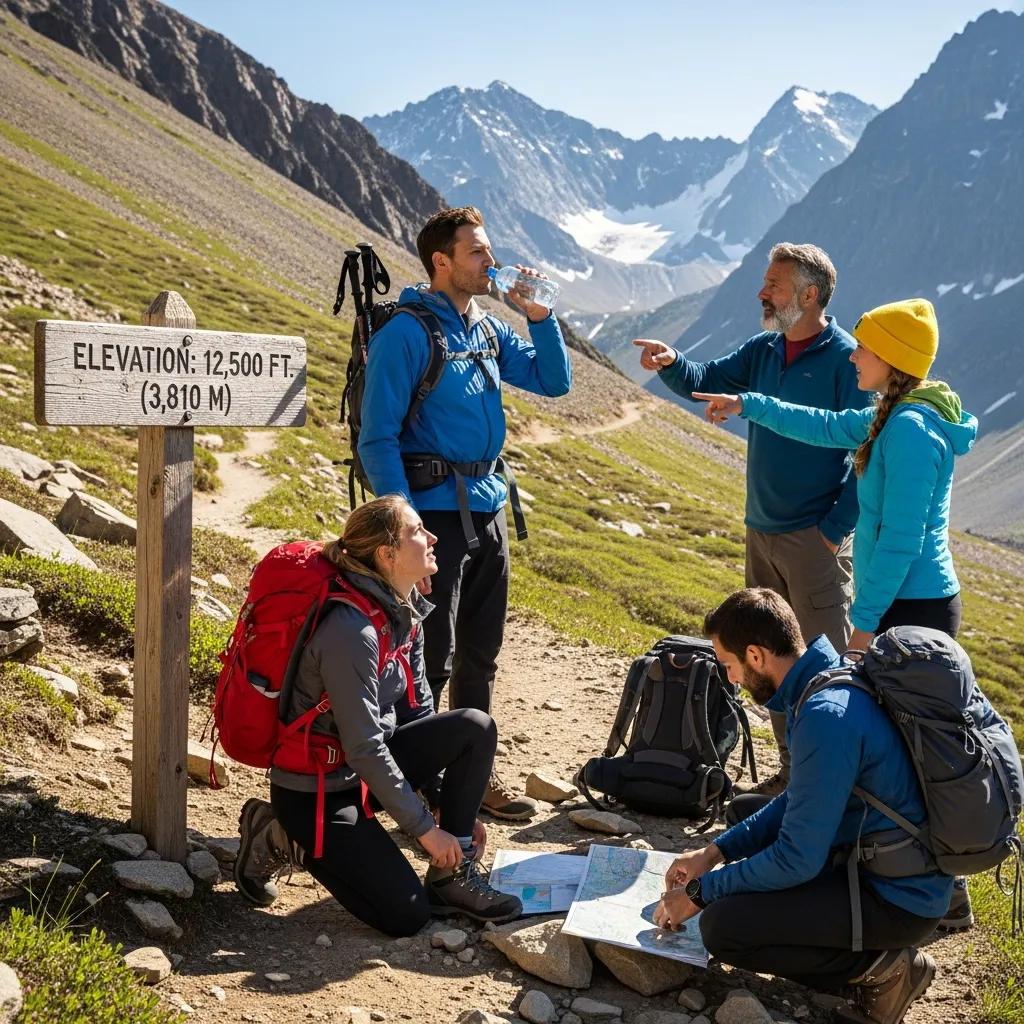
How to Assess Risk and Choose Appropriate Temperature Ratings?
Assessing risk and choosing the right temperature ratings involves understanding the conditions you will face. Consider factors such as altitude, expected weather, and personal comfort levels.
- Research Conditions: Look into the typical weather patterns for your camping location.
- Personal Comfort: Some individuals may require warmer bags than others based on their comfort levels.
By carefully evaluating these factors, you can select a sleeping bag that meets your needs.
What Are Common Mistakes to Avoid in High Altitude Camping Gear?
When preparing for high altitude camping, avoiding common mistakes can enhance your experience. Here are some pitfalls to watch out for:
- Overpacking: Bringing too much gear can weigh you down and complicate your journey.
- Ignoring Weather Conditions: Failing to check the weather can lead to inadequate gear choices.
- Neglecting Gear Maintenance: Not maintaining your gear can lead to failures when you need them most.
By being aware of these mistakes, you can better prepare for your high altitude adventure.
Where Can You Find Reliable User Reviews and Structured Data for Sleeping Bags?
Finding reliable user reviews and structured data is essential for making informed purchasing decisions. Look for reviews on reputable outdoor gear websites, forums, and social media platforms. Structured data can often be found on product pages, providing insights into user experiences and product specifications.
How Do User Ratings Influence Sleeping Bag Selection?
User ratings play a significant role in selecting sleeping bags. High ratings often indicate a product’s reliability and performance, while low ratings can highlight potential issues.
- Research Reviews: Look for detailed reviews that discuss specific features and user experiences.
- Consider the Volume of Reviews: A product with many reviews may provide a more accurate picture of its performance.
By considering user ratings, you can make a more informed choice when selecting a sleeping bag.
What Role Does Schema.org Markup Play in Gear Information Accuracy?
Schema.org markup is essential for enhancing the accuracy of gear information online. It helps search engines understand the content of product pages, leading to better visibility and more accurate search results.
- Improved Indexing: Proper markup can enhance how products are indexed by search engines.
- Enhanced User Experience: Users benefit from structured data that provides clear and concise information about products.
Utilizing Schema.org markup can significantly improve the quality of information available to consumers.
To further enhance your trip planning, consider visiting Global Summit Guide’s trip planning resources.
When it comes to high altitude camping, selecting the right sleeping bag is crucial for ensuring a comfortable and safe experience. High altitude environments present unique challenges, including extreme temperatures and unpredictable weather conditions. This guide will explore the essential features of sleeping bags designed for high altitude camping, helping you make an informed decision. You will learn about temperature ratings, insulation types, and the best-rated sleeping bags for 2025. Additionally, we will discuss the benefits of ultralight sleeping bags and how leading brands compare in terms of quality and performance. By the end of this article, you will be equipped with the knowledge to choose the perfect sleeping bag for your next alpine adventure.
For more information on gear and safety, Global Summit Guide offers valuable insights.
For those seeking high-quality sleeping bags, Information Hub offers a selection of top-rated options that cater to various needs and preferences. To explore various mountain destinations, check out Global Summit Guide.
If you have any questions or need further assistance, don’t hesitate to contact us at Global Summit Guide.
Conclusion
Choosing the right sleeping bag for high altitude camping is essential for ensuring warmth, comfort, and safety in extreme conditions. By understanding key features such as insulation types and temperature ratings, you can make an informed decision that enhances your outdoor experience. Explore our curated selection of top-rated sleeping bags to find the perfect fit for your next adventure. For more insights and gear recommendations, visit Global Summit Guide today.