
Last updated September 4, 2026
Eight-Thousanders Ranked by Difficulty: All 14 from Easiest to Hardest
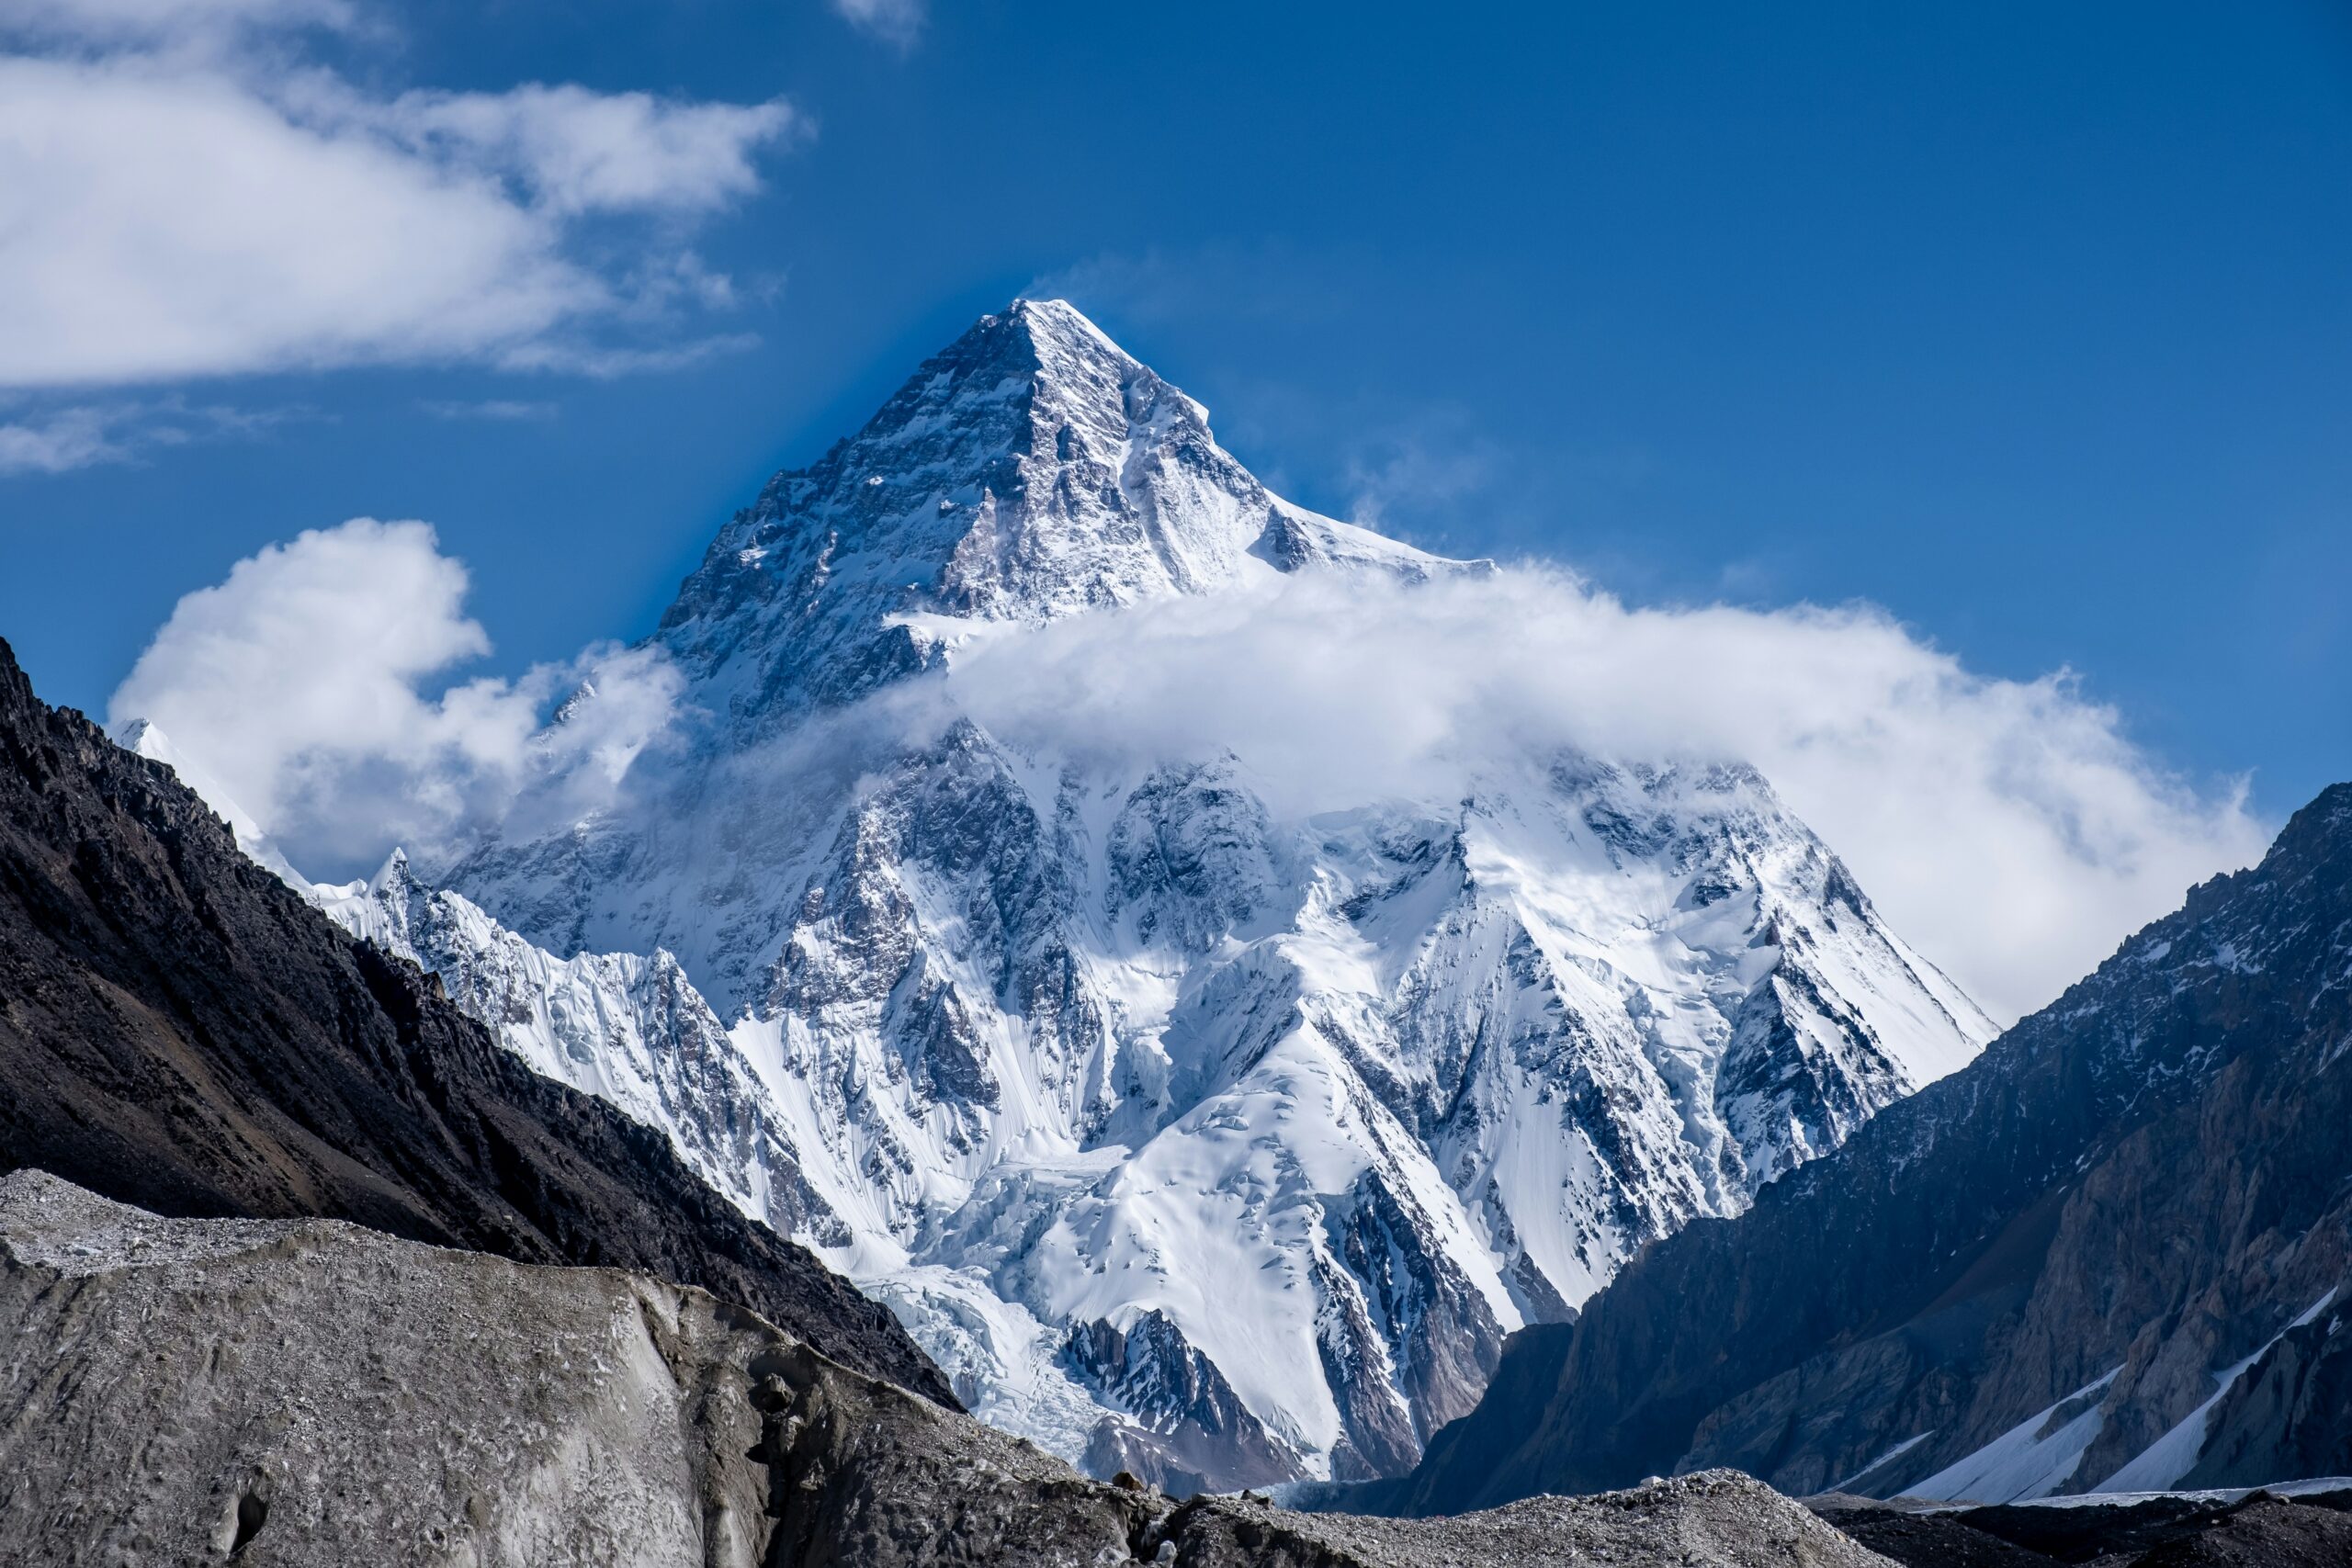
Cho Oyu ranks easiest, K2 ranks hardest overall, and Annapurna I remains the strongest hazard/mortality outlier. The published order is unchanged: 42.0 for Cho Oyu through 94.5 for K2. Every factor behind every mountain remains visible so you can inspect the model instead of accepting a black-box score.
Cho Oyu Is Easiest; K2 Is Hardest Overall; Annapurna I Has the Strongest Hazard Profile.
K2 scores 94.5/100 because technical climbing, objective hazard, Karakoram weather, remoteness and limited support stack across the standard Abruzzi Spur. Annapurna I scores 87.0 and receives the maximum 10/10 objective-hazard score. Everest ranks fourth-easiest at 53.0: maximum altitude exposure is offset by unmatched commercial infrastructure.
“Easiest” here means lowest relative difficulty among fourteen extreme-altitude expeditions. It does not mean easy, safe or appropriate as a first high-altitude climb.
All 14 in One Scan
Select a mountain to see its route, tier and seven-factor pattern. The published ranking does not move.
Cho Oyu
8,188 m · Northwest Ridge from Tibet. Lowest overall difficulty in the model; altitude and access remain the main constraints.
Seven Factors, Published Weights
Each factor is rated 1–10. The factor rating is multiplied by its share of the 100-point model. Technical difficulty gets the largest weight; access is deliberately kept small.
Steepness, rock, ice, fixed-line movement and route-finding.
Avalanche, serac, rockfall, crevasse and uncontrollable exposure.
Wind, storms, summit-window length and predictability.
Summit elevation, Death Zone time and summit-day exposure.
Approach, evacuation, communications and rescue limits.
Fewer ropes, operators, staff and shared resources score higher.
Permit, border and operating uncertainty.
The Master Ranking: Easiest to Hardest
This is the permanent published result of the current model. The interactive tools below are for exploration, not replacement.
| Rank | Peak | Elevation | Tier | Score | Standard Route | Why It Ranks Here |
|---|---|---|---|---|---|---|
| 1 | Cho Oyu | 8,188 m | Tier 1 · Lowest relative | 42.0 | Northwest Ridge from Tibet | The least technical standard route in the group, with strong commercial support when Tibet access is available. Extreme altitude remains the central difficulty. |
| 2 | Gasherbrum II | 8,035 m | Tier 1 · Lowest relative | 49.0 | Southwest Ridge | A relatively straightforward Karakoram 8,000er by standard-route terms, but more remote and weather-dependent than Nepal’s commercial peaks. |
| 3 | Manaslu | 8,163 m | Tier 2 · Supported / moderate | 50.5 | Northeast Face | Commercial infrastructure makes Manaslu accessible, but avalanche exposure and rapidly changing snow conditions keep it above the easiest tier. |
| 4 | Mount Everest | 8,848.86 m | Tier 2 · Supported / moderate | 53.0 | South Col from Nepal | The highest and most altitude-exposed peak, but also the best-supported 8,000er. Infrastructure lowers route and rescue difficulty without removing the Khumbu Icefall or death-zone exposure. |
| 5 | Broad Peak | 8,051 m | Tier 2 · Supported / moderate | 57.5 | West Ridge / Northwest Spur | Moderate technical difficulty combines with a long summit ridge, Karakoram weather, remote rescue and fewer support resources than Everest or Manaslu. |
| 6 | Lhotse | 8,516 m | Tier 2 · Supported / moderate | 58.5 | South Col and Lhotse Couloir | Shares the Everest route to the South Col, then diverges into the steep Lhotse Couloir. It is more technical than Everest in this model despite shared infrastructure. |
| 7 | Shishapangma | 8,027 m | Tier 2 · Supported / moderate | 60.5 | Northwest / North Face route | The lowest 8,000er is technically moderate by its standard route, but avalanche-prone summit terrain and unpredictable Tibet access increase practical difficulty. |
| 8 | Gasherbrum I | 8,080 m | Tier 3 · Serious | 70.0 | Japanese Couloir / Northwest Face | A sustained technical step above Gasherbrum II, with steeper snow and ice, a shorter Karakoram weather window and limited rescue options. |
| 9 | Makalu | 8,485 m | Tier 3 · Serious | 71.0 | Northwest Ridge via Makalu La | The standard route remains genuinely technical high on the mountain, including Makalu La and steep mixed terrain on the summit pyramid. |
| 10 | Dhaulagiri I | 8,167 m | Tier 3 · Serious | 75.5 | Northeast Ridge | A remote, storm-exposed expedition with serious avalanche terrain and less route infrastructure than the mainstream Nepal 8,000ers. |
| 11 | Kangchenjunga | 8,586 m | Tier 3 · Serious | 80.0 | Southwest Face from Nepal | High, remote and far less standardized than Everest. Long approaches, limited support and complex upper terrain create a demanding expedition. |
| 12 | Nanga Parbat | 8,126 m | Tier 4 · Extreme | 85.0 | Kinshofer Route on Diamir Face | Immense faces, severe weather, long routes and limited commercial standardization make Nanga Parbat one of the most committing mountains in the group. |
| 13 | Annapurna I | 8,091 m | Tier 4 · Extreme | 87.0 | Northwest Face / North side | The most dangerous peak in historical deaths-to-summits comparisons. Avalanche and serac exposure remain difficult to control even with strong teams. |
| 14 | K2 | 8,611 m | Tier 4 · Extreme | 94.5 | Abruzzi Spur | The hardest overall standard-route expedition in this model: sustained technical climbing, severe objective hazards, volatile Karakoram weather and extremely limited rescue margin. |
Sort the 14 by Any Difficulty Factor
Click a factor heading to sort from highest score to lowest. Click “Published rank” to restore the master order.
| Peak | Total | ||||||||
|---|---|---|---|---|---|---|---|---|---|
| 1 | Cho Oyu | 3 | 3 | 5 | 8 | 4 | 2 | 6 | 42.0 |
| 2 | Gasherbrum II | 4 | 4 | 6 | 7 | 6 | 4 | 3 | 49.0 |
| 3 | Manaslu | 4 | 6 | 6 | 7 | 5 | 3 | 2 | 50.5 |
| 4 | Mount Everest | 5 | 6 | 5 | 10 | 4 | 1 | 2 | 53.0 |
| 5 | Broad Peak | 5 | 5 | 7 | 7 | 7 | 5 | 4 | 57.5 |
| 6 | Lhotse | 7 | 6 | 5 | 9 | 4 | 3 | 2 | 58.5 |
| 7 | Shishapangma | 5 | 7 | 6 | 7 | 5 | 5 | 9 | 60.5 |
| 8 | Gasherbrum I | 7 | 7 | 8 | 7 | 8 | 6 | 4 | 70.0 |
| 9 | Makalu | 9 | 7 | 6 | 9 | 6 | 5 | 2 | 71.0 |
| 10 | Dhaulagiri I | 7 | 9 | 8 | 8 | 8 | 7 | 2 | 75.5 |
| 11 | Kangchenjunga | 8 | 8 | 8 | 9 | 9 | 8 | 3 | 80.0 |
| 12 | Nanga Parbat | 9 | 9 | 9 | 8 | 9 | 8 | 4 | 85.0 |
| 13 | Annapurna I | 9 | 10 | 9 | 8 | 9 | 9 | 2 | 87.0 |
| 14 | K2 | 10 | 10 | 10 | 9 | 10 | 9 | 4 | 94.5 |
Showing the published easiest-to-hardest order.
Build Your Own Eight-Thousander Ranking
Change the relative importance of the seven existing factors. The tool normalizes your mix automatically. Your result is personal analysis; it does not alter the published GSG ranking.
Your Custom Order
Current sliders match the published GSG weights.
Why Every Mountain Holds Its Position
The bars make each mountain’s shape visible: some are hard because of altitude, some because of hazard, and the hardest combine several near-maximum factors.
Cho Oyu
8,188 m · Northwest Ridge from Tibet
The least technical standard route in the group, with strong commercial support when Tibet access is available. Extreme altitude remains the central difficulty.
Why this position: Lowest overall difficulty in this model; access reliability remains the major variable.
Open the complete Cho Oyu guide →Gasherbrum II
8,035 m · Southwest Ridge
A relatively straightforward Karakoram 8,000er by standard-route terms, but more remote and weather-dependent than Nepal’s commercial peaks.
Why this position: Lower technical demand than most Karakoram 8,000ers; remoteness and short weather windows raise the score.
Open the complete Gasherbrum II guide →Manaslu
8,163 m · Northeast Face
Commercial infrastructure makes Manaslu accessible, but avalanche exposure and rapidly changing snow conditions keep it above the easiest tier.
Why this position: Strong support lowers logistical difficulty; objective snow and avalanche hazards remain decisive.
Open the complete Manaslu guide →Mount Everest
8,848.86 m · South Col from Nepal
The highest and most altitude-exposed peak, but also the best-supported 8,000er. Infrastructure lowers route and rescue difficulty without removing the Khumbu Icefall or death-zone exposure.
Why this position: Maximum altitude is offset by unmatched commercial support, route fixing and forecasting.
Open the complete Mount Everest guide →Broad Peak
8,051 m · West Ridge / Northwest Spur
Moderate technical difficulty combines with a long summit ridge, Karakoram weather, remote rescue and fewer support resources than Everest or Manaslu.
Why this position: The true summit lies farther beyond the fore-summit than many climbers expect.
Open the complete Broad Peak guide →Lhotse
8,516 m · South Col and Lhotse Couloir
Shares the Everest route to the South Col, then diverges into the steep Lhotse Couloir. It is more technical than Everest in this model despite shared infrastructure.
Why this position: Strong support lowers logistics; the upper couloir raises technical and exposure scores.
Open the complete Lhotse guide →Shishapangma
8,027 m · Northwest / North Face route
The lowest 8,000er is technically moderate by its standard route, but avalanche-prone summit terrain and unpredictable Tibet access increase practical difficulty.
Why this position: Access receives the highest penalty in the model because permit availability can change the expedition entirely.
Open the complete Shishapangma guide →Gasherbrum I
8,080 m · Japanese Couloir / Northwest Face
A sustained technical step above Gasherbrum II, with steeper snow and ice, a shorter Karakoram weather window and limited rescue options.
Why this position: Technical terrain, weather and remoteness all score materially higher than on Gasherbrum II.
Open the complete Gasherbrum I guide →Makalu
8,485 m · Northwest Ridge via Makalu La
The standard route remains genuinely technical high on the mountain, including Makalu La and steep mixed terrain on the summit pyramid.
Why this position: High technical and altitude scores distinguish Makalu from more commercially standardized peaks.
Open the complete Makalu guide →Dhaulagiri I
8,167 m · Northeast Ridge
A remote, storm-exposed expedition with serious avalanche terrain and less route infrastructure than the mainstream Nepal 8,000ers.
Why this position: Objective hazard, weather and limited support drive its score more than technical grade alone.
Open the complete Dhaulagiri I guide →Kangchenjunga
8,586 m · Southwest Face from Nepal
High, remote and far less standardized than Everest. Long approaches, limited support and complex upper terrain create a demanding expedition.
Why this position: Remoteness and support limitations make small problems harder to solve.
Open the complete Kangchenjunga guide →Nanga Parbat
8,126 m · Kinshofer Route on Diamir Face
Immense faces, severe weather, long routes and limited commercial standardization make Nanga Parbat one of the most committing mountains in the group.
Why this position: High scores across technical difficulty, hazard, weather and remoteness.
Open the complete Nanga Parbat guide →Annapurna I
8,091 m · Northwest Face / North side
The most dangerous peak in historical deaths-to-summits comparisons. Avalanche and serac exposure remain difficult to control even with strong teams.
Why this position: Highest objective-hazard score; second-hardest overall because K2 adds greater sustained technical difficulty.
Open the complete Annapurna I guide →K2
8,611 m · Abruzzi Spur
The hardest overall standard-route expedition in this model: sustained technical climbing, severe objective hazards, volatile Karakoram weather and extremely limited rescue margin.
Why this position: Hardest overall; Annapurna remains the most dangerous by historical risk ratio.
Open the complete K2 guide →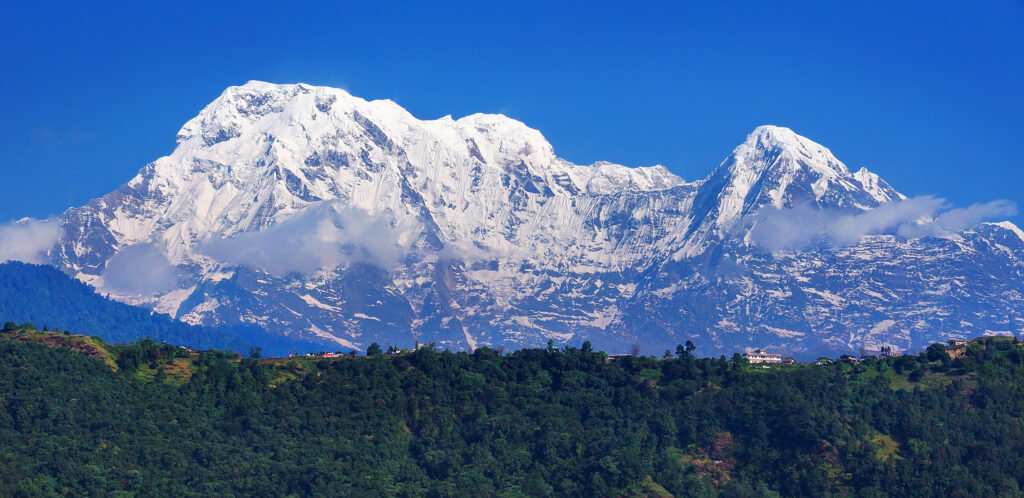
K2 Wins the Difficulty Model. Annapurna Wins the Hazard Argument.
A mountain can be more technical and committing without having the highest current death-to-summit ratio. Keeping those two questions separate is one of the most important rules on this page.
Difficulty Score vs. Current Death-to-Summit Ratio
Only peaks with a defensible current comparison are plotted. Eight Nepal 8,000ers use the same Himalayan Database report; K2 is outlined because its 9.54% figure comes from a separate closed-through-2025 series.
Hardest and deadliest are not synonyms.
K2 sits furthest right on difficulty. Annapurna sits highest on the current comparable Nepal mortality ratio. Everest’s position shows how extreme altitude can coexist with a lower composite difficulty score when support is unusually deep.
Why Everest Ranks Only Fourth-Easiest
Maximum altitude does not automatically produce maximum total expedition difficulty.
Altitude Is Maxed Out
The summit is the highest on Earth. Death Zone duration, cold, the Khumbu Icefall, crowding and a long summit cycle remain serious. Everest is not low on the list because the mountain is benign.
Support Is Unmatched
Everest has the deepest commercial operator market, shared route fixing, high-altitude staffing, forecasting, communications and lower-mountain evacuation resources in the 8,000er world.
K2 vs. Annapurna I
The two mountains sit at the top of different questions. K2’s difficulty is more sustained; Annapurna’s objective hazard is harder to control.
K2
The Abruzzi Spur combines technical terrain, objective hazard, volatile Karakoram weather and limited rescue margin, then requires the same complex terrain to be descended.
Annapurna I
Avalanche and serac exposure drive the maximum hazard rating. Those hazards can remain difficult to control even when the climbing team is technically excellent.
Five Surprising Pairwise Comparisons
Cho Oyu vs Gasherbrum II
Cho Oyu is higher and has a larger altitude score, but GII’s Karakoram remoteness, weather and support gap offset its relatively straightforward standard climbing.
Manaslu vs Everest
Everest’s 10/10 altitude score is nearly canceled by a 1/10 support gap. Manaslu is lower, but avalanche exposure and less extensive infrastructure keep the totals close.
Everest vs Broad Peak
Broad Peak is much lower, yet Karakoram weather, remoteness, limited rescue and the long summit-ridge finish push its composite above Everest.
Gasherbrum I vs Makalu
G1 scores higher for weather and remoteness; Makalu scores much higher technically and in altitude. Their totals land almost together for very different reasons.
Dhaulagiri vs Kangchenjunga
Dhaulagiri’s avalanche and weather profile is severe, while Kangchenjunga adds greater altitude, remoteness and support limitations.
Annapurna vs K2
Both max out objective hazard. K2 creates separation through maximum technical, weather and remoteness scores.
What Changes When the Climbing Style Changes?
The published scores assume standard supported routes in a conventional season. Changing style changes the difficulty system, but this page does not invent 56 alternate rankings.
Altitude & Recovery Margin Rise
The standard score already captures altitude exposure, but removing oxygen increases hypoxic stress, slows movement and reduces margin for delay. The effect is largest on the highest and longest summit-day mountains.
Weather Becomes a Different Problem
Wind, cold, short weather windows, snow loading and reduced route infrastructure can change a conventional-season expedition into a fundamentally harder objective.
The Support Gap Expands
Less fixed infrastructure and fewer stocked camps increase self-rescue, load management, route-finding and decision demands. That is a different expedition model from the supported baseline used here.
Technicality & Retreat Can Jump
A mountain ranked relatively low by its normal route can contain elite faces and ridges. The ranking compares standard routes; it is not a ranking of the hardest line ever climbed on each mountain.
Which 8,000er Should Come First?
A lower score narrows the conversation; it does not replace an experience résumé.
Cho Oyu
Main advantage: least technical standard route and strong support when Tibet is operating normally.
Main tradeoff: 8,188 m altitude and access reliability.
Gasherbrum II
Main advantage: relatively straightforward standard climbing for a Karakoram 8,000er.
Main tradeoff: remote approach, weather uncertainty and weaker rescue/support depth.
Manaslu
Main advantage: deep commercial infrastructure and established normal route.
Main tradeoff: avalanche exposure and rapidly changing snow conditions.
What We Recheck in 2026 Without Re-Scoring the Mountain Every Week
Some inputs can move temporarily. A permanent score should change only when the underlying expedition environment changes enough to justify it.
Cho Oyu & Shishapangma
Permit, border and operating conditions can materially affect practical access. Those changes are rechecked, but a temporary closure should not automatically rewrite a long-term climbing-difficulty model.
Support Can Evolve
More operators, stronger shared rope fixing or improved evacuation systems can change the support gap over time. The model should react to sustained structural change, not one unusually busy season.
Route Norms Can Shift
If the route most supported teams actually use changes for multiple seasons, technical and hazard ratings may deserve review. One temporary detour is not enough.
Weather Is Not a Permanent Score Update
A dangerous snowpack or failed season belongs on a current-conditions page. The difficulty score represents the conventional-season mountain, not this week’s forecast.
Lists, Risk, Comparisons & Progression
The 14 Eight-Thousanders
Elevations, countries, ranges and full peak guides for the complete collection.
See all 14 mountains → MortalityDeath Rates by Mountain
Keep historical fatality denominators separate from this difficulty model.
Compare death rates → Head-to-headK2 vs Annapurna
Go deeper on the hardest-versus-deadliest distinction.
Compare K2 and Annapurna → People & recordsWho Has Climbed All 14?
The broad historical roster, strict true-summit records and major all-14 milestones.
Open the climber roster → ComparePeak Comparison Tool
Move beyond the 8,000ers and compare individual mountain characteristics.
Open comparison tool → PlanMy Climb
Turn a mountain choice into an organized planning workflow.
Open My Climb →Eight-Thousander Difficulty FAQ
What is the easiest eight-thousander?
Cho Oyu ranks easiest at 42.0/100. Its standard route has the lowest technical score in the group, but it remains an extreme-altitude expedition and Tibet access can be unreliable.
What is the hardest eight-thousander?
K2 ranks hardest overall at 94.5/100 because technical climbing, objective hazards, Karakoram weather, remoteness and limited support all score near the maximum.
What is the most dangerous eight-thousander?
Annapurna I has the highest current death-to-summit ratio in the same-system Himalayan Database Nepal comparison and receives this model’s maximum objective-hazard score. That does not make it automatically the most technical mountain.
Is K2 harder than Annapurna?
In this model, yes. K2 is harder overall because its technical difficulty, weather and remoteness are more sustained. Annapurna receives the maximum objective-hazard score and has the higher current comparable Nepal mortality ratio.
Where does Everest rank?
Everest ranks fourth-easiest at 53.0/100. Its altitude exposure is unmatched, but commercial infrastructure, route fixing, forecasting and rescue resources reduce its remoteness and support-gap scores.
Is Lhotse harder than Everest?
Yes in this model. Lhotse shares much of Everest’s route and infrastructure, then adds the steep Lhotse Couloir, producing a higher technical score and a 58.5 total.
Does the score equal the chance of dying?
No. The score is a comparative difficulty model. Historical death-to-summit ratios are a different metric and are not personal probability estimates.
Are the 0.5-point differences scientifically precise?
No. The totals are exact outputs from the published inputs, but the factor ratings are comparative editorial judgments. Small gaps should be interpreted as broadly similar difficulty.
Which 8000er should someone climb first?
Cho Oyu, Gasherbrum II and Manaslu sit at the low end of the ranking, but the right first 8,000er depends on prior altitude experience, technical skill, operator quality, access, season and proven acclimatization.
Use the Number to Ask Better Questions—not to Flatten Fourteen Different Mountains.
Cho Oyu earns the lowest composite score. K2 earns the highest. What matters in between is the shape of the difficulty: altitude on Everest, support and weather in the Karakoram, avalanche exposure on Annapurna and Dhaulagiri, technical terrain on Makalu and K2, and remoteness on Kangchenjunga and Nanga Parbat.
Was this helpful?
🏔Related guides
🧭Explore & compare
Global Summit Guide is an independent mountaineering resource founded in 2026. The team combines first-hand trekking and climbing experience with in-depth research and professional health and nutrition review to help climbers choose objectives, prepare properly, and stay safe.
Health, altitude, and nutrition content is reviewed by Taylor Ludlow (Registered Nurse) and Brigg Hoopes (Nutritionist).
What We Don't Know Yet
Mountain information changes quickly. This box explains the limits of what this page can responsibly promise.
- Visa, passport, vaccination, border, insurance, and local transportation rules may change before your trip.
- Route conditions, snowpack, closures, and weather can change quickly after this page is updated.
- Permit rules, fees, quotas, and reservation windows may change between review cycles.
- Operator availability, pricing, guide ratios, and cancellation terms can change by season.
- Your fitness, altitude response, risk tolerance, and experience level may change what is safe or realistic.
Verify current conditions with official land managers, guide services, local forecasts, and current route reports before booking or climbing.
Mountaineering, rock and ice climbing, glacier travel, and high-altitude activity are inherently dangerous and can result in serious injury or death. The information on Global Summit Guide is provided for general informational and educational purposes only and is not a substitute for professional instruction, qualified guiding, proper equipment, or your own judgment and experience.
Route conditions, weather, snowpack, permits, regulations, and hazards change constantly and may differ from what is described here. Details may be incomplete, out of date, or contain errors. Always verify current information with local authorities, certified guides, and official sources before making any decision in the mountains.
Nothing on this site is medical, legal, or financial advice. Our fitness, acclimatization, altitude, and nutrition content is general in nature; consult a qualified physician before beginning any strenuous exercise program or exposing yourself to high altitude.
You are solely responsible for your own safety and decisions. To the fullest extent permitted by law, Global Summit Guide and its team accept no liability for any loss, injury, damage, or expense arising from use of, or reliance on, this information. By using this site you acknowledge these risks and accept these terms.
Some links on this site may be affiliate links. If you buy through them we may earn a small commission at no extra cost to you; this never affects our recommendations.
Global Summit Guide recommendation path
Next Best Mountain to Research
Use these recommendations to continue the right planning path instead of stopping on one page.
Use current permit, weather, route, and operator information before booking or climbing.
Explore Travel Options for Your Destination
Once your mountain, dates and route are taking shape, compare flights, hotels and other travel options that fit the trip.
Affiliate link. We may earn a commission at no additional cost to you.