
How to Choose Mountaineering Boots
If your boots are wrong, the rest of your system will never feel right. Even strong climbers can struggle if their boots are too cold, too soft, poorly fitted, or incompatible with their crampons. Good mountaineering boots should match your terrain, your objective, and the conditions you expect to face.
Why Mountaineering Boots Matter
Mountaineering boots do much more than protect your feet. They create the foundation for traction, warmth, ankle support, and movement efficiency in steep or cold terrain. They also need to function as part of a larger system that includes crampons, socks, gaiters, and sometimes overboots.
Types of Mountaineering Boots
| Boot Type | Best For | Pros | Considerations |
|---|---|---|---|
| Light Mountaineering Boots | Summer alpine routes, lower peaks, snow climbs | Lighter, faster, more comfortable on approaches | Less warmth for very cold or high-altitude climbs |
| Insulated Single Boots | General mountaineering, glacier travel, colder objectives | Good balance of support, warmth, and versatility | Can feel heavy on long dry approaches |
| Double Boots | High altitude, very cold environments, expedition climbing | Excellent warmth and removable liners for drying | Bulkier and often more expensive |
For many climbers, insulated single boots are the best all-around option because they handle a wide range of snow and glacier objectives. Larger expedition peaks and colder conditions often require double boots.
Key Features to Look For
Insulation
Choose enough warmth for the coldest conditions you expect, not just the approach temperature.
Stiffness
More technical terrain usually requires a stiffer boot, especially for front-pointing or firm snow.
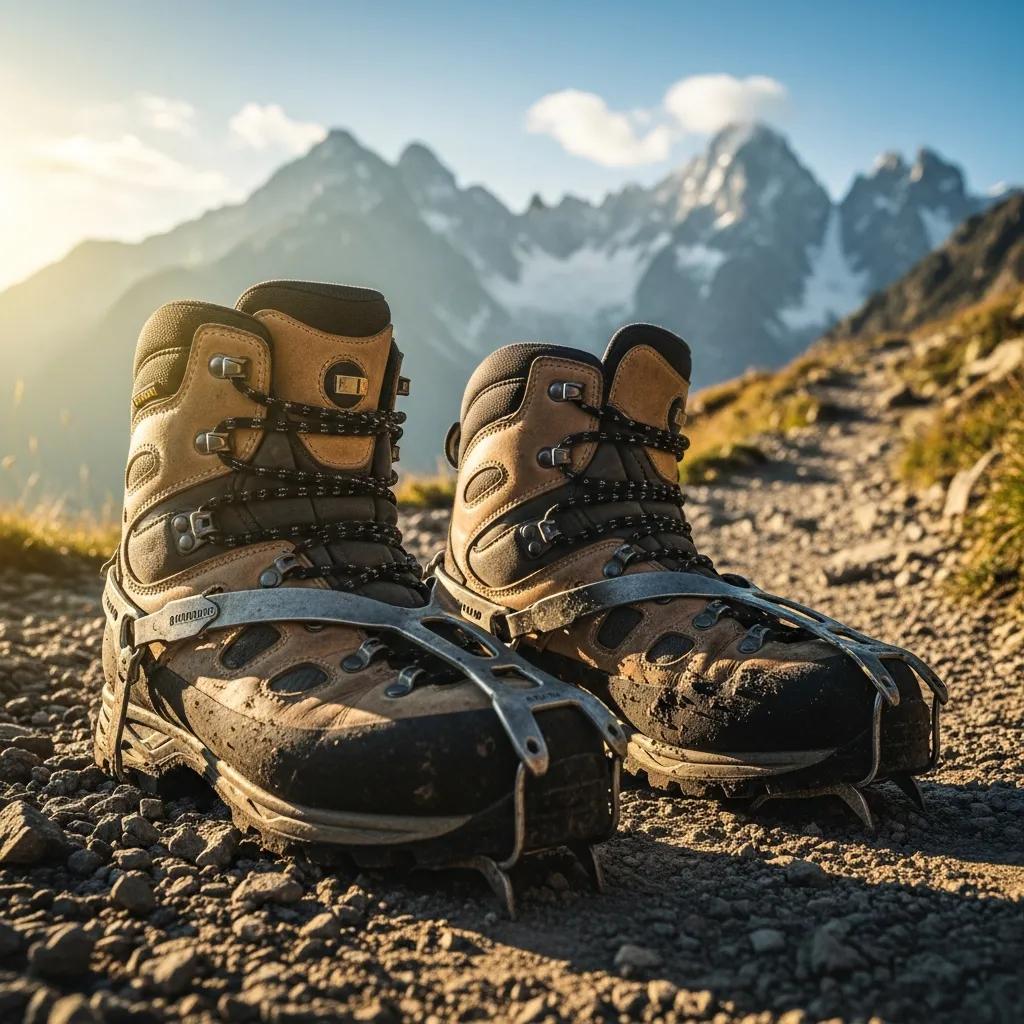
Crampon Compatibility
Check whether the boot is compatible with strap-on, hybrid, or step-in crampons.
Water Resistance
Wet feet can quickly become cold feet, so weather protection matters on snow and glacier terrain.
Ankle Security
A secure fit helps when carrying a pack, crossing rough ground, or kicking steps in firm snow.
Room for Socks
Your boots should fit with your actual mountaineering socks, not just thin store socks.
How Mountaineering Boots Should Fit
Fit is one of the biggest factors in boot performance. A mountaineering boot should feel secure without crushing the toes. Your heel should stay in place, your foot should not slide excessively forward, and you should still have enough room for warmth and circulation.
A good fit usually means:
- Your heel stays relatively secure on inclines
- Your toes are not jammed into the front on descents
- You can wear proper mountain socks without cutting off circulation
- The boot feels supportive rather than sloppy
- You can lace it tightly enough for control without painful pressure points
Common Boot Buying Mistakes
| Mistake | Why It Causes Problems | Better Approach |
|---|---|---|
| Buying for comfort only | A very soft boot may not handle crampons or steeper terrain well | Match the boot to your actual objective |
| Buying too small | Tight boots reduce warmth and can destroy your feet on descents | Fit with your real socks and account for swelling |
| Ignoring crampon fit | Poor compatibility can create instability or safety issues | Always test boots and crampons together |
| Underestimating cold | Boots that feel fine in a store may be too cold on the mountain | Buy for summit conditions, not parking lot conditions |
Frequently Asked Questions
Final Thoughts
Mountaineering boots are one of the most important gear decisions you will make. The right pair supports your movement, keeps your feet warm, and integrates with the rest of your climbing system. Take time to match the boot to your actual terrain, test it with your socks and crampons, and build the rest of your mountain kit around that foundation.
Twenty Twenty-Five
email@example.com
+1 555 349 1806