
Last updated July 18, 2026
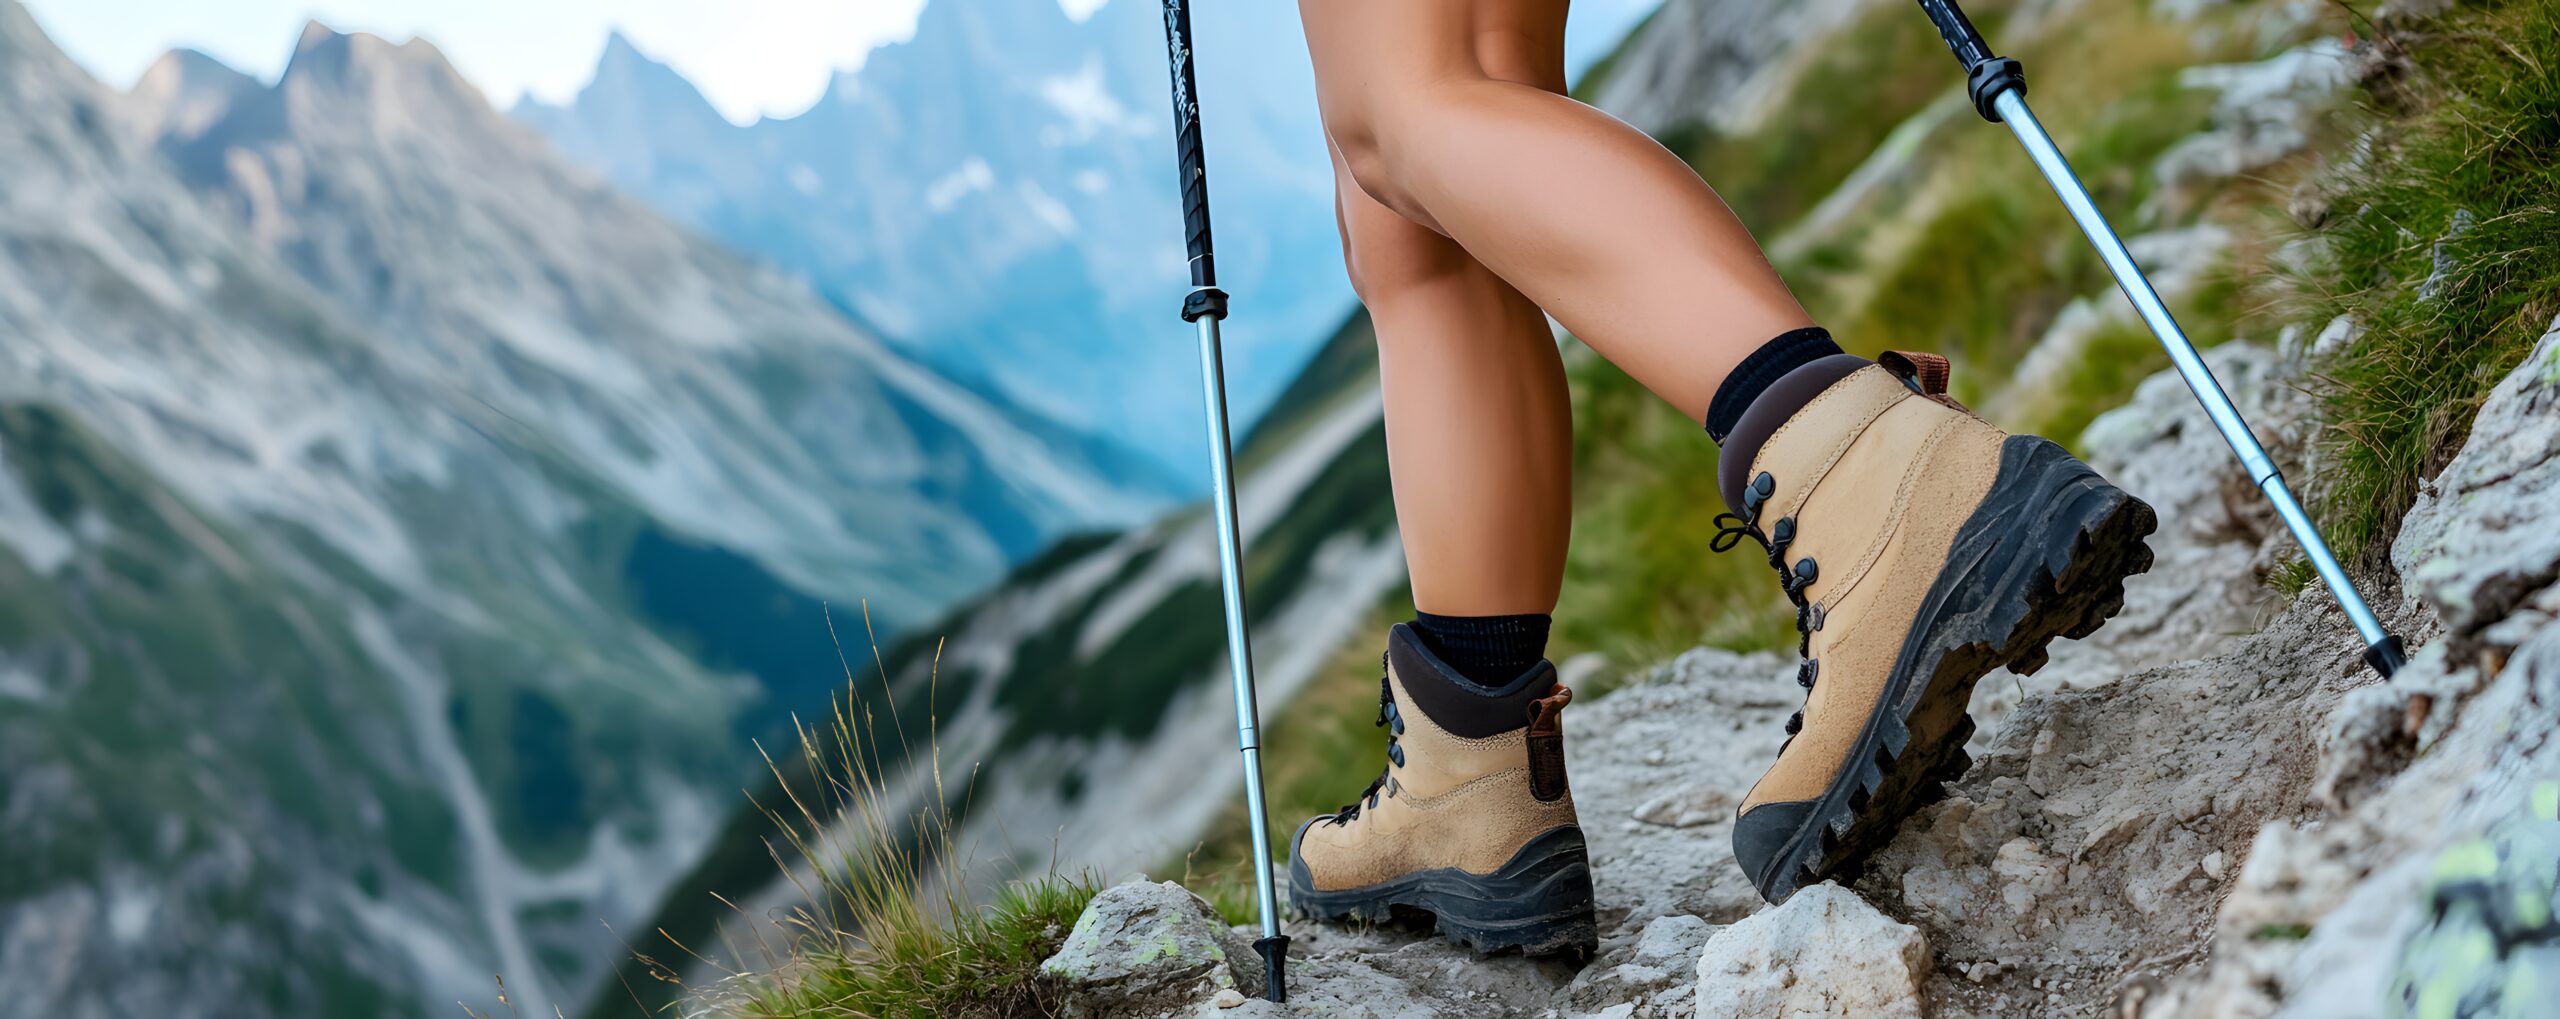
Mountaineering boots: how to choose the right boot
A mountaineering boot is not a boot – it is a climbing platform that has to flex like a hiker on the approach, hold a crampon like a wall on steep ice, and insulate like a sleeping bag at 40 below, sometimes all on the same summit day. It is the single most important gear decision you will make, and getting it wrong ends climbs with blisters, black toes, or frostbite. This guide decodes the B-rating system, profiles each brand’s fit, diagnoses the common fit problems, and recommends specific models by tier.
Match the B-rating to the climb. For most climbers, that is a B2.
Match rating to objective: B0 hikes trails (no crampons), B1 takes C1 strap-ons for summer alpine, B2 takes C1/C2 and handles year-round glacier travel and peaks to 6,000 m – the versatile choice for most climbers, and B3 takes everything (including C3 step-ins) for steep ice, extreme cold, and 8,000 m peaks. The rule that never breaks: your boot’s B-number must be equal to or greater than your crampon’s C-number.
Buy for the coldest, most technical conditions you realistically expect – not the average day. Above roughly 5,500 m or 15 below, choose a double boot so the inner liner can dry in your sleeping bag overnight. And break every boot in over 4-6 weeks before an expedition. Fit is brand-shape specific, so try three brands in your size before you commit.
The UIAA B-rating system decoded
Every boot carries a UIAA rating from B0 to B3 that defines its stiffness and which crampons it can take. This matters more than brand, weight, or price.
A B1 boot with a C3 technical crampon is unsafe; a B3 boot on a day hike is overkill and exhausting. Match the rating to the climb:
Single vs double: the big decision
Within B3, the next fork is single boot vs double boot – a design-philosophy difference, not a quality one.
Lighter, more precise
One-piece construction with insulation in the boot wall. Lighter (2-3 lb/pair), more precise climbing feel, faster to lace, good to about -10°F. Best for technical alpine where sensitivity matters more than extreme warmth.
Warmer, driable liner
Rigid outer shell with a separate removable inner. Heavier (3-5 lb/pair), warmer (-20 to -60°F), bulkier to climb in. The critical edge: the inner comes out at night to dry in your sleeping bag – which is why frozen liners do not end your summit attempt.
Brand fit personality
Every brand has a characteristic last shape. Brand loyalty is really foot-shape loyalty – if a brand fits you, most of its models will.
La Sportiva
The technical-innovation leader: light, strong climbing feel, the widest model range. Runs narrow in the forefoot with low instep volume. Best for narrow, average-to-low-volume feet.
Scarpa
Technical excellence with a broader fit than La Sportiva. Fits medium-to-wide forefeet with medium instep. The Phantom series is the modern expedition double-boot standard.
Asolo
The American foot’s friend – the widest lasts in mountaineering and high-volume accommodation. Runs wide and tall, ideal for high-instep or wide feet that fight Italian technical brands.
Lowa
German precision with an exacting build and a precise heel cup – excellent secure heel hold on steep terrain. Runs narrow. Less common in North America but with a devoted following.
Millet
French alpine heritage with strong expedition doubles. Fits medium width with alpine-oriented volume. The Expert 6000 ITR is a classic Denali and Aconcagua choice.
Mammut
Swiss precision integrated into a broader gear system. Fits medium width with safety-focused designs and premium materials. Less selection than La Sportiva or Scarpa, but strong quality.
Fit diagnosis: the four common problems
When a boot fits wrong, the symptoms fall into four categories – and each points at a specific fix.
| Problem | Symptom | Likely cause | Fix |
|---|---|---|---|
| Heel slip / lift | Heel lifts each step; Achilles blisters; “walking out of the boot” | Heel cup too wide or shallow for your ankle | Heel-lock lacing, heel-lift insert, try a narrower brand (Lowa, La Sportiva) |
| Toe bang on descent | Toes hit the front on steep descents; black toenails | Boot too short, or heel not locked (foot slides forward) | Size up a half to full size and lock the heel; descent-specific lacing |
| Instep pressure | Top of foot crushed by laces/tongue; numbness after 2-3 hours | High-volume foot in a low-volume boot | Wider/higher-volume brand (Asolo, Scarpa), tongue padding, skip-lacing the instep |
| Localized hot spots | One point (ankle bone, fifth metatarsal, arch) blisters repeatedly | Bone structure incompatible with that last | Professional stretching at the point, sock change, or a different model (not just size) |
The 4-6 week break-in protocol
Boots need real break-in before any expedition. “No break-in needed” is marketing – plan on 20-30 miles of progressive wear (30+ for expedition doubles).
Week 1 – foundation (1-2 miles). Wear them around the house and on short walks, in the exact liner-plus-outer sock system you will climb in. If something hurts in week 1, it will be worse at altitude.
Week 2 – terrain (3-5 miles per outing). Move onto trails with uphill, downhill, and traverses. Test different lacing patterns. Pressure points appearing now is useful data.
Week 3 – load (5-8 miles). Add a 15-20 kg pack to simulate expedition weight, and practice crampon attachment if the boot supports it (B2 or B3).
Week 4 – simulation (8-15 miles). Full multi-day outings in varied weather, with elevation gain if you can. Any serious problem here needs resolving – return, exchange, or professional modification – before the trip.
Weeks 5-6 – final prep (15+ miles). Long days, full pack, full climbing simulation. The boots should feel like an extension of your feet. If they do not, do not take them on expedition – rent or postpone.
Old-school advice to soak new leather boots and wear them until dry does mold the fit briefly, but it shortens boot life by 30-50%, voids most warranties, and creates inconsistent fit – and modern synthetic boots should never be wet-broken-in at all. Break in patiently and progressively instead.
Model picks by tier
Specific models for each expedition tier. Match to the coldest, most technical objective you realistically expect.
| Tier | Rating | Recommended models | Temp | Price |
|---|---|---|---|---|
| Trekking | B1 | La Sportiva Trango TRK, Salewa Mountain Trainer, Scarpa Zodiac GTX | To 20°F | $250-500 |
| General, 5-6,000 m | B2 | La Sportiva Nepal Cube, Scarpa Mont Blanc Pro, Mammut Taiss Pro, Asolo Rainier | To 0°F | $400-800 |
| Technical alpine | B3 single | Scarpa Phantom Tech HD, La Sportiva Trango Tower, Mammut Nordwand Pro | To -10°F | $500-900 |
| Aconcagua, Denali | B3 double | La Sportiva G2 Evo, Scarpa Phantom 6000, Millet Expert 6000 ITR | To -30°F | $700-1,100 |
| 7,000 m | B3 double | Scarpa Phantom 8000, Millet Everest Summit, La Sportiva G2 Evo (margin) | To -40°F | $900-1,300 |
| 8,000 m | B3 double | La Sportiva Olympus Mons Cube, Millet Everest Summit, Scarpa Phantom 8000 | To -60°F | $1,000-1,500 |
Lifespan, resoling & when to replace
Mountaineering boots last about 5-8 years with regular use – but individual components fail on their own timelines.
Vibram soles last 200-400 miles of moderate use and resole for $80-150 (do it before wear exposes the lower sole structure). Full-grain leather conditioned annually lasts 7-10 years; synthetic uppers 5-7. Gore-Tex and similar membranes fail after 4-6 years even when the boot looks fine – it simply stops being waterproof. In double boots, inner-liner loft degrades 20-30% after about 5 years, dropping the warmth rating so the boot still works for lower-tier climbs but not its original expedition tier. Rands (the rubber edges) often fail first in heavy use, and delamination from the upper signals replacement.
When the sole cracks, waterproofing fails on a wet-conditions boot, the rand delaminates, or insulation no longer keeps you warm at altitude, replace the boot. The cost of equipment failure at 6,000 m dwarfs the cost of a new pair.
Building the rest of your kit?
Boots are one piece of a system. Pair them with the crampons buyer’s guide and ice axe guide, then work through the complete gear checklist and layering guide. For flights and lodging near your objective, compare options through the Global Summit Guide Expedia travel shop.
Disclosure: the Expedia link is an affiliate link; we may earn a small commission at no extra cost to you, and it never affects our recommendations. We earn nothing from the boot brands named on this page.
Crampons Guide Ice Axe GuideMountaineering boots FAQ
The questions climbers search most – answered plainly.
What is the UIAA B-rating system?
It grades boots by stiffness and crampon compatibility from B0 to B3. B0 is a flexible hiker (no crampons); B1 is semi-rigid (C1 strap-ons, summer alpine); B2 is mostly rigid (C1/C2, year-round glacier and peaks to 6,000 m – best for most climbers); B3 is fully rigid (all crampons including C3, for steep ice, extreme cold, and 8,000 m). Your boot’s B-number must be equal to or greater than your crampon’s C-number.
Single or double boots?
Singles have built-in insulation – lighter, more precise, good to about -10°F. Doubles have a removable inner liner – heavier and warmer (to -40°F or colder), and the liner dries in your sleeping bag overnight. Use singles for the Alps and summer 4,000 m peaks; use doubles for Aconcagua, Denali, and everything above 7,000 m.
How should mountaineering boots fit?
Usually a half to full size larger than street shoes, fitted with your actual climbing sock system, late in the day. The heel must not lift, keep about a half inch of toe room to avoid descent toe-bang, and the instep should be snug without crushing. Fit is last-shape specific – try three brands in your size.
How do you break in new boots?
Progressively over 4-6 weeks: short home walks, then trails, then a weighted pack, then multi-day outings, building to 20-30 miles (30+ for expedition doubles). Buy 6-8 weeks before a trip, and never wet-soak boots to speed it up.
Which brand is best?
Whichever last fits your foot. La Sportiva and Lowa run narrow; Scarpa and Mammut medium; Asolo wide and high-volume (friendliest to American feet). If a brand’s general boot fits you, its expedition boot likely will too.
Can I use hiking boots for mountaineering?
Not for serious objectives – most are B0, too flexible to hold a crampon and too cold for altitude. They are fine for trails and, at a stretch, guided low-angle summer glacier travel with C1 strap-ons; anything real needs a B1 minimum, usually B2.
How long do boots last, and should I rent or buy?
About 5-8 years with regular use; soles resole for $80-150, membranes fail at 4-6 years. Rent for a first or one-off expedition (about $20-80/day, often included in guided packages); buy once you climb regularly and know your fit, so you can break the boot in to your own feet.
Methodology & sources
- B-rating and crampon-compatibility guidance referenced against the UIAA-149 boot standard and EN 12492 crampon standards.
- Fit and break-in protocols draw on published IFMGA guide practice, boot-fitter recommendations, and the reference text Mountaineering: The Freedom of the Hills.
- Model specifications verified against current manufacturer technical sheets (La Sportiva, Scarpa, Asolo, Lowa, Millet, Mammut, Salewa; 2025-2026 lines); price ranges from REI, Backcountry.com, Moosejaw, and specialty alpine retailers; plus published gear lists from Alpine Ascents, Mountain Madness, Madison Mountaineering, and RMI.
- Research-based synthesis of the above, not a personal endorsement. Safety framing reviewed by Dawson Ludlow.
Last updated: July 18, 2026 · next review October 2026 · Travis Ludlow, Global Summit Guide.
Confidence: High on the B-rating framework, fit, and break-in; Medium on specific model prices, which shift by season and retailer.Get the boot right, and the rest follows
Match the B-rating to your objective, choose single or double by the temperatures you will actually face, fit for your foot shape across three brands, and break the boot in over 4-6 weeks. Do that, and your boots become the one part of your kit you never think about on the mountain.
Match Your Crampons Full Gear ChecklistWas this helpful?
🏔Related gear guides
🧭Explore & compare
Global Summit Guide is an independent mountaineering resource founded in 2026. The team combines first-hand trekking and climbing experience with in-depth research and professional health and nutrition review to help climbers choose objectives, prepare properly, and stay safe.
Health, altitude, and nutrition content is reviewed by Taylor Ludlow (Registered Nurse) and Brigg Hoopes (Nutritionist).
What We Don't Know Yet
Mountain information changes quickly. This box explains the limits of what this page can responsibly promise.
- Route conditions, trailhead access, crevasse exposure, stream crossings, and rescue access may vary from published planning guidance.
- Gear requirements can change by season, route variation, weather window, personal cold tolerance, and guide-service requirements.
- Route conditions, snowpack, closures, and weather can change quickly after this page is updated.
- Permit rules, fees, quotas, and reservation windows may change between review cycles.
- Operator availability, pricing, guide ratios, and cancellation terms can change by season.
Verify current conditions with official land managers, guide services, local forecasts, and current route reports before booking or climbing.
Mountaineering, rock and ice climbing, glacier travel, and high-altitude activity are inherently dangerous and can result in serious injury or death. The information on Global Summit Guide is provided for general informational and educational purposes only and is not a substitute for professional instruction, qualified guiding, proper equipment, or your own judgment and experience.
Route conditions, weather, snowpack, permits, regulations, and hazards change constantly and may differ from what is described here. Details may be incomplete, out of date, or contain errors. Always verify current information with local authorities, certified guides, and official sources before making any decision in the mountains.
Nothing on this site is medical, legal, or financial advice. Our fitness, acclimatization, altitude, and nutrition content is general in nature; consult a qualified physician before beginning any strenuous exercise program or exposing yourself to high altitude.
You are solely responsible for your own safety and decisions. To the fullest extent permitted by law, Global Summit Guide and its team accept no liability for any loss, injury, damage, or expense arising from use of, or reliance on, this information. By using this site you acknowledge these risks and accept these terms.
Some links on this site may be affiliate links. If you buy through them we may earn a small commission at no extra cost to you; this never affects our recommendations.
Global Summit Guide recommendation path
Next Best Mountain to Research
Use these recommendations to continue the right planning path instead of stopping on one page.
Use current permit, weather, route, and operator information before booking or climbing.