
How to Choose Mountaineering Boots
Start with the mountain, not the brand. Choose the least-bulky boot that is warm enough for the expected cold, stiff enough for the hardest terrain, compatible with the crampons you will actually use and shaped correctly for your foot.
Choose Mountaineering Boots in This Order: Objective → Warmth → Stiffness → Crampon → Fit.
The mountain determines the boot category. A long dry approach with occasional snow rewards walking efficiency. Steep snow and ice require more stiffness and a secure crampon platform. Multi-day extreme cold makes insulation, moisture management and removable liners progressively more important.
Fit then has veto power over every specification. If the heel lifts excessively, the forefoot is crushed, circulation is restricted or your toes repeatedly hit the front on descents, the boot is wrong even when its technical specification is perfect.
Keep this how-to page separate from our Best Mountaineering Boots comparison. This page teaches the selection process; the comparison page applies that process to current models.
How to Choose Mountaineering Boots in 6 Steps
Define the actual objective
Write down the mountain, route, season, approach length, technical terrain, expected snow and ice, coldest camp, summit exposure and how much equipment is supplied by a guide. Do this before shopping.
Choose the warmth and construction
Decide whether the climb calls for a lighter alpine boot, an insulated technical single, a removable-liner double boot or a purpose-built extreme-expedition system. Colder is not always better; unnecessary bulk reduces walking efficiency and precision.
Choose the required stiffness
Long rocky approaches reward some flex. Sustained front-pointing, steep ice and mixed climbing reward a much more rigid platform. Buy for the hardest required terrain, not for the most extreme climb you may attempt years from now.
Confirm the exact crampon interface
Check whether the boot is intended for strap, hybrid/semi-automatic or automatic bindings. Then physically fit the exact crampon. Toe and heel welts are only the starting clue.
Fit the boot with your real system
Use the socks, footbeds and orthotics you will climb in. Check heel security, toe clearance, forefoot width, instep pressure and circulation. Fit late in the day when possible.
Field-test before the expedition
Progress from indoor fit to stairs or inclines, then longer training days, snow travel and the actual crampon system. Discover hot spots, toe impact or lace pressure while returns, repairs and sizing changes are still possible.

Let the Route Eliminate the Wrong Boots
A boot is solving several problems at once: walking efficiency, insulation, edge support, crampon attachment, weather protection and load carrying. The route tells you which of those problems dominates.
If most of the day is trail and rock with a short snow section, an extremely rigid boot may create more problems than it solves. If the route includes steep hard snow, ice or sustained front-pointing, a flexible hiking-oriented platform may be inadequate.
| Objective | Walking need | Technical need | Cold need | Likely direction |
|---|---|---|---|---|
| Mountain hiking / easy snow | High | Low | Low to moderate | Flexible mountain footwear; only compatible traction as required |
| General glacier mountaineering | Moderate to high | Moderate | Moderate | Stiffer mountaineering boot with secure crampon interface |
| Technical ice / mixed | Lower priority | High | Moderate to high | Rigid technical boot optimized for control |
| Cold multi-day expedition | Moderate | Varies | High | Warm integrated or removable-liner double boot |
| Extreme high altitude / polar cold | Low relative priority | Varies | Extreme | Purpose-built extreme-cold expedition system |
Light Alpine, Insulated Single or Double Boot?
Construction controls the balance between walkability, precision, warmth and the ability to dry the boot over multiple days.
Movement first
Lower weight and better walking feel suit routes with long approaches and moderate cold. The trade-off is less thermal margin and, depending on model, a less rigid crampon platform.
The general-mountaineering middle
More structure and insulation while staying lighter and more precise than a double boot. This broad category covers many classic alpine, glacier and technical objectives.
Cold + drying strategy
A removable inner boot becomes valuable when trips are cold enough and long enough that drying insulation and keeping liners warm overnight become part of expedition management.

B1, B2 & B3: Useful Language, Not an Official UIAA Boot Certification
The labels are useful for discussing boot stiffness and likely crampon interfaces, but they should not replace the exact manufacturer’s compatibility guidance.
Flexible end of the spectrum
More walking flex, generally suited to easier mountain and snow travel. Think flexible or strap-style crampon systems rather than automatic bindings.
General mountaineering middle
Stiffer construction, often with a heel interface for hybrid/semi-automatic crampons. This is the practical middle ground for many glacier and general mountaineering objectives.
Rigid technical end
Fully rigid technical or expedition boots commonly built for automatic-crampon interfaces and sustained technical snow or ice work.
Crampon Compatibility Is a Physical Fit, Not a Checkbox
A boot can appear to have the correct heel or toe welt and still fit a specific crampon poorly. Binding shape, sole geometry, boot length and bail shape all affect security.
Start with the manufacturer’s approved binding type, then fit the exact crampon to each boot. Adjust bar length and binding tension, then check for vertical, lateral and lengthwise movement.
How Mountaineering Boots Should Fit
Fit balances control against warmth. Too loose reduces technical control; too tight can create pressure, toe impact and reduced circulation.
Secure without being crushed
Some movement may exist, but repeated heel lift under climbing load creates friction and reduces front-point precision.
Clear the front on descent
Your toes should not repeatedly strike the front of the boot on a steep descent or while kicking into snow.
Hold the foot without blocking circulation
Pressure points that feel “fine” for five minutes can become severe after hours. Do not size by length alone.
| Fit check | What good looks like | Warning sign |
|---|---|---|
| Heel hold | Relatively secure on inclines | Repeated lift or rubbing |
| Toe clearance | No repeated contact on descents | Toe bang or nail pressure |
| Sock volume | Real mountain socks fit without compression | Adding socks makes the boot painfully tight |
| Forefoot | Secure with room for natural shape | Numbness or side pressure |
| Instep | Laces hold without a pressure ridge | Hot spot or tingling under the tongue |
| Circulation | Feet remain warm and responsive | Persistent numbness or unusual cold |
Six Features That Actually Matter
Insulation
Enough thermal margin for the coldest realistic period of the climb.
Stiffness
Enough support for the hardest terrain without unnecessary rigidity on approaches.
Crampon interface
The exact heel and toe geometry required by your chosen binding.
Weather protection
Snow and moisture management appropriate for the route and trip duration.
Ankle security
Enough hold under load without blocking natural movement unnecessarily.
Drying strategy
Especially important on long expeditions where damp insulation compounds day after day.
Common Mountaineering Boot Buying Mistakes
Buying by altitude alone
Two 6,000-meter climbs can require very different boots because route, season, exposure and duration differ.
Buying the warmest boot possible
Unnecessary bulk can make approaches less efficient and technical movement less precise.
Using a universal “size up” rule
Boot lasts, foot shape and liner volume vary too much for one sizing shortcut to work reliably.
Assuming brand fit
A brand can use different lasts across models. Fit the specific boot, not the logo.
Buying crampons later without testing
Boot and crampon are one system. A technically compatible label does not replace the physical fit check.
Saving the first real test for the expedition
Major hot spots, lace bite and toe impact should be discovered during training, not on summit week.
See Current Mountaineering Boots After You Know Your Category
Use the product grid only after you have narrowed the decision to the correct warmth, stiffness and crampon interface.
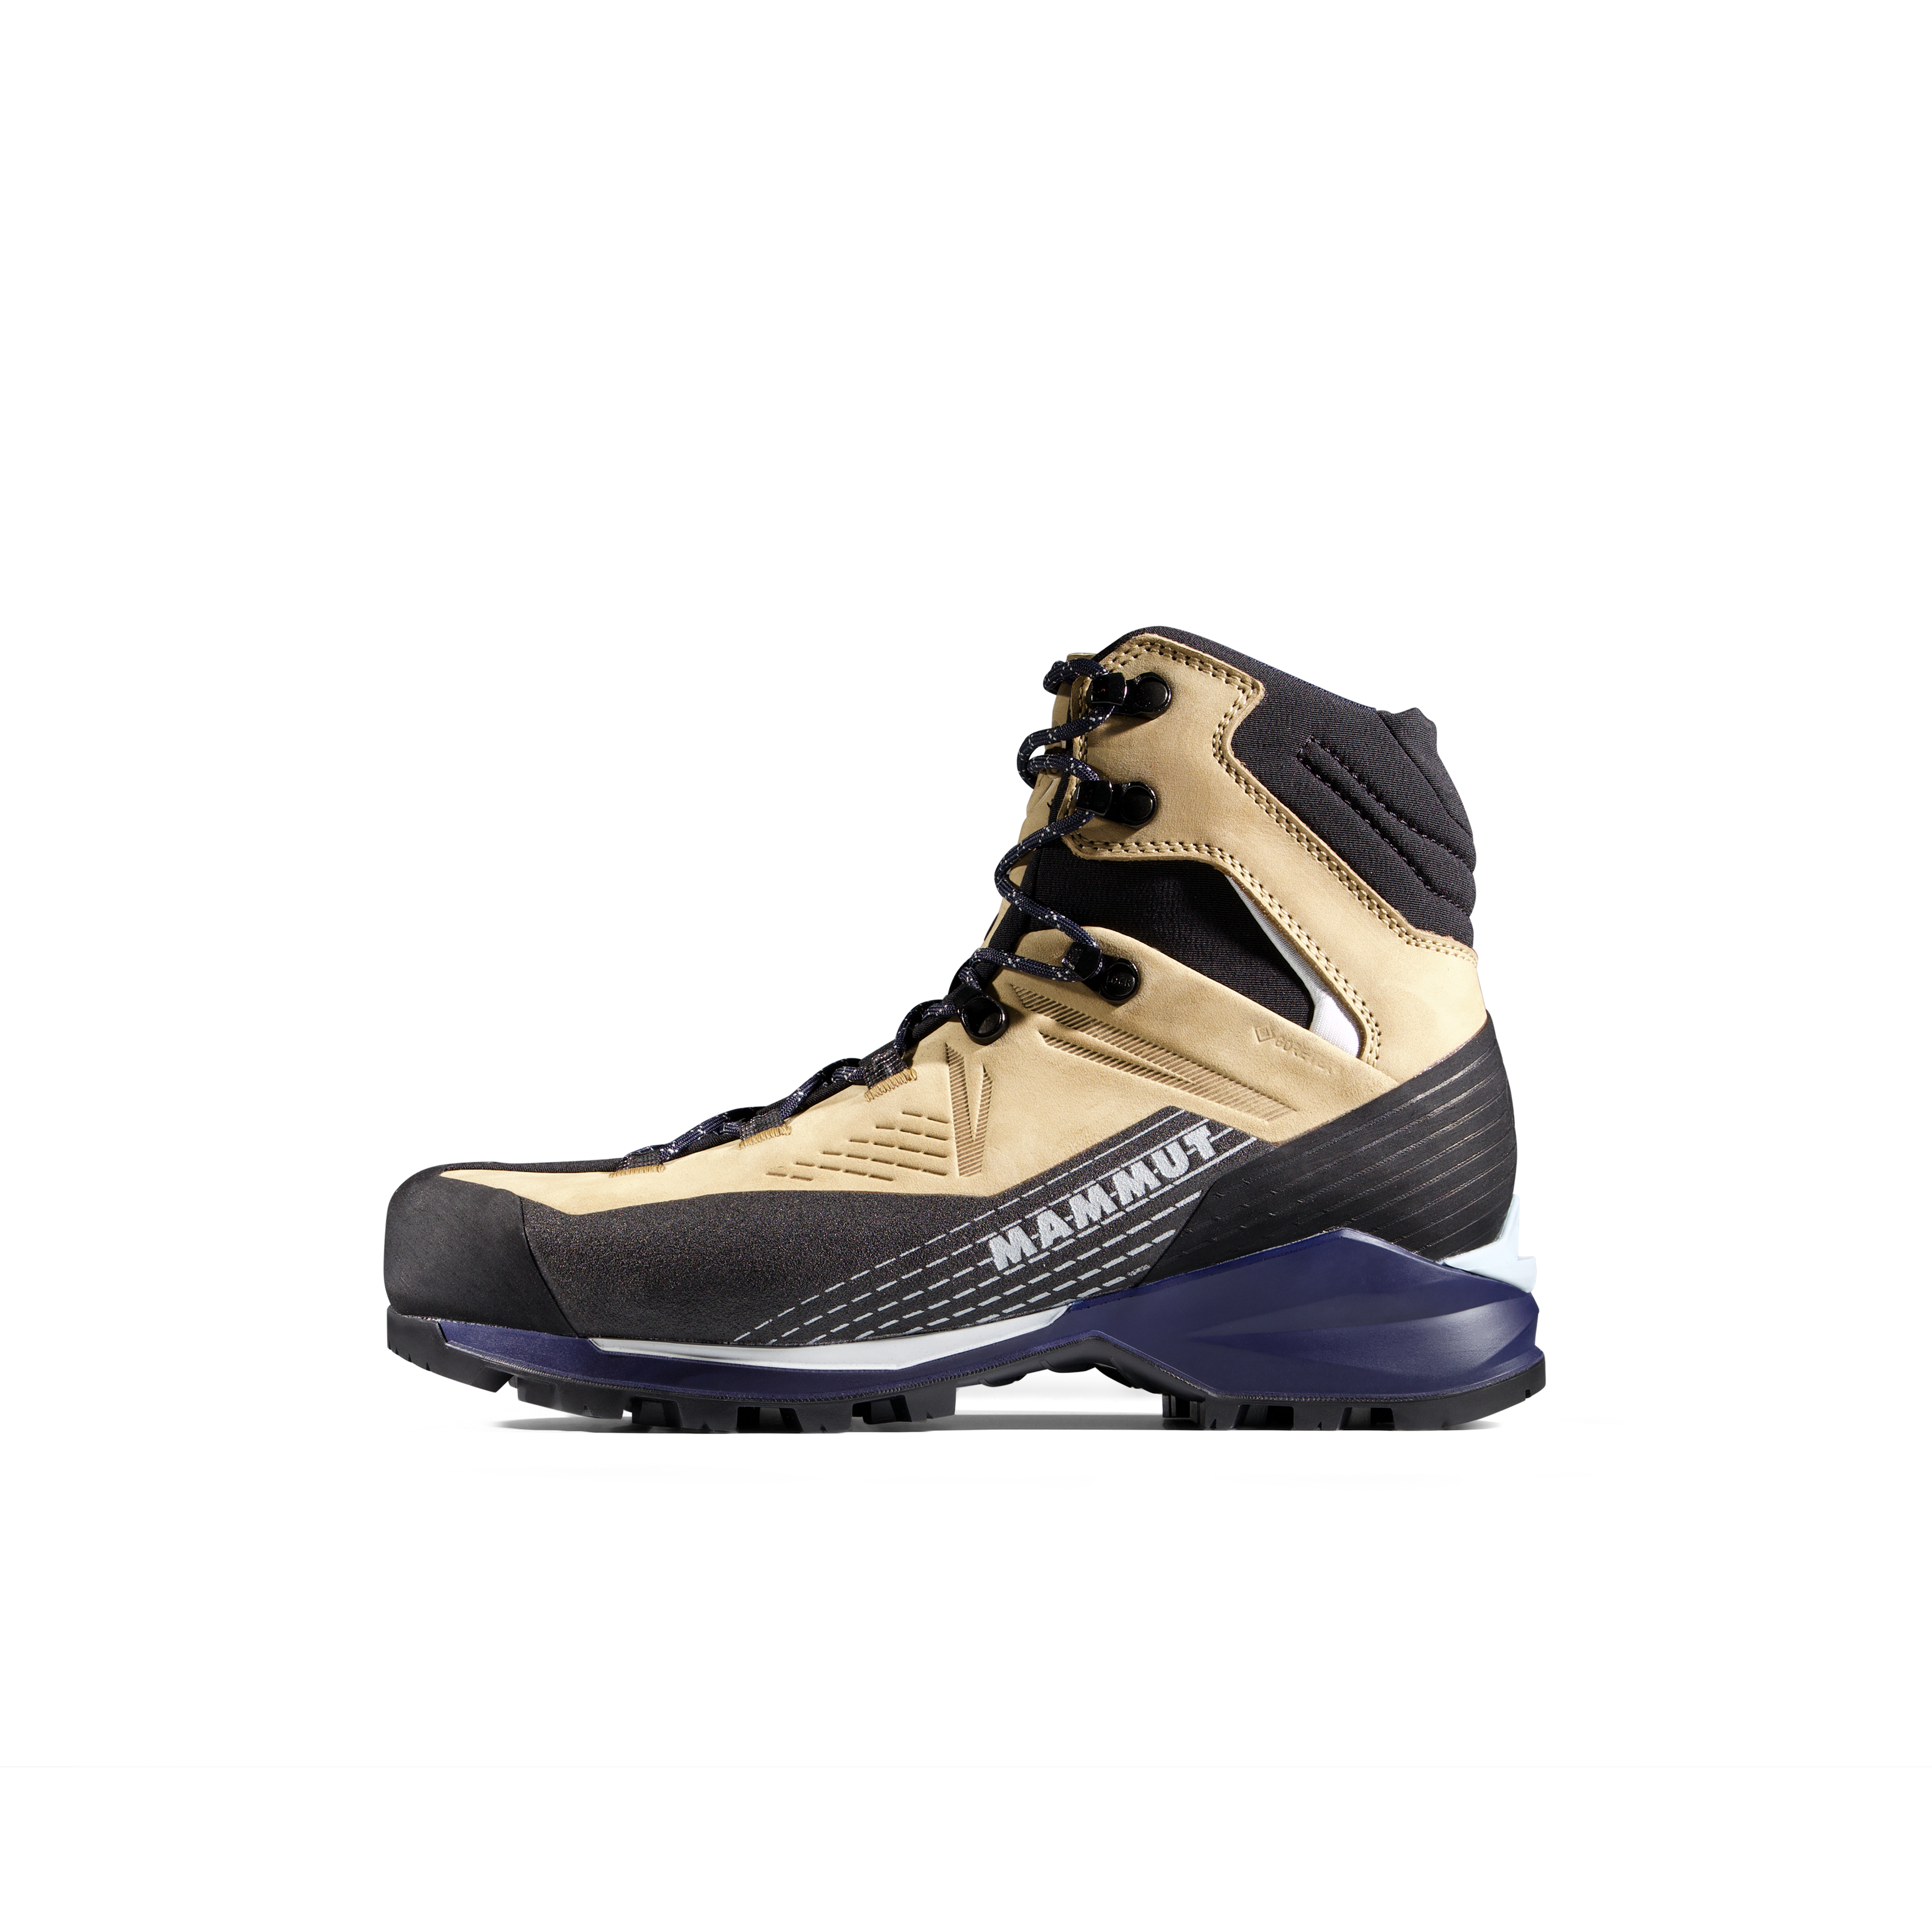
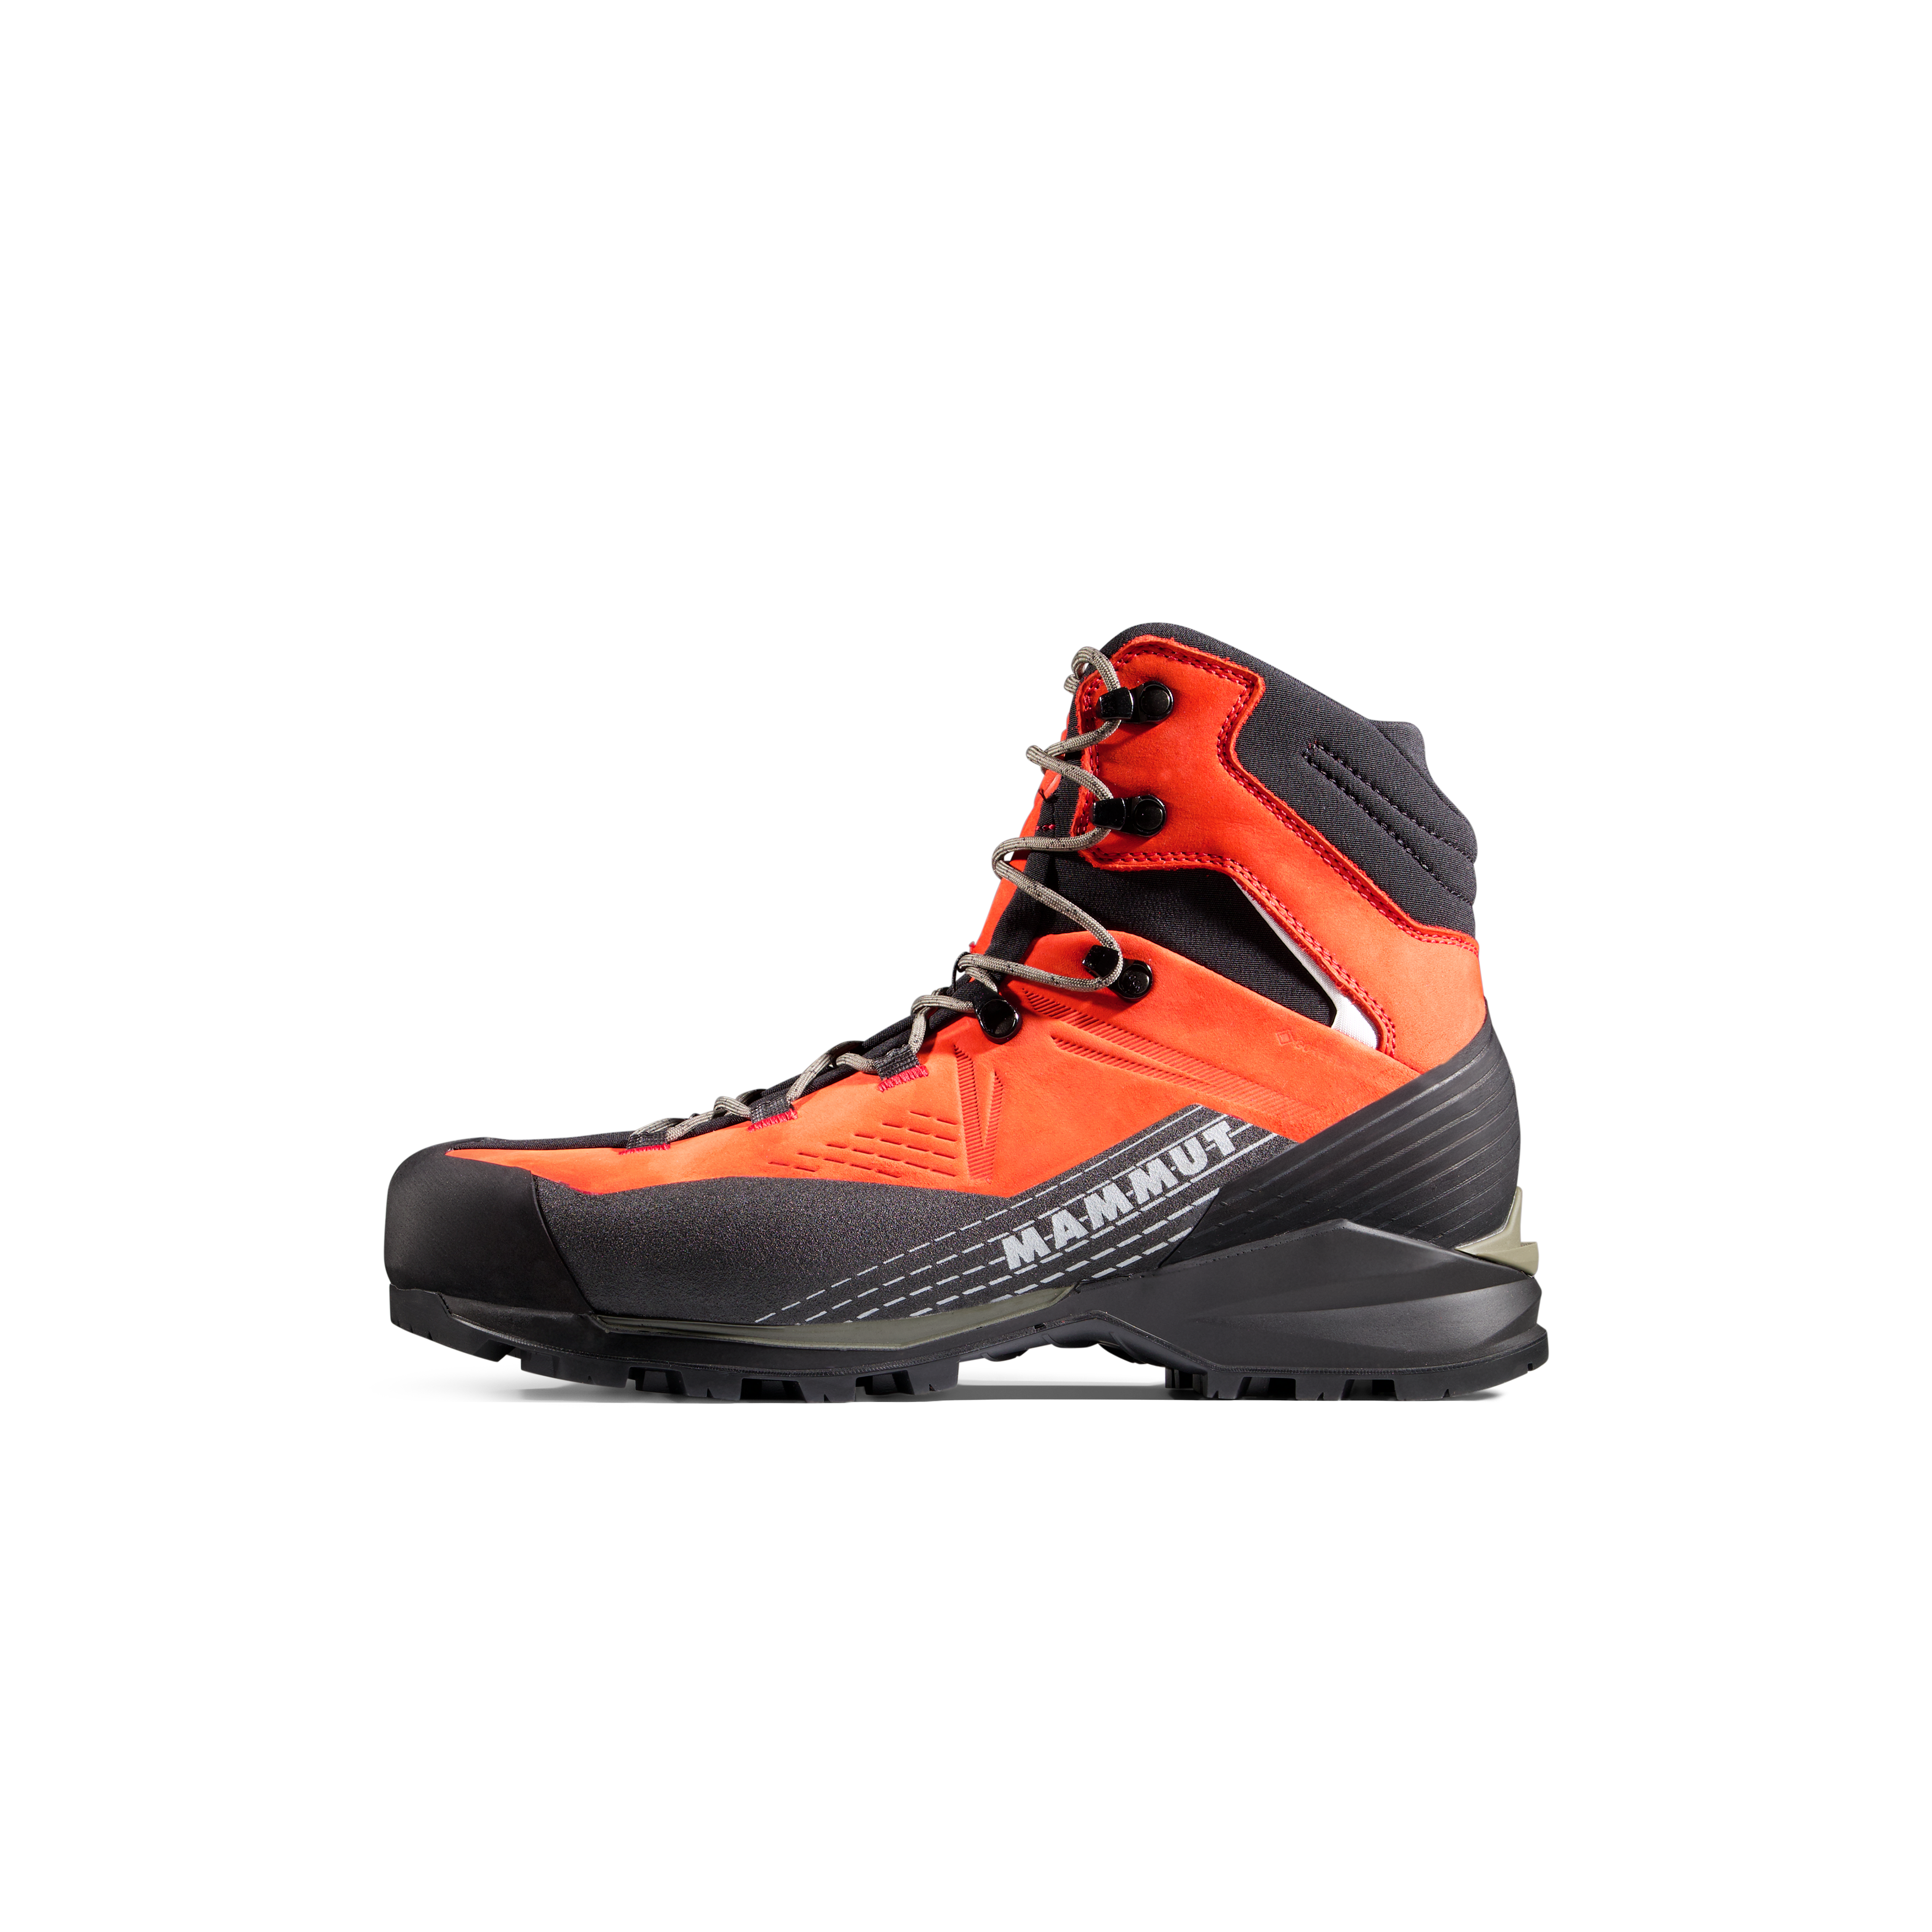
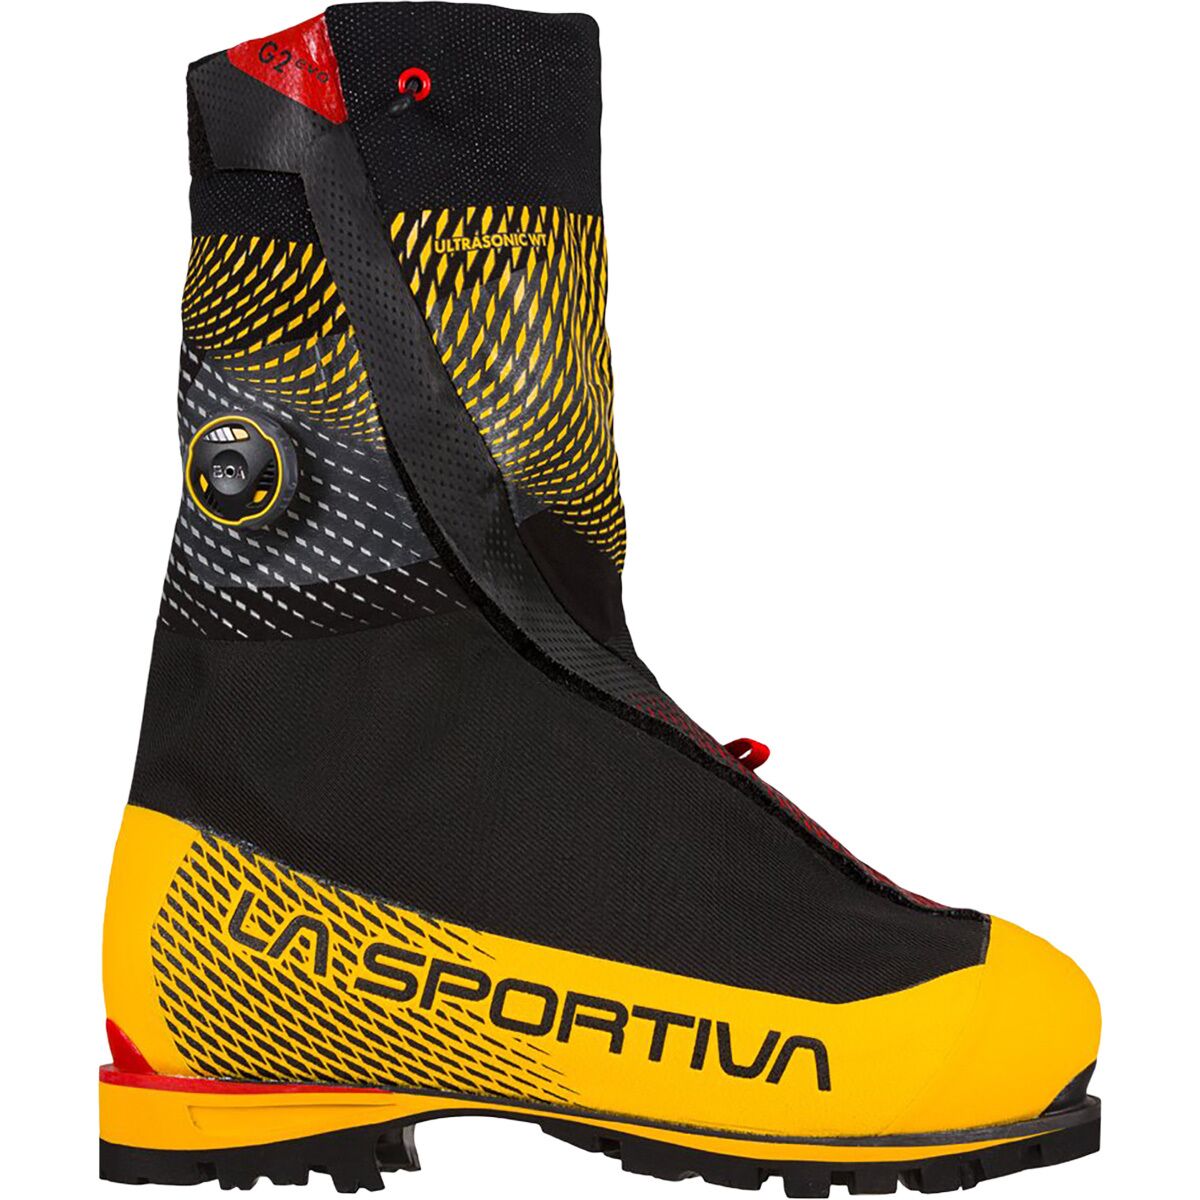
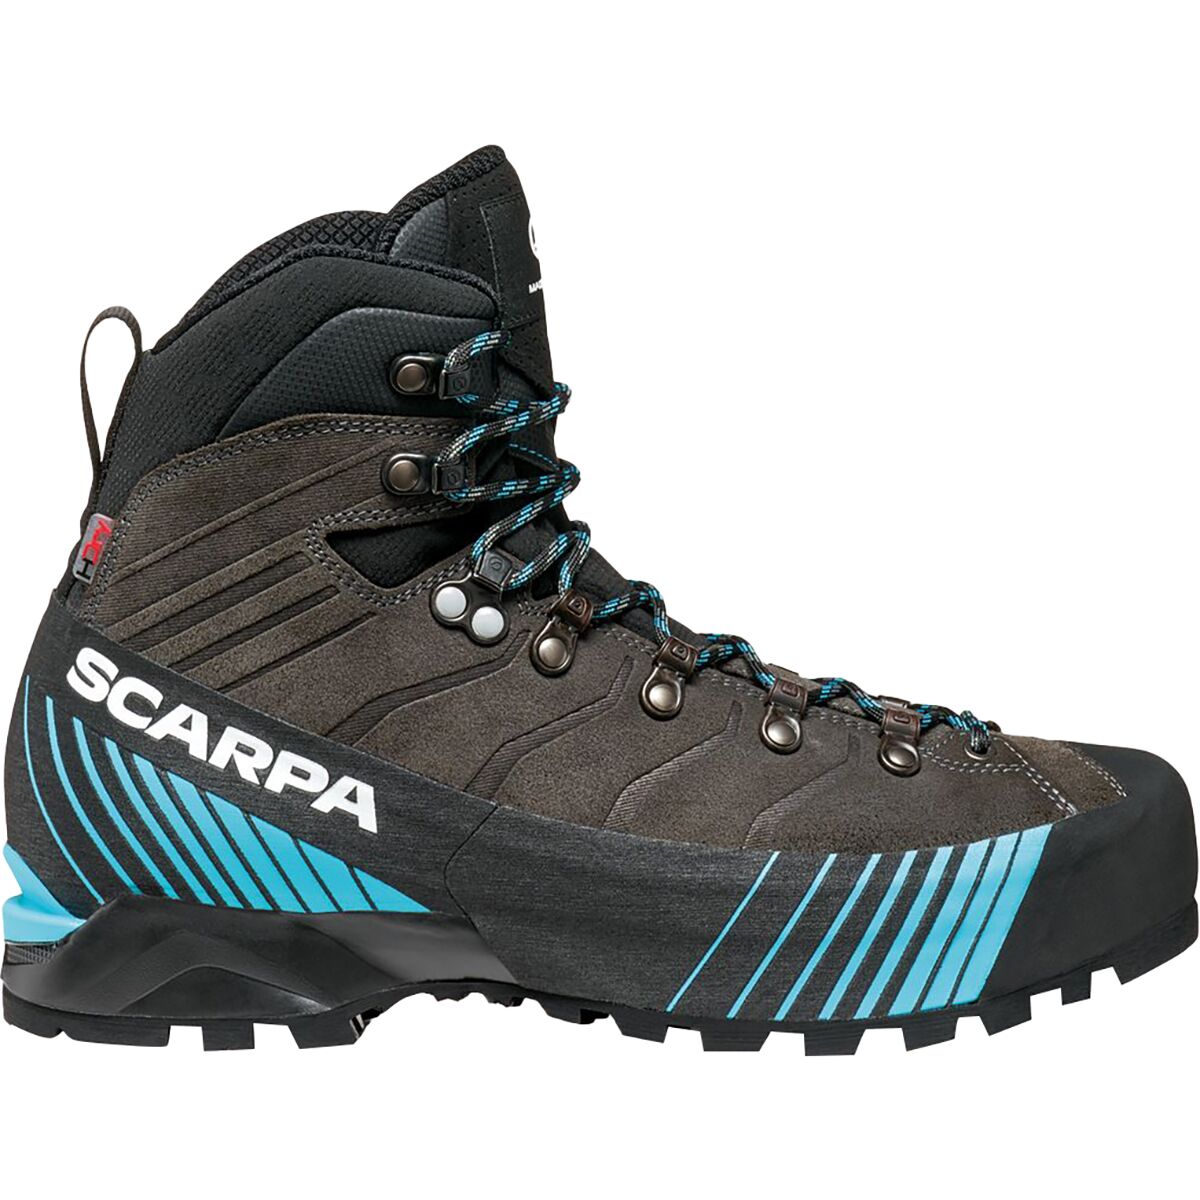
Current Mountaineering Boots
Inventory and prices change. This module pulls from the current Global Summit Guide gear catalog and rotates products tagged as mountaineering boots.

Test Progressively Before You Depend on the Boots
Modern mountaineering boots do not all require a traditional leather “break-in,” but your feet still need time in the actual system. The goal is not to soften every boot; it is to discover fit problems before the objective.
- Indoor: wear them with your actual socks and footbeds.
- Incline: test stairs, ramps and descents for heel lift and toe impact.
- Loaded hike: use the pack weight you expect to carry.
- Snow: test stiffness, edging and kick-stepping where appropriate.
- Crampons: use the exact pair and binding you will climb in.
- Long day: confirm the fit still works after feet swell and the liner compresses.
Care, Drying & When to Re-check the System
Clean dirt and salt away, dry boots away from direct high heat and remove liners or insoles when the manufacturer recommends it. Maintain leather, synthetic uppers and waterproof treatments according to the boot’s instructions.
Re-check crampon fit after a resole, significant wear, liner replacement or any repair that changes the boot shape. Inspect welts, soles, rands, gaiter zippers, lacing hardware and insulation before a major trip.
How to Choose Mountaineering Boots FAQ
How do I choose mountaineering boots?
Choose in this order: objective and temperature, construction and warmth, stiffness, crampon compatibility, fit, then field testing. Do not start with a brand or model name.
Are B1, B2 and B3 official UIAA boot ratings?
No. They are widely used stiffness and compatibility shorthand, not an official UIAA footwear certification. UIAA 153 and EN 893 cover crampons. Verify the exact boot-crampon pairing.
Should mountaineering boots fit larger than hiking boots?
Do not rely on a universal size-up rule. The heel should remain secure, toes need descent clearance and the boot must fit your real socks and footbeds without restricting circulation.
When do I need double mountaineering boots?
Double boots become useful when cold, altitude and duration make removable insulation and overnight drying important. Route, temperature, trip length, cold tolerance and guide requirements matter more than elevation alone.
Can I use hiking boots with crampons?
Some flexible strap-style crampons can work with suitable hiking or mountain boots, but automatic and more technical crampon systems require specific stiffness and welt geometry. Verify the exact combination.
How much heel lift is acceptable?
The heel should stay relatively secure under incline and climbing load. Repeated movement that causes rubbing or reduces front-point control is a warning sign that the volume or last may be wrong.
Do modern mountaineering boots need breaking in?
Some modern synthetic boots require little structural break-in, while leather and expedition systems may change more with use. Every boot still needs progressive testing so pressure points, toe impact and lace issues appear before the expedition.