Mount Mulhacén: the highest mountain in Spain and the complete climber’s guide
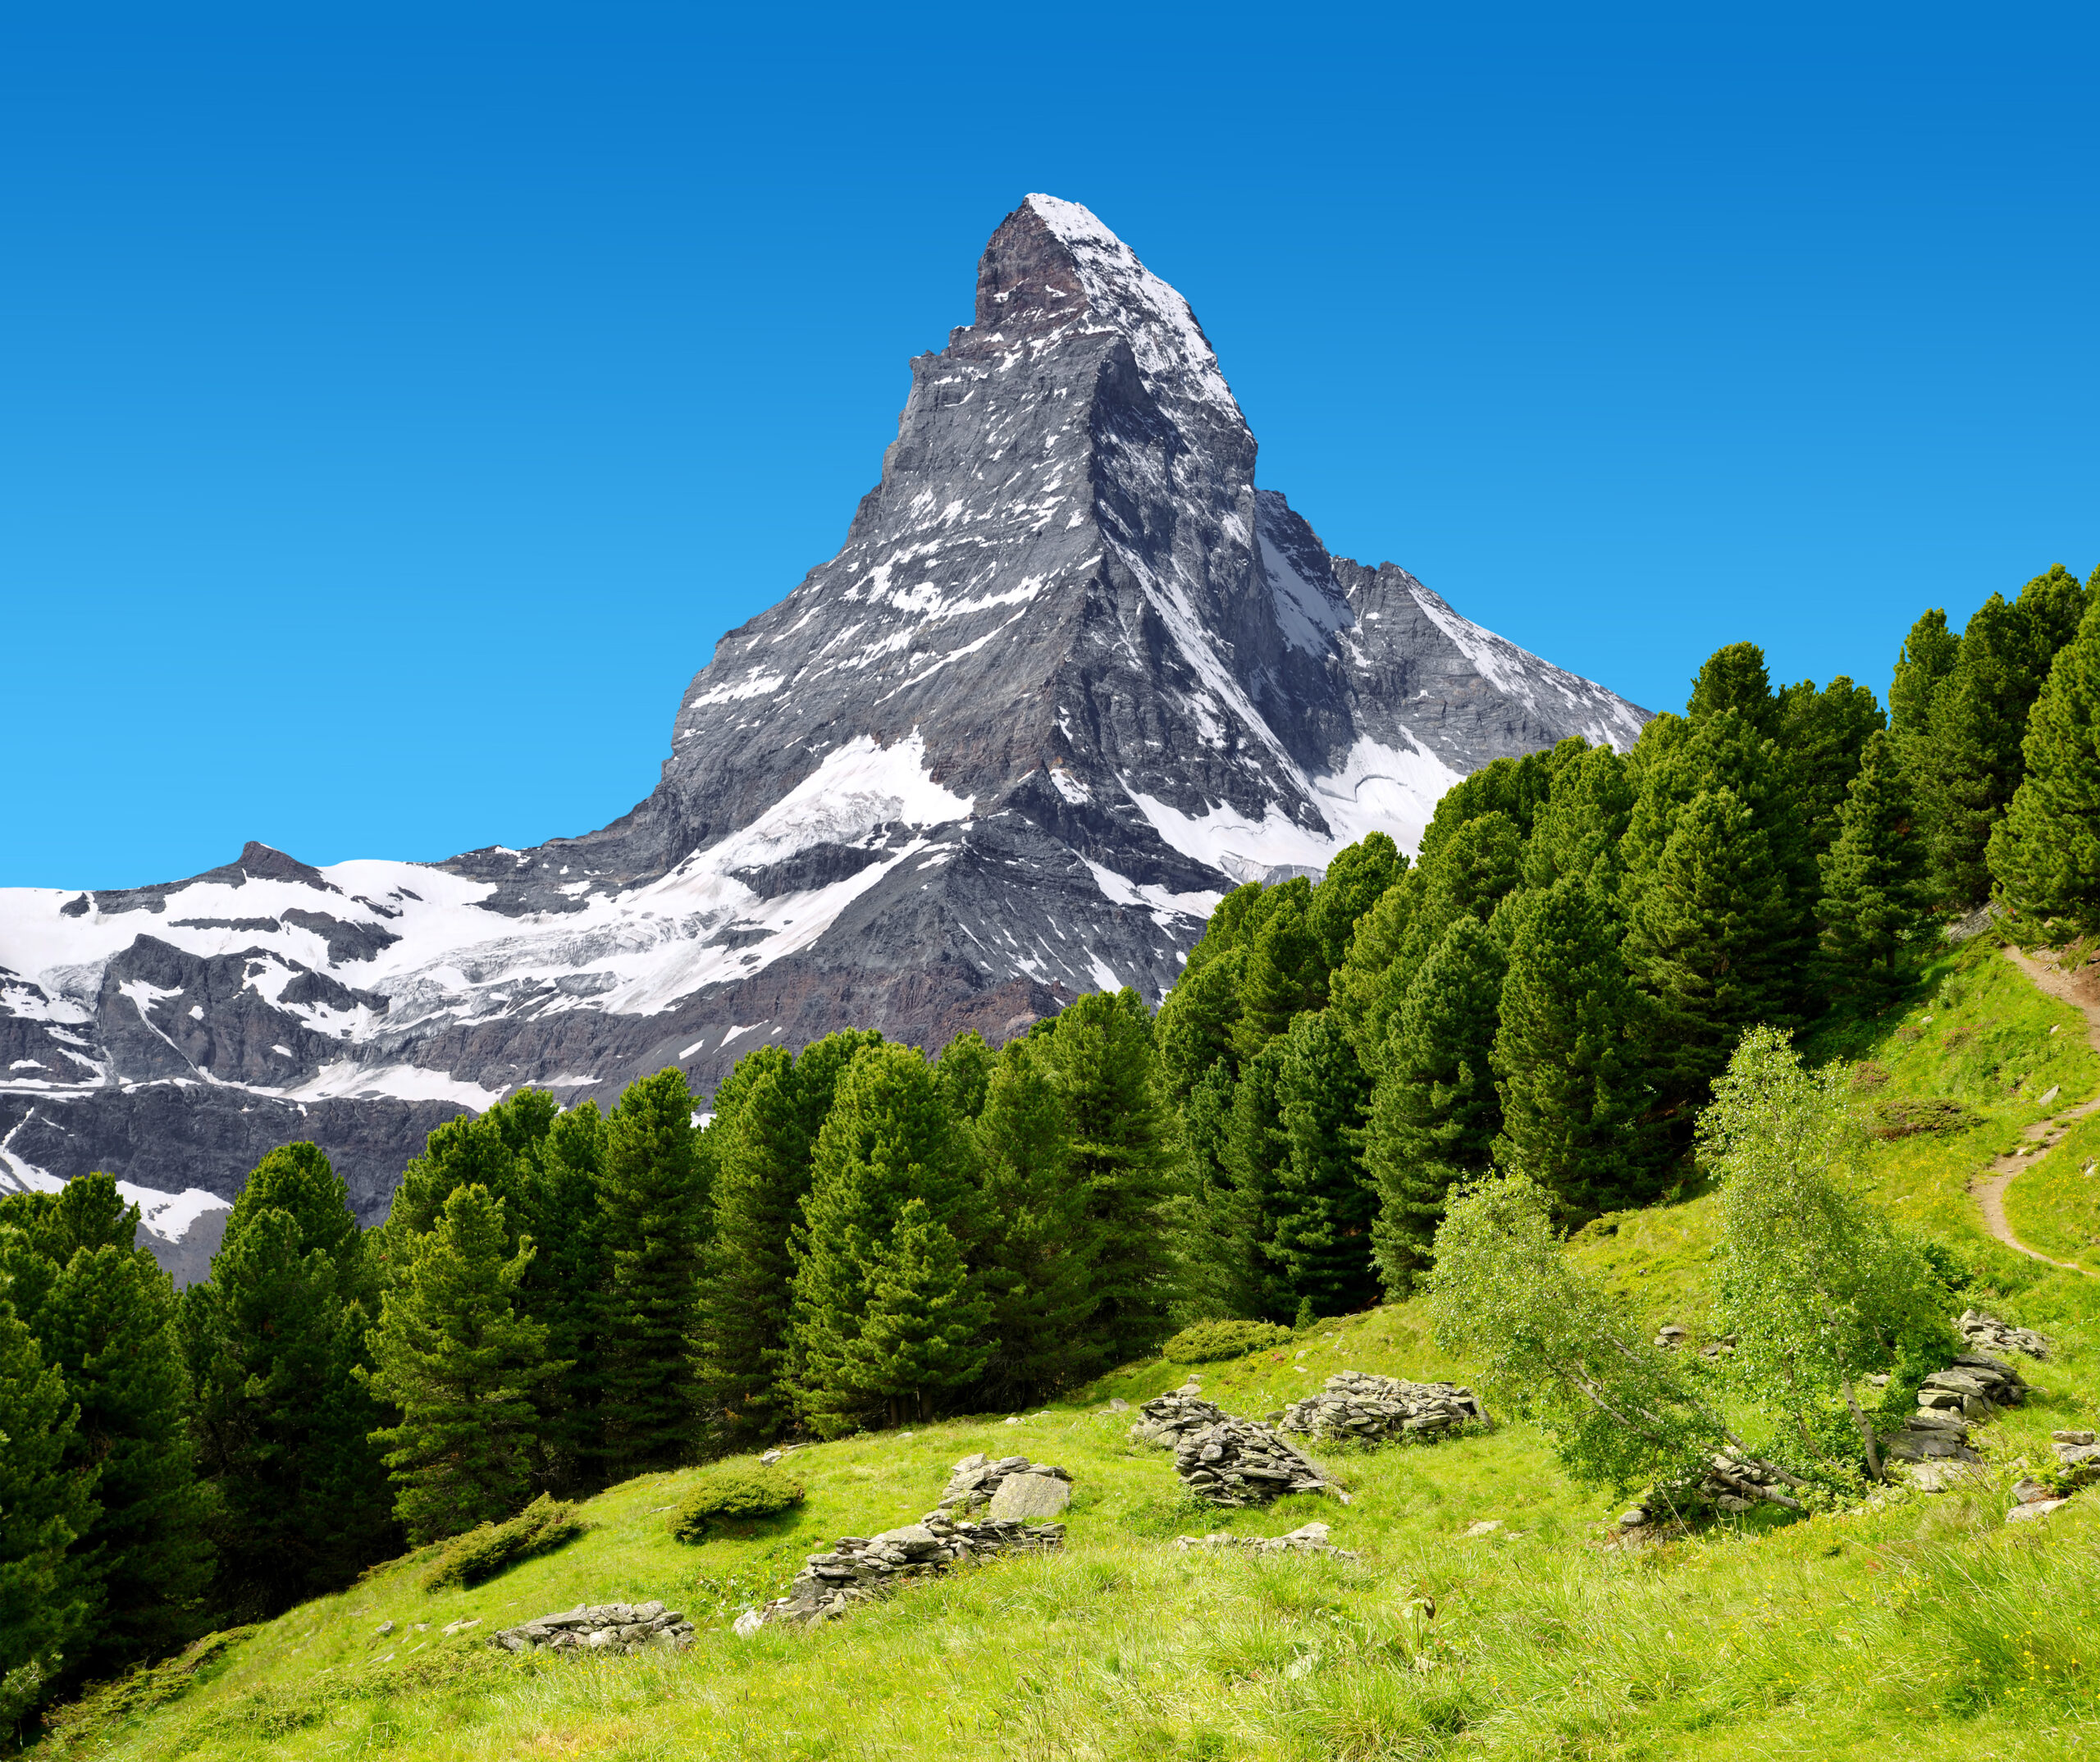
Mount Mulhacén is the highest mountain in Spain at 3,479 meters (11,414 feet), the highest peak in the Sierra Nevada range, and the highest point on the entire Iberian Peninsula. Despite holding these distinctions, Mulhacén attracts far less international attention than the Pyrenees to the north or the famous Alps further northeast — which makes it one of the most underrated European peaks for climbers seeking a major summit without crowds. The standard summer route is a non-technical class 1 hike, but the mountain transforms into a serious alpine objective in winter. This guide covers the routes, difficulty, seasons, and how to actually climb Mulhacén. For broader context see our Mount Mulhacén master page.
Why Mulhacén matters and what most people miss
Most international climbers headed to Spain or the Iberian Peninsula go straight to the Pyrenees. The Pyrenees are more famous, have more developed climbing infrastructure, and contain Aneto at 3,404 meters — widely cited as “Spain’s high mountain.” That citation is wrong. Aneto is the highest peak in the Pyrenees, but the highest peak in Spain is in Andalusia, 700 kilometers south, in the Sierra Nevada range.
Mulhacén at 3,479 meters is 75 meters higher than Aneto and 100+ meters higher than every other peak in the Pyrenees. Three of the four highest mountains in mainland Spain are in the Sierra Nevada — Mulhacén, Pico del Veleta (3,396 m), and La Alcazaba (3,371 m). The Sierra Nevada is the actual high mountain region of Spain. This is widely misunderstood even by Spanish climbers who don’t live in Andalusia.
The 3,479-meter Mulhacén distinction applies to mainland Spain specifically. Pico del Teide on Tenerife in the Canary Islands is higher at 3,715 meters, but the Canary Islands are a Spanish territory in the Atlantic Ocean, not part of continental Spain. By any standard definition of “mainland Spain” or “continental Spain,” Mulhacén holds the crown. By “all Spanish territory,” Teide does. Both peaks are legitimate Spanish high points depending on which framing you use.
The geography Sierra Nevada and Mulhacén’s position
The Sierra Nevada range stretches approximately 80 kilometers east-west through the Andalusia region of southern Spain. The range sits in the provinces of Granada and Almería, with the highest peaks concentrated in the western half of the range above the city of Granada. Mulhacén occupies the central position in this western cluster.
| Geographic detail | Fact |
|---|---|
| Elevation | 3,479 m (11,414 ft) |
| Range | Sierra Nevada |
| Region | Andalusia, southern Spain |
| Province | Granada |
| Distance from Granada city | ~40 km southeast |
| Distance from Mediterranean coast | ~50 km south |
| National park | Sierra Nevada National Park |
| Coordinates | 37.0533° N, 3.3127° W |
| Named after | Muley Hacén, second-to-last Nasrid king of Granada (15th century) |
| Iberian Peninsula rank | Highest point |
| European rank (highest country point) | Among the highest 15-20 country high points in Europe |
The mountain has two distinct sides — the gentler southern flank used by the standard route, and the dramatic northern face which drops nearly 2,000 meters down to the Genil river valley. The northern face is one of the largest faces in mainland Spain and contains technical alpine routes climbed in winter and spring.
The climbing routes how people actually summit Mulhacén
There are three primary approaches to the Mulhacén summit, each with different character and difficulty. The standard summer route is non-technical; the other two add length, complexity, or technical demands.
1. South Route via Hoya del Portillo
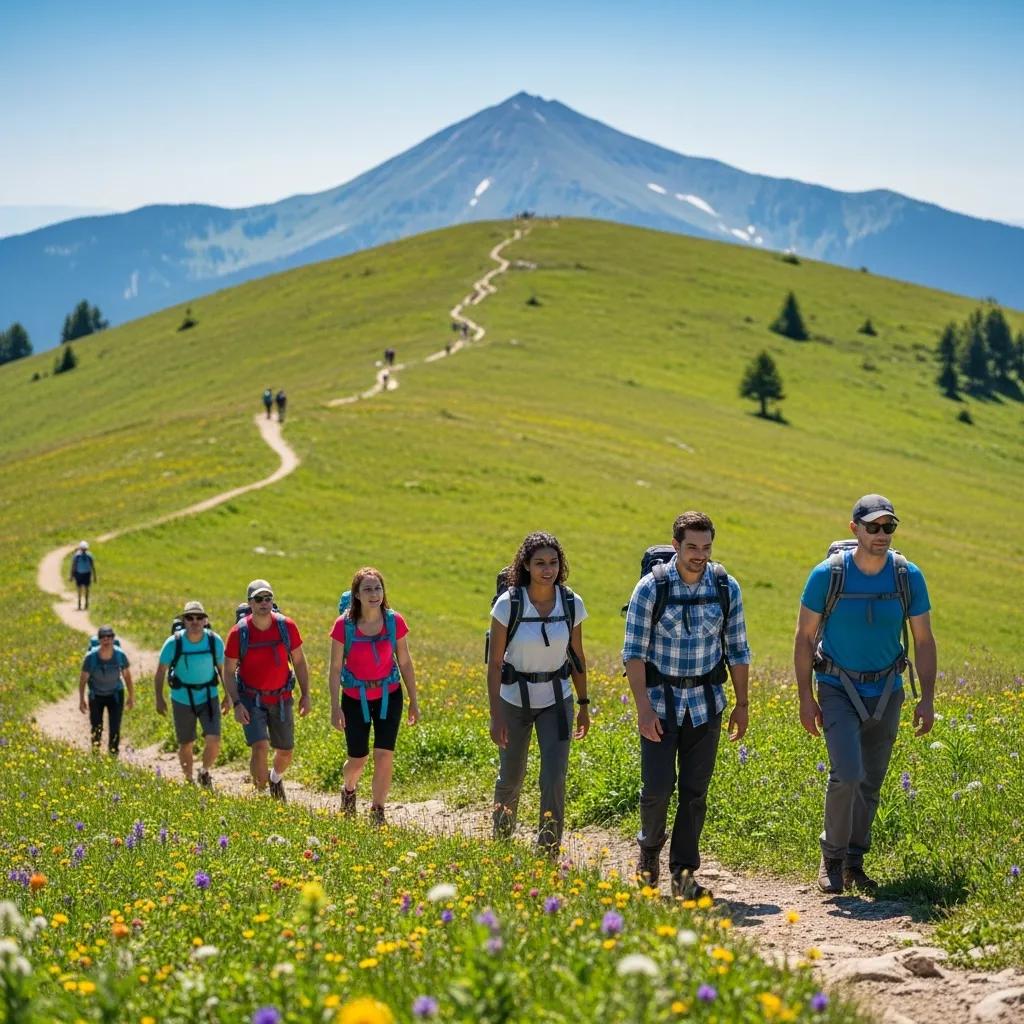
Class 1 / WalkingThe standard route and the only realistic option for most climbers. From the Hoya del Portillo trailhead in Trevélez (reachable by park shuttle during summer), the trail climbs gradually through high alpine terrain to the Refugio Poqueira hut at 2,500 m, then continues up to the Mulhacén summit ridge. The path is well-marked, well-trodden, and requires no technical skills. The summit ridge involves easy walking on broken rocky terrain. Most international climbers use this route.
2. North Approach from Sierra Nevada Ski Area
Class 2 / Long hikeThe northern approach from the Sierra Nevada ski station above Granada. The route traverses several peaks including Pico del Veleta (3,396 m) before reaching Mulhacén, making it the natural choice for climbers wanting to combine multiple Sierra Nevada summits in a single trip. Longer than the south route and with more vertical loss/regain due to traversing peaks, but offers more dramatic scenery. Requires more route-finding than the standard south approach.
3. North Face Technical Routes
PD to D / AlpineThe north face of Mulhacén drops nearly 1,800 meters to the Genil river valley and contains multiple alpine routes climbed in winter and spring. These are real alpine objectives requiring full mountaineering equipment, glacier travel skills (in heavy snow years), and serious commitment. Spanish climbers have developed dozens of variant lines on the north face since the 1970s. Most are PD to D in difficulty – comparable to easier alpine routes in the Pyrenees but with smaller infrastructure for rescue. Not recommended for first-time Mulhacén climbers.
How difficult is Mulhacén honest assessment
The honest answer depends entirely on which season and which route you choose. The same mountain has dramatically different difficulty profiles across the year:
| Season | Difficulty | What it requires |
|---|---|---|
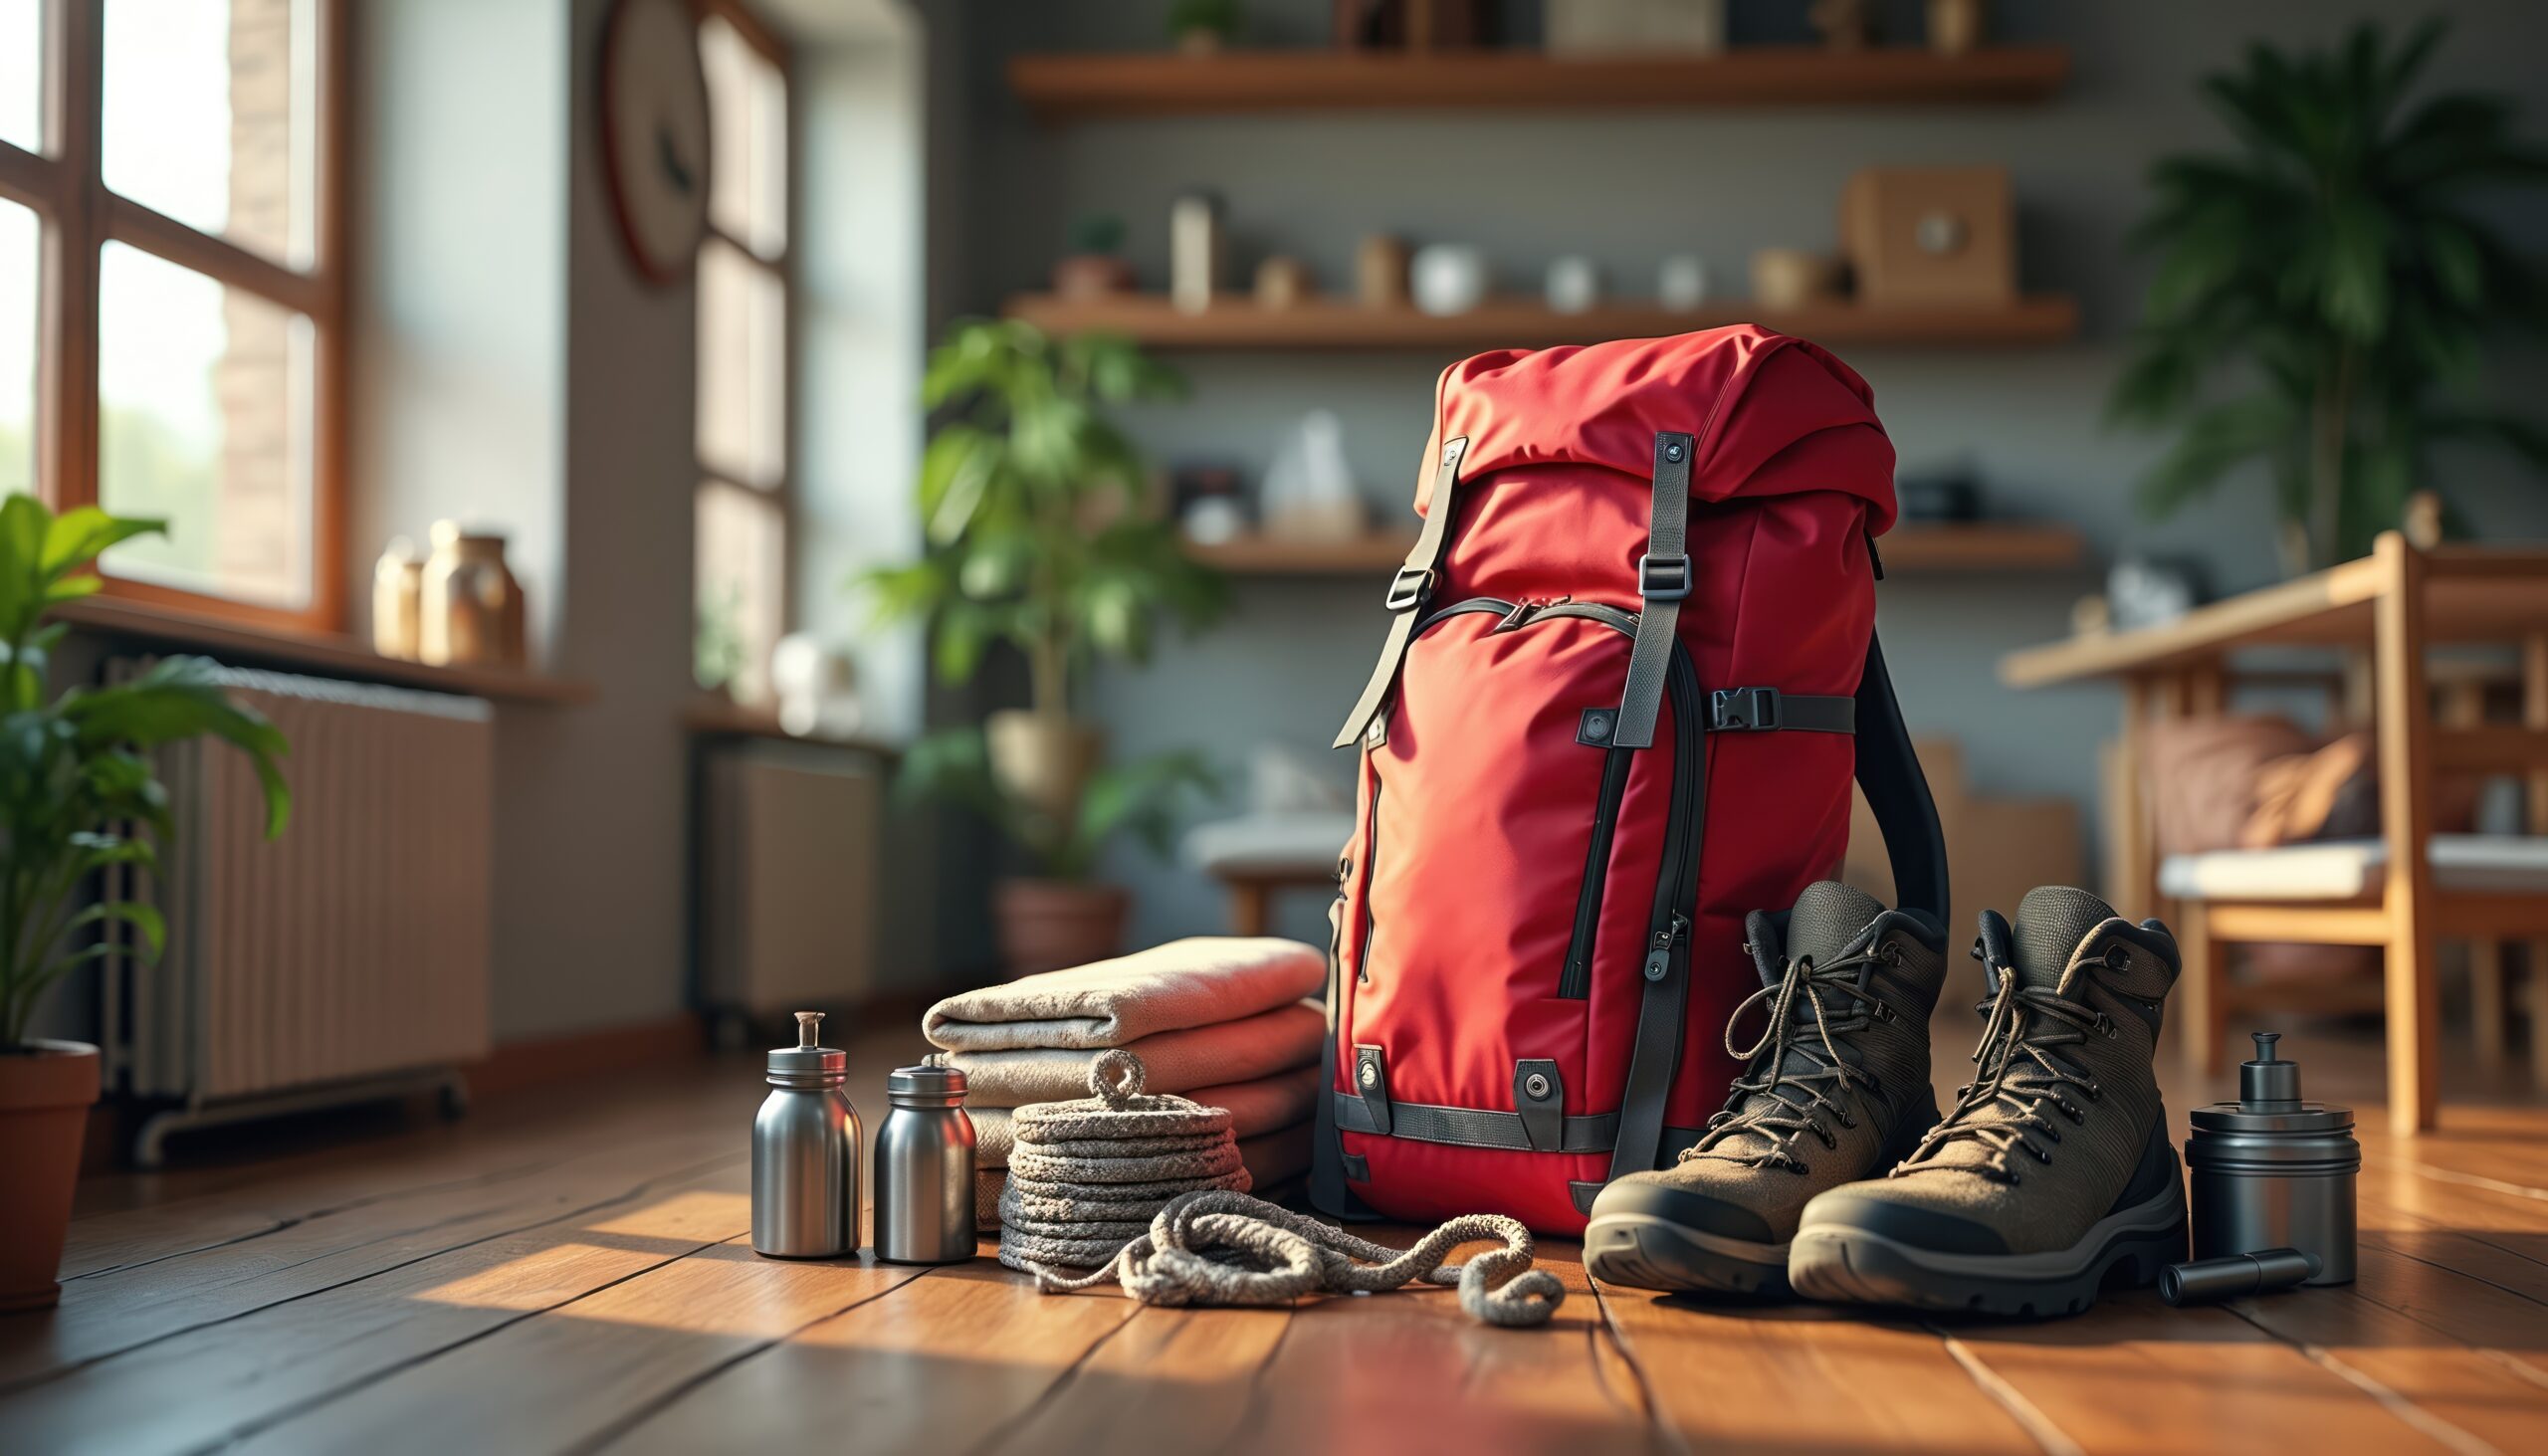
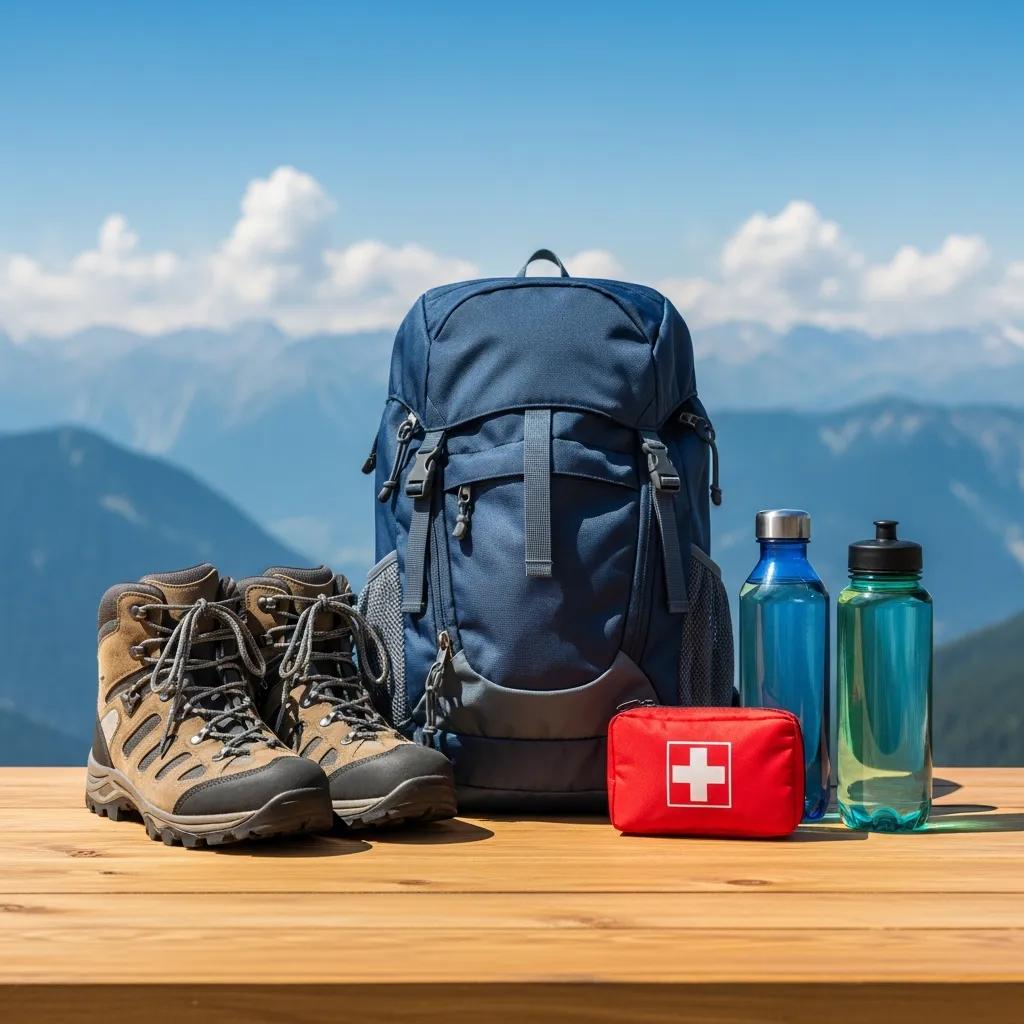
| July – September | Easy hike | Basic fitness, day pack, water, sun protection |
| June | Easy to moderate | Snow may linger on upper sections — microspikes useful |
| October | Easy to moderate | First snow possible — check conditions |
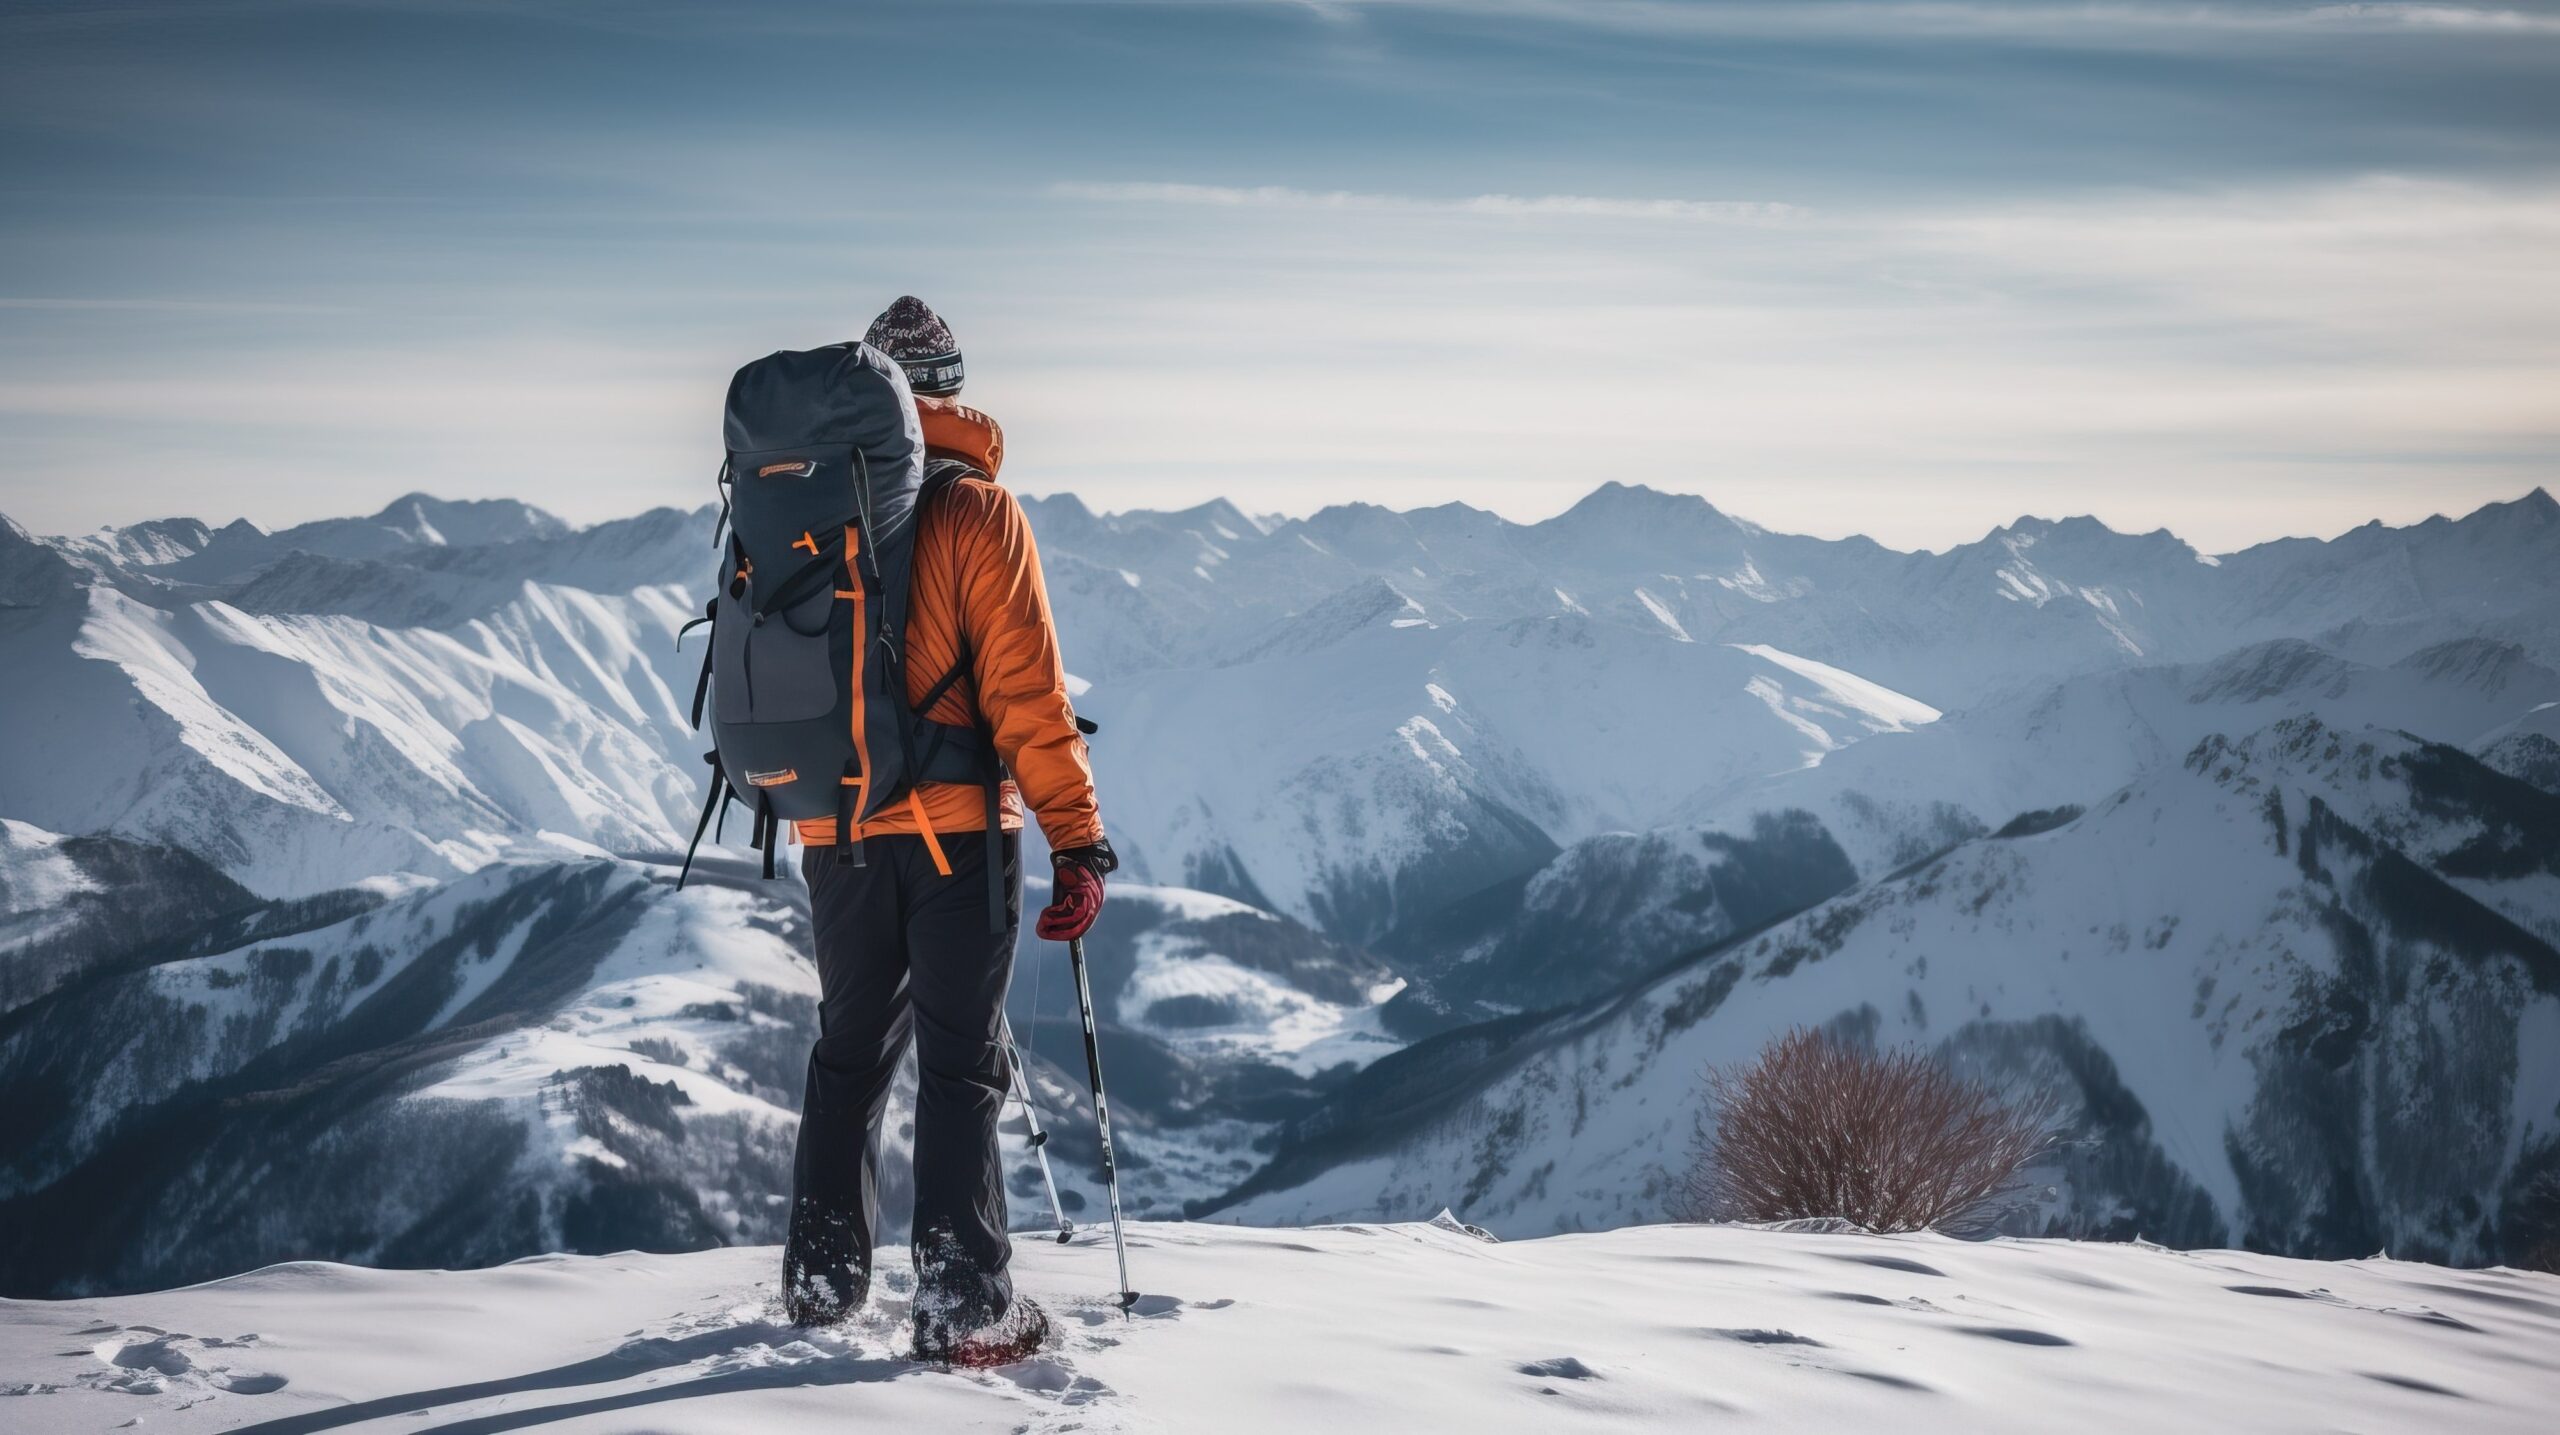
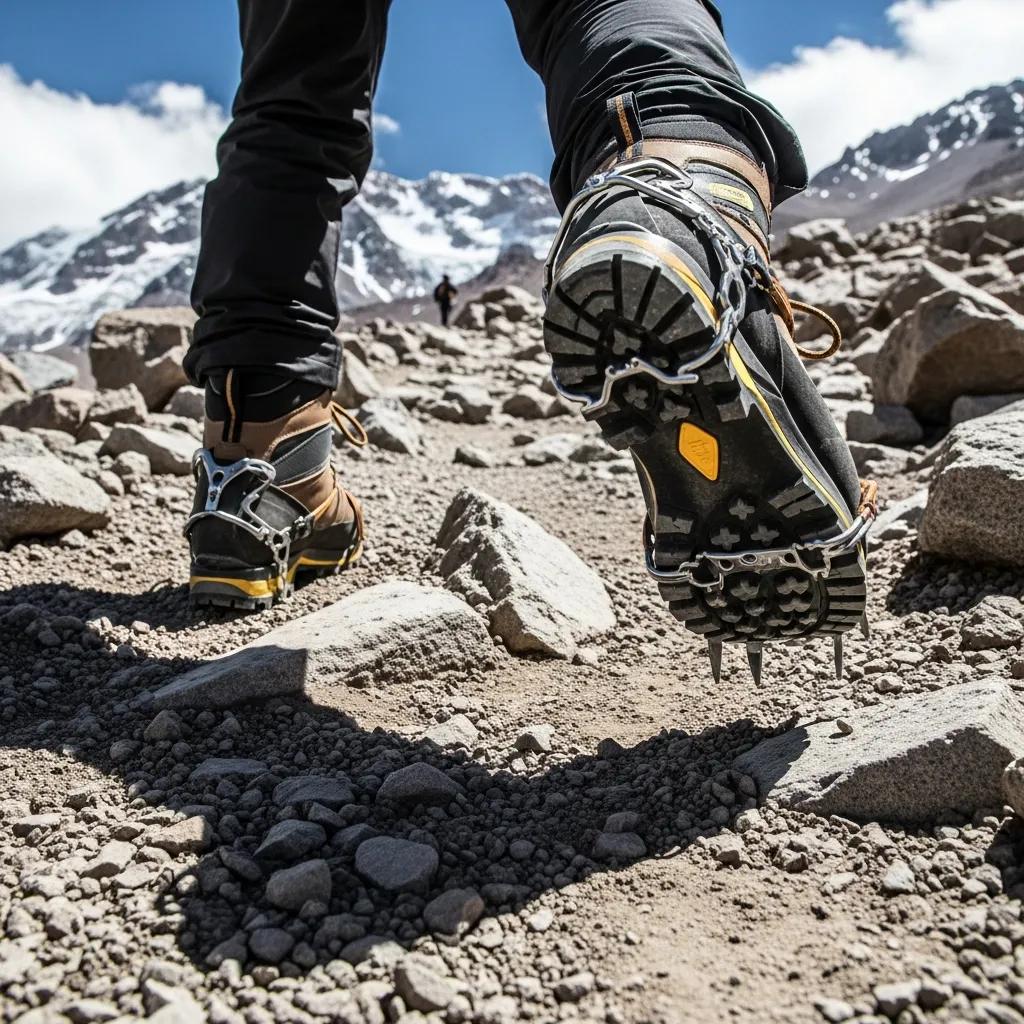
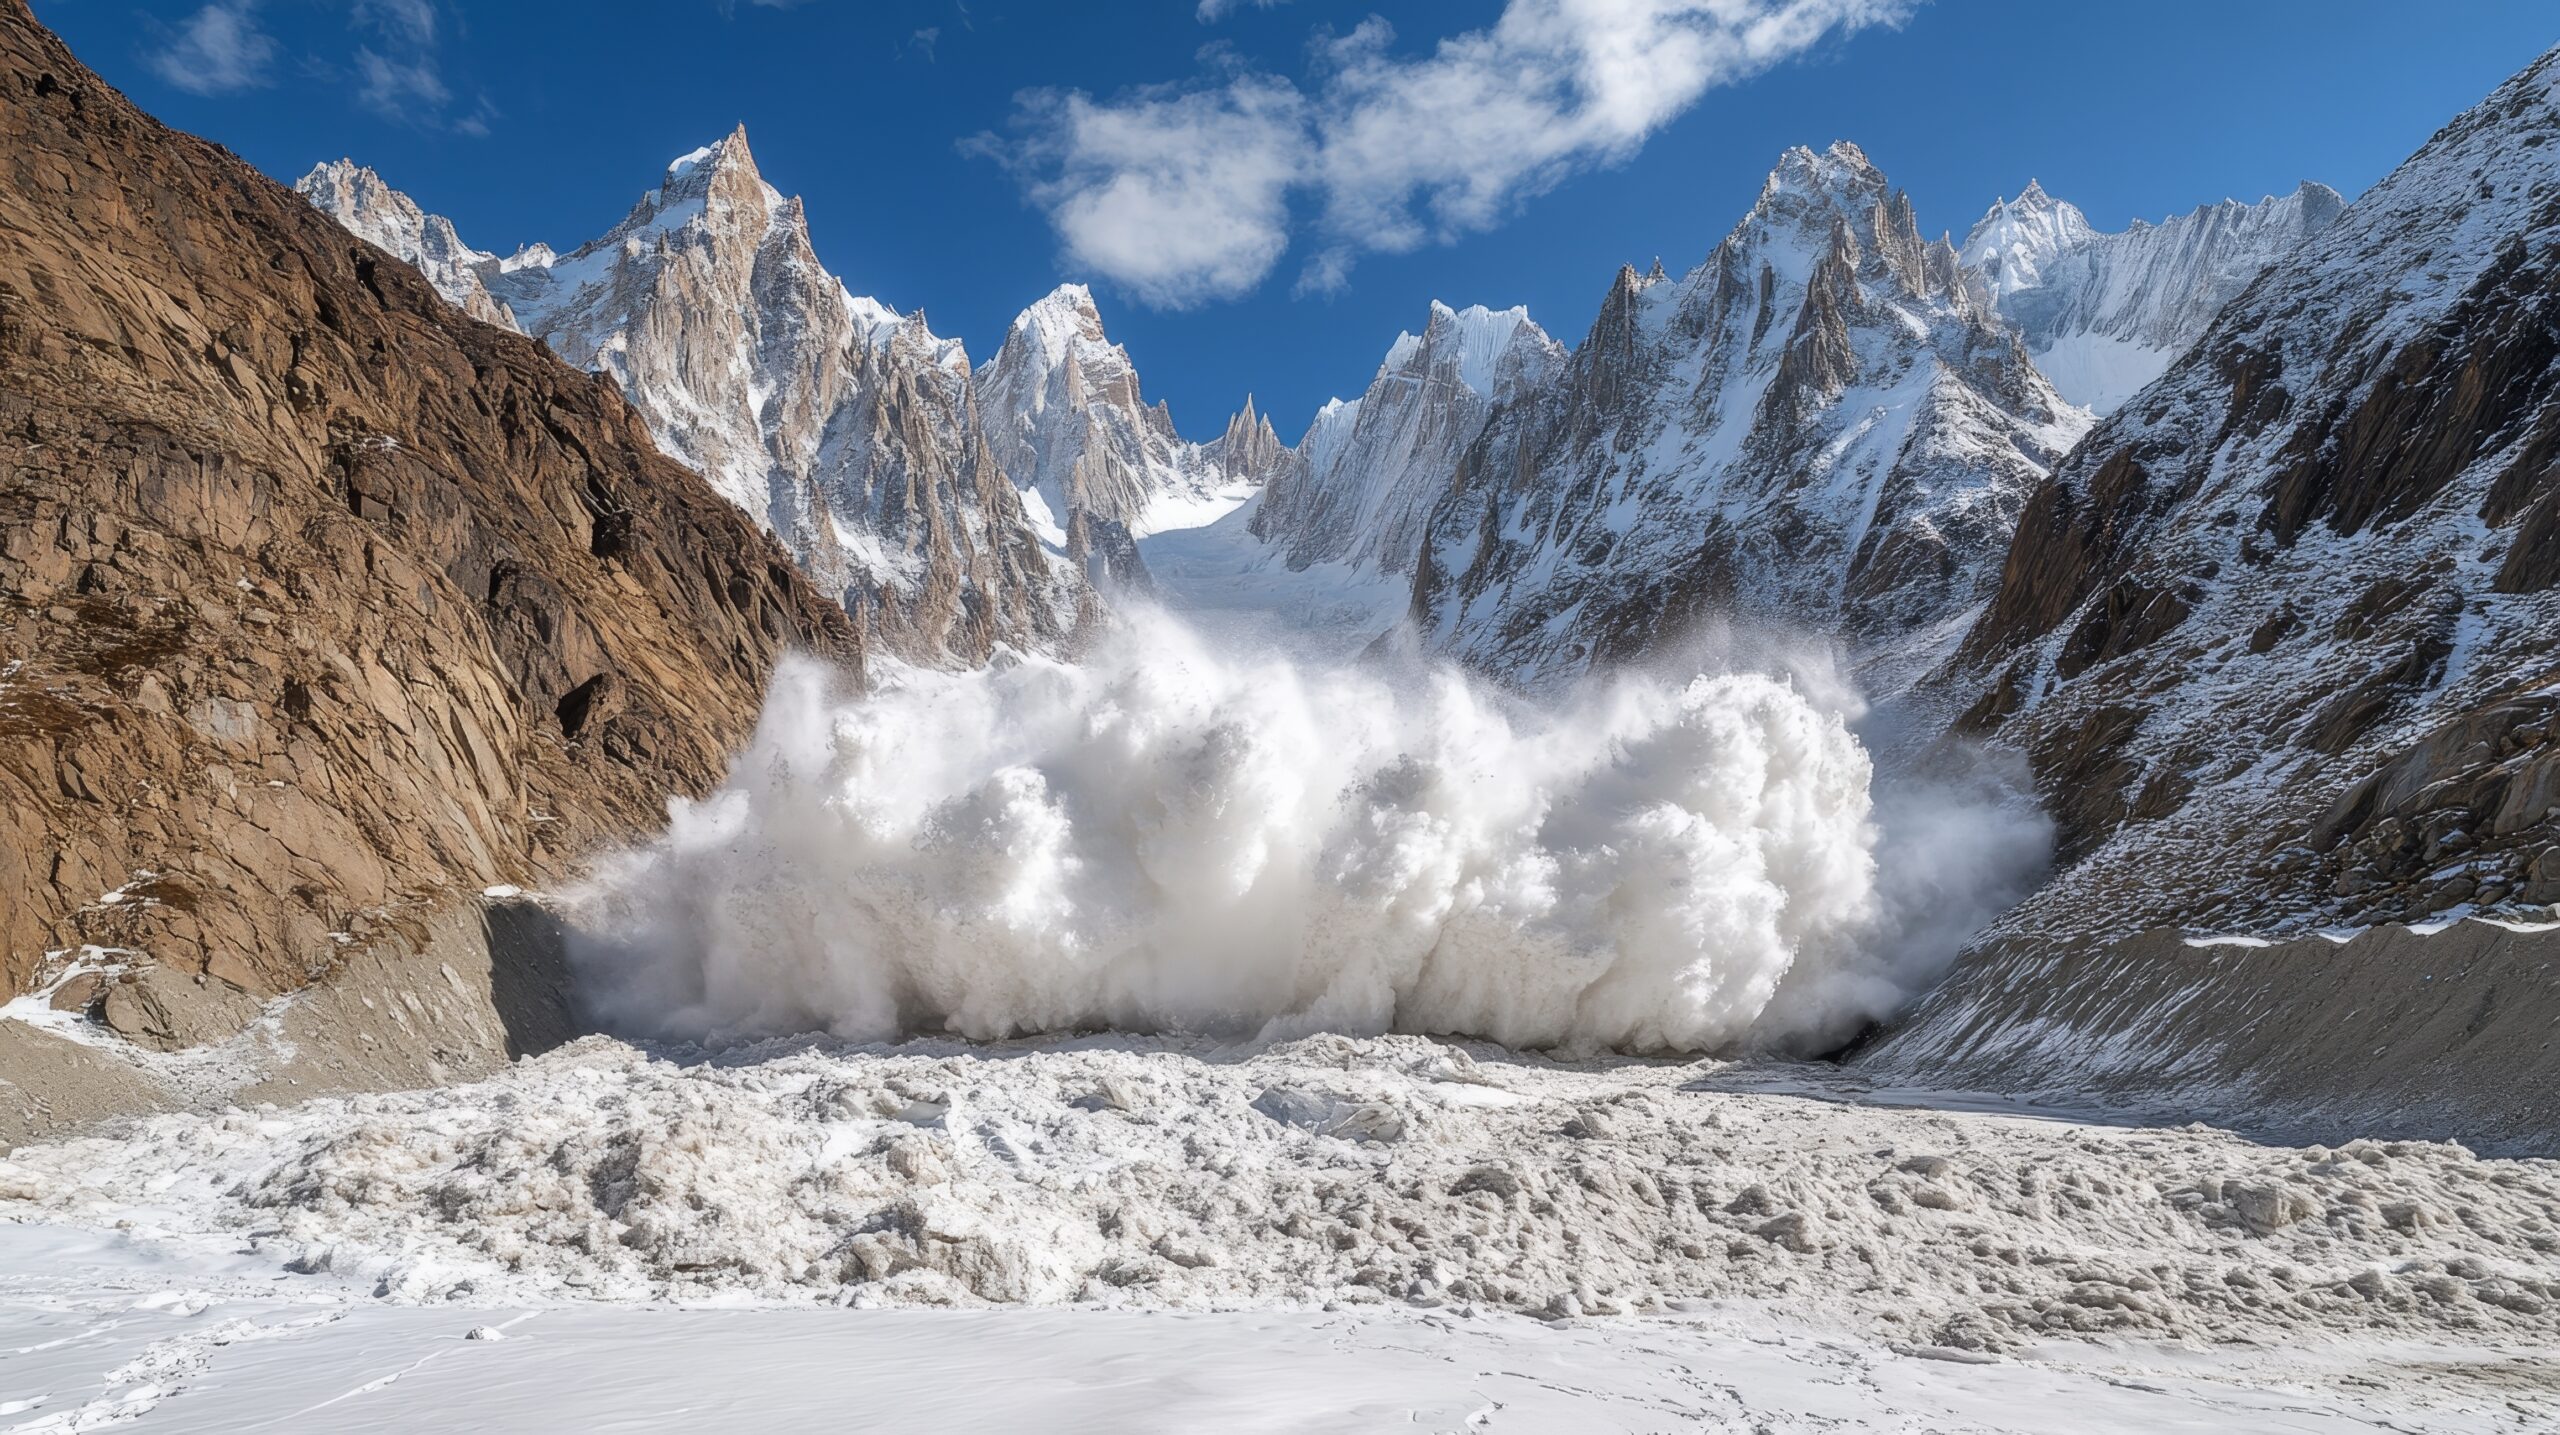
| November – May | Mountaineering objective | Crampons, ice axe, winter skills, weather awareness |
| Mid-winter (Dec-Feb) | Serious alpine objective | Full winter mountaineering kit + experience |
For comparison with peaks readers might know:
- Summer Mulhacén is comparable to Mount Kilimanjaro‘s Marangu route — long but non-technical, altitude is the main challenge.
- Spring Mulhacén is comparable to the easier Pyrenees peaks like Aneto in May — snowy but moderate.
- Winter Mulhacén is comparable to a winter Welsh 3000er or a winter Scottish Munro — serious but manageable with the right skills.
- The North Face routes are comparable to PD-D routes in the Alps but in a less-developed region with more limited rescue.
Most international visitors plan for “Spain’s highest mountain” expecting something serious, then arrive to find a moderate hiking trail. Conversely, climbers who attempt Mulhacén in winter without proper preparation often underestimate it because of summer trip reports. The same name covers two very different mountains across the year.
Logistics and access how to actually get there
Getting to the trailhead
Most climbers fly into Málaga Airport (AGP) or Granada Airport (GRX). Málaga has significantly more international flights and is approximately 2.5 hours by car or bus from the trailhead. Granada is closer at 1 hour but has fewer flight connections. From Granada city, drive or take regional bus south to the village of Trevélez or the Hoya del Portillo trailhead.
During the high season (June 1 – October 31), vehicle access to the upper Sierra Nevada is restricted. Park shuttles operate from Capileira and Hoya del Portillo to the higher trailhead points. Reservations are required during peak season — book through the Sierra Nevada National Park visitor center website.
Where to stay
| Accommodation | Position | Notes |
|---|---|---|
| Granada city | Pre/post climb base | Many hotels, restaurants. 1-1.5 hours to trailhead. |
| Trevélez village | Closest village | Highest village in mainland Spain. Several hotels and rural inns. |
| Capileira village | Park access point | Whitewashed Alpujarras village. Park shuttle origin. |
| Refugio Poqueira | 2,500 m on mountain | Mountain hut. Reservation essential. ~€20/night. |
| Refugio Felix Mendez | 3,100 m on mountain | Unstaffed emergency shelter near summit. |
| Sierra Nevada Ski Area | Northern approach | Hotels at 2,100-2,500 m, used for north approach. |
The Refugio Poqueira hut at 2,500 m is the most common overnight base for two-day Mulhacén climbs. The hut is staffed during summer with meals available, dormitory-style accommodation, and a friendly atmosphere typical of Spanish mountain refuges. Book through the Federación Andaluza de Montañismo (FAM) website well in advance — summer weekends often fill 2-3 months ahead.
Costs
| Cost category | Range (EUR) | Notes |
|---|---|---|
| Sierra Nevada park access | Free | No entry fee for the park |
| Park shuttle to Hoya del Portillo | €8-12 | Required during high season |
| Refugio Poqueira (night + meals) | €40-55 | Dinner + breakfast + dormitory bed |
| Trevélez village hotel (per night) | €60-100 | Pre/post climb accommodation |
| Granada city hotel (per night) | €70-150 | Hub accommodation |
| Guided climb (optional) | €150-300 | Per person for 1-2 day guided trip |
| Total typical 2-day budget | €200-400 | Excluding international transport |
Mulhacén is dramatically cheaper than equivalent peaks in the Alps. A complete two-day climb costs less than a single guided day on Mont Blanc. The combination of accessibility, low cost, and the “highest in Spain” distinction makes Mulhacén excellent value for European peak baggers.
When to climb Mulhacén season by season
| Period | Conditions | Recommendation |
|---|---|---|
| December – February | Full winter — snow, ice, cold winds | Mountaineering objective only |
| March – April | Late winter — variable snow conditions | Best for spring ski mountaineering |
| May – early June | Snow melting — wet, variable | Skip if possible — transitional |
| Late June | Spring conditions, snow lingers on top | Acceptable with microspikes |
| July – August | Hot at base, cool at summit, stable | Peak season — most climbers |
| September | Best window — stable, cooler, less crowded | Optimal for most climbers |
| October | Cool, possible first snow | Excellent but unpredictable |
| November | First serious snow — transitional | Skip unless prepared for winter |
September is widely considered the best month for international visitors: stable weather, cooler temperatures than July-August, fewer crowds at the refuge, and reliable trail conditions. July and August work but the lower-elevation approach hikes can be uncomfortably hot.
The Sierra Nevada has a Mediterranean mountain climate with hot dry summers and cold snowy winters. Afternoon thunderstorms are common in July and August — start early to be off the summit by 2 PM during these months. Winter wind exposure on the summit can be severe; the peak is among the windiest locations in Spain.
Mulhacén vs other Spanish peaks in context
| Peak | Elevation | Range | Difficulty (summer) |
|---|---|---|---|
| Mulhacén | 3,479 m | Sierra Nevada | Class 1 hike |
| Aneto | 3,404 m | Pyrenees | Class 2-3, glacier crossing |
| Pico del Veleta | 3,396 m | Sierra Nevada | Class 1 hike |
| La Alcazaba | 3,371 m | Sierra Nevada | Class 2-3, route-finding |
| Posets | 3,375 m | Pyrenees | Class 2-3 |
| Monte Perdido | 3,355 m | Pyrenees | Class 3, glacier |
| Pico del Teide | 3,715 m | Tenerife (Canary Islands) | Class 1 hike, permit required |
Mulhacén is the easiest 3,400+ meter peak in Spain to climb on its standard summer route — easier than Aneto (which requires glacier crossing) and easier than Monte Perdido (technical scrambling). This makes it the natural choice for climbers wanting to claim a major Spanish high point without technical mountaineering. The full Pico del Teide framework is in our broader peak coverage.
Combining Mulhacén with other peaks trip-planning options
Most international climbers spend 3-7 days in southern Spain when visiting Mulhacén. The mountain pairs naturally with several other objectives and activities:
- Mulhacén + Pico del Veleta: the second-highest Sierra Nevada peak (3,396 m) can be combined with Mulhacén in a 2-3 day trip via the north approach. Both summits in one trip is the natural Sierra Nevada peak-bagging objective.
- Mulhacén + La Alcazaba: the third-highest Sierra Nevada peak adds technical interest with class 2-3 scrambling. Combined trips take 3-4 days.
- Mulhacén + Granada/Alhambra: the most common pairing for cultural visitors. 2 days mountain + 2-3 days exploring Granada including the Alhambra palace complex.
- Mulhacén + Las Alpujarras: the white villages on the southern slope of the Sierra Nevada (Capileira, Pampaneira, Trevélez) make excellent multi-day cultural extensions.
- Mulhacén + Mediterranean coast: the Costa Tropical and Costa del Sol are 1-2 hours south of the mountain. Climbers often combine Mulhacén with coastal time before or after.
Safety considerations honest assessment
Mulhacén has a low fatality rate by mountain standards. Most deaths on the peak in recent decades have involved winter alpine objectives on the north face rather than the standard summer route. The standard route safety considerations are primarily:
- Altitude: 3,479 m is high enough to cause altitude sickness in some climbers, particularly those arriving from sea level (Málaga or Granada) within 48 hours. Drink water aggressively, avoid alcohol the night before, descend if symptoms develop.
- Sun and heat: summer days at high elevation produce intense solar radiation. Sun protection, hydration, and early starts matter. Heat exhaustion is more common than altitude sickness on summer Mulhacén climbs.
- Afternoon thunderstorms: July-August storms are predictable. Start early, be off the summit by 1-2 PM, do not climb during active thunderstorm activity.
- Lightning: the exposed summit ridge is a serious lightning risk during storms. Most lightning incidents in the Sierra Nevada have occurred on the upper ridges of Mulhacén and Veleta.
- Winter conditions: if you climb between November and May, treat Mulhacén as a real mountaineering objective. The mountain has killed climbers who underestimated winter conditions.
- Refuge bookings: failing to secure refuge bookings during peak season can force climbers into uncomfortable choices (long day trip or bivvying).
Who should climb Mulhacén honest fit assessment
Mulhacén is excellent for you if…
- You want a major European high point without technical climbing
- You are visiting Spain or Europe and want to add a meaningful mountain to your trip
- You collect country high points (Mulhacén is mainland Spain’s high point)
- You enjoy combining mountain trips with cultural travel (Granada/Alhambra/Alpujarras)
- You want a lower-cost alternative to Mont Blanc or other Alps objectives
- You appreciate less crowded mountains than the Alps
- You have intermediate hiking fitness — Mulhacén is genuinely easier than most major European peaks
Mulhacén might not fit if…
- You want technical climbing — the standard route is hiking, not climbing
- You strongly prefer well-developed Alpine commercial infrastructure
- You want a peak with a major glacier crossing or alpine ridge — Mulhacén has neither in summer
- You only have time for one Spanish peak and want technical climbing — Aneto in the Pyrenees may fit better
The complete Mulhacén framework
Full mountain detail including history, geology, and the broader Sierra Nevada climbing context.
Master guide →The bottom line on Mount Mulhacén
Mount Mulhacén at 3,479 meters is the highest mountain in Spain, the highest point on the Iberian Peninsula, and one of Europe’s most underrated major peaks. The mountain offers a non-technical class 1 hike on its standard south route during the summer season (June-October), making it accessible to fit hikers without prior technical mountaineering experience. Winter and spring conditions transform Mulhacén into a serious alpine objective requiring full mountaineering equipment and skills. Total trip costs are dramatically lower than equivalent Alps peaks — a complete two-day climb typically costs €200-400 excluding international travel. The peak pairs naturally with cultural visits to Granada, the Alhambra, and the white villages of Las Alpujarras, making it one of the best combined climbing-and-cultural trips in Europe. For climbers building a portfolio of European high points or seeking a meaningful Spanish peak without the crowds of the Alps or Pyrenees, Mulhacén consistently rates as one of the most rewarding objectives in southwestern Europe. The full mountain framework is in our Mount Mulhacén master page.
Frequently asked questions
What is the highest mountain in Spain?
Mount Mulhacén is the highest mountain in Spain at 3,479 meters (11,414 feet). The peak sits in the Sierra Nevada range in Andalusia in southern Spain, near the city of Granada. Mulhacén is also the highest point in mainland Spain and the highest peak on the entire Iberian Peninsula. The mountain is named after Muley Hacén, the second-to-last Nasrid king of Granada, who according to legend was buried near the summit in the 15th century. Mulhacén is significantly higher than peaks in the more famous Pyrenees range to the north.
How high is Mulhacén?
Mulhacén is 3,479 meters (11,414 feet) high. It is the highest peak in mainland Spain, the highest in the Sierra Nevada range, and the highest mountain on the Iberian Peninsula. Pico del Teide on Tenerife in the Canary Islands is technically higher at 3,715 meters but is located on a Spanish territorial island in the Atlantic rather than on mainland Spain. By the standard definition of “mainland Spain” or “continental Spain,” Mulhacén holds the high point. The peak is approximately 70 percent the height of Mont Blanc and significantly higher than the Pyrenees’ Aneto at 3,404 meters.
Where is Mulhacén located?
Mulhacén is located in the Sierra Nevada range in the Andalusia region of southern Spain, approximately 40 kilometers southeast of the city of Granada. The peak sits within Sierra Nevada National Park (Parque Nacional de Sierra Nevada), one of Spain’s largest national parks. The mountain is the highest point in the province of Granada and lies in the western part of the Sierra Nevada range, near the southern edge of the Iberian Peninsula. The Mediterranean coast is approximately 50 kilometers south of the summit.
How difficult is climbing Mulhacén?
Mulhacén is generally considered a moderate hike rather than a technical climb. The standard summer route from the Hoya del Portillo trailhead is a class 1 walking trail that requires no technical climbing skills – just basic fitness, altitude acclimatization, and weather awareness. Most fit hikers can complete the standard route in a single day or with one overnight in a refuge. Winter conditions (November through May) transform the mountain into a serious mountaineering objective requiring crampons, ice axe, and avalanche awareness. The summer climb is comparable in difficulty to Mount Kilimanjaro on the Marangu route – long but non-technical.
How long does it take to climb Mulhacén?
Mulhacén can be climbed in a single long day from the Hoya del Portillo trailhead during the summer months, typically taking 8 to 12 hours round trip depending on fitness. Most climbers prefer a two-day trip with an overnight stay at the Refugio Poqueira hut, which splits the elevation gain into manageable sections. The two-day approach is the most popular for international visitors. From the Hoya del Portillo trailhead at 2,150 meters, the summit involves approximately 1,329 meters of vertical gain over 20 kilometers round trip. Faster routes from the northern Sierra Nevada ski area can shorten the trip significantly.
When is the best time to climb Mulhacén?
The best time to climb Mulhacén is from late June through mid-October, with July through September being the most reliable months. Snow lingers on the upper mountain into June in normal years. Summer days are warm but the high elevation keeps temperatures cool at the summit. July and August can be hot at lower elevations and produce afternoon thunderstorms. September and early October often offer the most stable weather. Winter climbs (November-May) are possible but require full mountaineering equipment and skills – the mountain becomes a meaningful alpine objective during these months with snow, ice, and severe wind exposure.
Is Mulhacén higher than the Pyrenees?
Yes, Mulhacén at 3,479 meters is higher than any peak in the Pyrenees. The highest peak in the Pyrenees is Aneto at 3,404 meters, which is 75 meters lower than Mulhacén. This often surprises visitors because the Pyrenees are the more famous Spanish mountain range, but the Sierra Nevada in southern Spain actually contains the country’s highest summits. Three of the top four highest mountains in mainland Spain are in the Sierra Nevada: Mulhacén (3,479 m), Pico del Veleta (3,396 m), and La Alcazaba (3,371 m). Only Aneto in the Pyrenees breaks into this top group.
Do you need a permit to climb Mulhacén?
No special climbing permit is required to hike Mulhacén during the summer season. The mountain sits within Sierra Nevada National Park where general park rules apply, but no permit fee or reservation is needed for standard day hikes or overnight trips. The Refugio Poqueira hut where most overnight climbers stay does require advance booking, particularly during peak season (July-August). Vehicle access to the upper trailheads is restricted from June through November, with park shuttles required from Hoya del Portillo. These access restrictions can change year to year – check the Sierra Nevada National Park website before planning a trip.