
Last updated October 4, 2026

Ama Dablam Route: Southwest Ridge & High Camps
Ama Dablam’s Southwest Ridge is the standard expedition route to the 6,812 m summit. From Base Camp it climbs through rocky ridge terrain to Camp 1, crosses an exposed gendarmed crest to the Yellow Tower and Camp 2, continues through mixed terrain and Mushroom Ridge toward Camp 3, then finishes on steep snow and ice above 6,300 metres.
What Is the Normal Route on Ama Dablam?
The Southwest Ridge—often described simply as the South Ridge in older expedition reports—is the route used for the overwhelming majority of modern commercial Ama Dablam ascents.
It is not a trekking route with one technical summit pitch. Technical climbing begins around Camp 1 and continues intermittently for most of the upper mountain. The route combines exposed rock, fixed-line ascents, rappels, mixed terrain, snow ridges and steep upper snow and ice.
The famous Yellow Tower sits immediately below the traditional Camp 2 area. Above Camp 2, the character changes again: mixed climbing and snow lead toward Mushroom Ridge, the Camp 3 zone and the upper summit slopes.
Exact camp positions and whether a team sleeps at Camp 3 vary by season, operator and mountain conditions. Treat camp elevations as operational ranges rather than fixed permanent installations.
Ama Dablam Southwest Ridge Route Profile
Camp elevations vary by expedition and year. The profile below uses practical modern ranges together with the historical route architecture documented by American Alpine Journal expeditions.
Base Camp
≈4,500–4,600 m
meadow / moraine below the west side
Camp 1
≈5,700–5,800 m
start of sustained technical terrain
Camp 2
≈5,900–6,000 m
tiny ridge ledges above Yellow Tower
Camp 3
≈6,200–6,300 m
high snow / ice zone
Summit
6,812 m / 22,349 ft
upper snow and ice slopes
Snow, ice, crowding, route fixing and operator strategy can shift exact camp locations and whether a particular high camp is used. Follow your expedition team’s current route plan, not a historic GPS point.

The Route Starts With Acclimatization Before the Ridge Begins.
Most climbers approach through the Everest region, using the Khumbu trek and Base Camp rotations to build acclimatization before committing to the technical ridge. Ama Dablam’s relatively modest height compared with an 8,000er does not remove the need for deliberate altitude strategy.
Ama Dablam Base Camp to Camp 1
This is the transition from expedition logistics into the actual ridge.
≈4,500–4,600 m
The traditional Base Camp sits on relatively open ground below Ama Dablam’s west and southwest side. This is where teams acclimatize, train on fixed-line systems, sort equipment and wait for suitable climbing conditions.
Historic expedition reports describe yak-pasture terrain and a broad camp beneath the mountain. Modern commercial Base Camps are more developed, but the function is the same: recovery and preparation before the technical route.
The Ridge Begins
Above Base Camp, climbers ascend moraine, boulders and increasingly exposed rocky terrain toward Camp 1. The route is physically demanding before the famous technical cruxes arrive.
Camp 1 traditionally marks the beginning of sustained ridge climbing and the point where efficiency with harness, clipping systems, ascender and pack becomes increasingly important.
Camp 1 to the Yellow Tower
This section establishes Ama Dablam’s real character: exposed granite ridge climbing at altitude.
Gendarmed Ridge
Historic AAC reports describe a narrow granite crest weaving around towers and gendarmes with substantial exposure.
Fixed-Line Efficiency
Climbers repeatedly transition between walking, scrambling, ascending fixed ropes and managing protection systems.
Altitude Magnifies Everything
Rock movement that is straightforward at sea level becomes slower with heavy boots, gloves, pack weight and reduced oxygen.

Ama Dablam Is a Ridge Climb Long Before It Becomes a Summit Climb.
The narrow crest, rock towers and exposed transitions between Camps 1 and 2 are why Ama Dablam is such a different objective from Nepal’s standard trekking peaks.
Yellow Tower: The Gateway to Camp 2
The Yellow Tower is Ama Dablam’s most recognizable technical feature and one of the clearest reasons this mountain demands genuine climbing skills.
A Vertical Headwall
A 1983 American Alpine Journal South Ridge report describes the Yellow Tower as a roughly 100-foot 5.8 vertical headwall, with Camp 2 established immediately above it.
Modern guidebooks and operators may apply different technical grades depending on exact line, fixed-line configuration and conditions. That is why a single internet grade should not replace first-hand operator beta.
Technique Under Expedition Conditions
- Heavy mountaineering boots instead of rock shoes.
- Gloves or mittens reduce dexterity.
- A pack changes balance.
- Fixed-line traffic can create delays.
- Altitude slows movement and recovery.
- The descent requires controlled rappelling.
The useful question is whether you can move efficiently on exposed rock while wearing mountain boots, operate fixed-line hardware without supervision at every anchor, and reverse the terrain safely when tired.
Camp 2: Tiny Ledges on the Ridge
Camp 2 is one of the most distinctive high camps in commercial Himalayan climbing.
Above Yellow Tower
Historical reports place Camp 2 immediately above the Yellow Tower on small ridge-top ledges.
Exposed Camping
The site can feel more like bivouac ledges than the broad glacier camps found on larger expedition peaks.
Congestion Matters
Limited tent space and fixed-line traffic mean commercial teams must coordinate movement carefully.
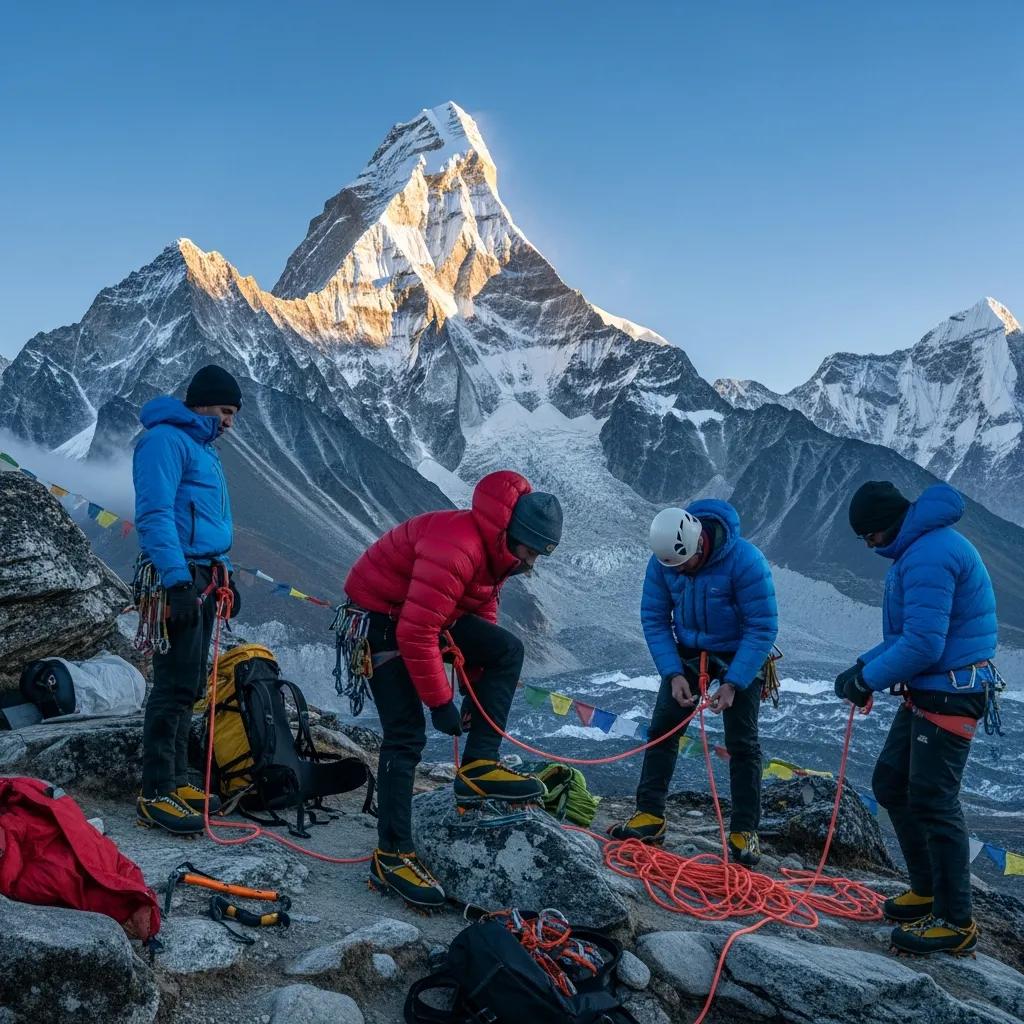
The Route Rewards Climbers Who Arrive Already Fluent With Their Equipment.
Ama Dablam is not the place to learn how an ascender, rappel device, tether or crampon behaves for the first time. The mountain combines those systems with exposure and altitude.
Camp 2 to Camp 3: Mixed Ground & Mushroom Ridge
Above Camp 2 the route transitions away from the predominantly rocky lower ridge into increasingly snowy, icy and mixed terrain.
| Feature | Route Character | What It Demands |
|---|---|---|
| Upper ridge | Mixed rock, snow and ice above Camp 2. | Fast transitions between rock technique, crampon movement and fixed-line climbing. |
| Mushroom Ridge | Snow formations and exposed ridge terrain documented repeatedly in historic accounts. | Balance, conservative movement and respect for current snow and cornice conditions. |
| Steeper ice | Historic reports describe ice walls and steep snow/ice before the Camp 3 zone. | Secure crampon technique and efficient fixed-line movement. |
| Camp 3 area | High camp around the 6,200–6,300 m zone, depending on conditions and expedition strategy. | Strong acclimatization and tolerance for exposed high-altitude camping. |
Teams may alter or minimize Camp 3 use based on serac exposure, snow conditions, acclimatization, fixed-line configuration and the operator’s summit plan. Current expedition instructions override historic camp descriptions.
Camp 3 to the 6,812 m Summit
The upper mountain looks cleaner than the lower rock ridge, but altitude, snow, ice and exposure remain serious.
40–50° Upper Snow & Ice
A 1980 American Alpine Journal account describes the upper South Ridge as a 40–50° snow-and-ice slope leading to the summit.
Modern conditions are not fixed. Snow coverage, hard ice and route fixing vary each season, so this historic angle description is useful context, not a guarantee of current surface conditions.
The Descent Is Still Ahead
Reaching the summit does not end the technical climbing. Every steep snow, ice, mixed and rock feature must be reversed, usually while the climber is more tired and fixed lines are busier.
Ama Dablam rewards teams that budget energy for the descent rather than treating the summit as the end of the objective.
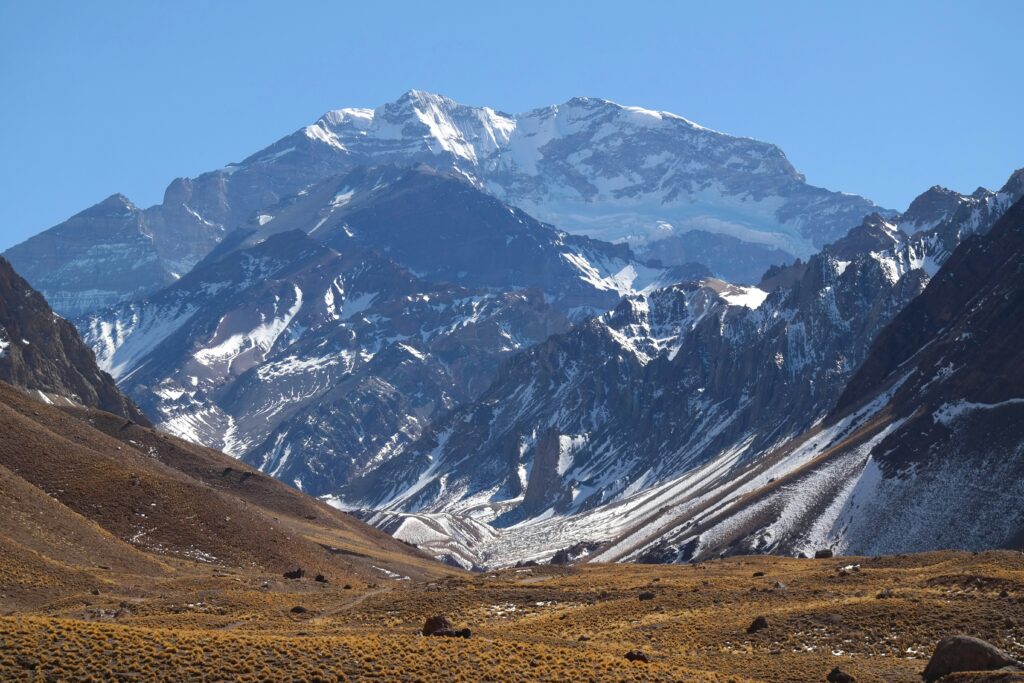
Technical Terrain Does Not Become Easier Because the Summit Is Close.
Cold, altitude, wind and fatigue magnify small mistakes. Efficient movement is not about racing; it is about reducing unnecessary time exposed on the upper mountain.
Ama Dablam’s Descent Is a Major Part of the Route
The same exposure that makes the Southwest Ridge beautiful makes descending it technically demanding.
Reverse Steep Snow & Ice
Fixed lines help manage the terrain, but fatigue and cold increase error potential.
Stay Precise
Corniced or exposed snow terrain still demands disciplined foot placement on descent.
Rappel the Crux
The famous rock step must be reversed through rappel or fixed-line systems used by the expedition.
Fatigue Persists
Easier terrain is not risk-free after a long technical summit push.
Fixed Lines Do Not Make Ama Dablam Non-Technical
They change the protection system. They do not remove exposure, altitude or the need for independent equipment competence.
| Skill | Where It Matters | Standard to Aim For |
|---|---|---|
| Ascending fixed rope | Rock, mixed terrain and steep snow/ice | Efficient without repeated guide intervention. |
| Passing anchors | Entire technical ridge | Maintain secure attachment throughout the transition. |
| Rappelling | Yellow Tower and technical descent | Controlled descent while tired and wearing gloves. |
| Crampon technique | Mixed terrain and upper mountain | Secure footwork on snow, ice and transitional ground. |
| Clipping discipline | Exposed ridge sections | Consistent system even during congestion. |
| Self-management | Every camp and technical transition | Know your gear well enough to identify mistakes yourself. |
Ama Dablam Permit Fees in 2026
Nepal’s revised climbing royalty schedule became effective September 1, 2025 and specifically lists Ama Dablam as its own fee category.
| Fee | Spring | Autumn | Winter / Summer |
|---|---|---|---|
| Foreign-climber royalty | $1,000 | $1,000 | $500 |
| Garbage deposit | $2,000 per expedition team under the official Khumbu/Annapurna schedule for Ama Dablam. | ||
Commercial expedition prices may already include the government climbing royalty. Confirm the written inclusion list before calculating your total expedition budget.
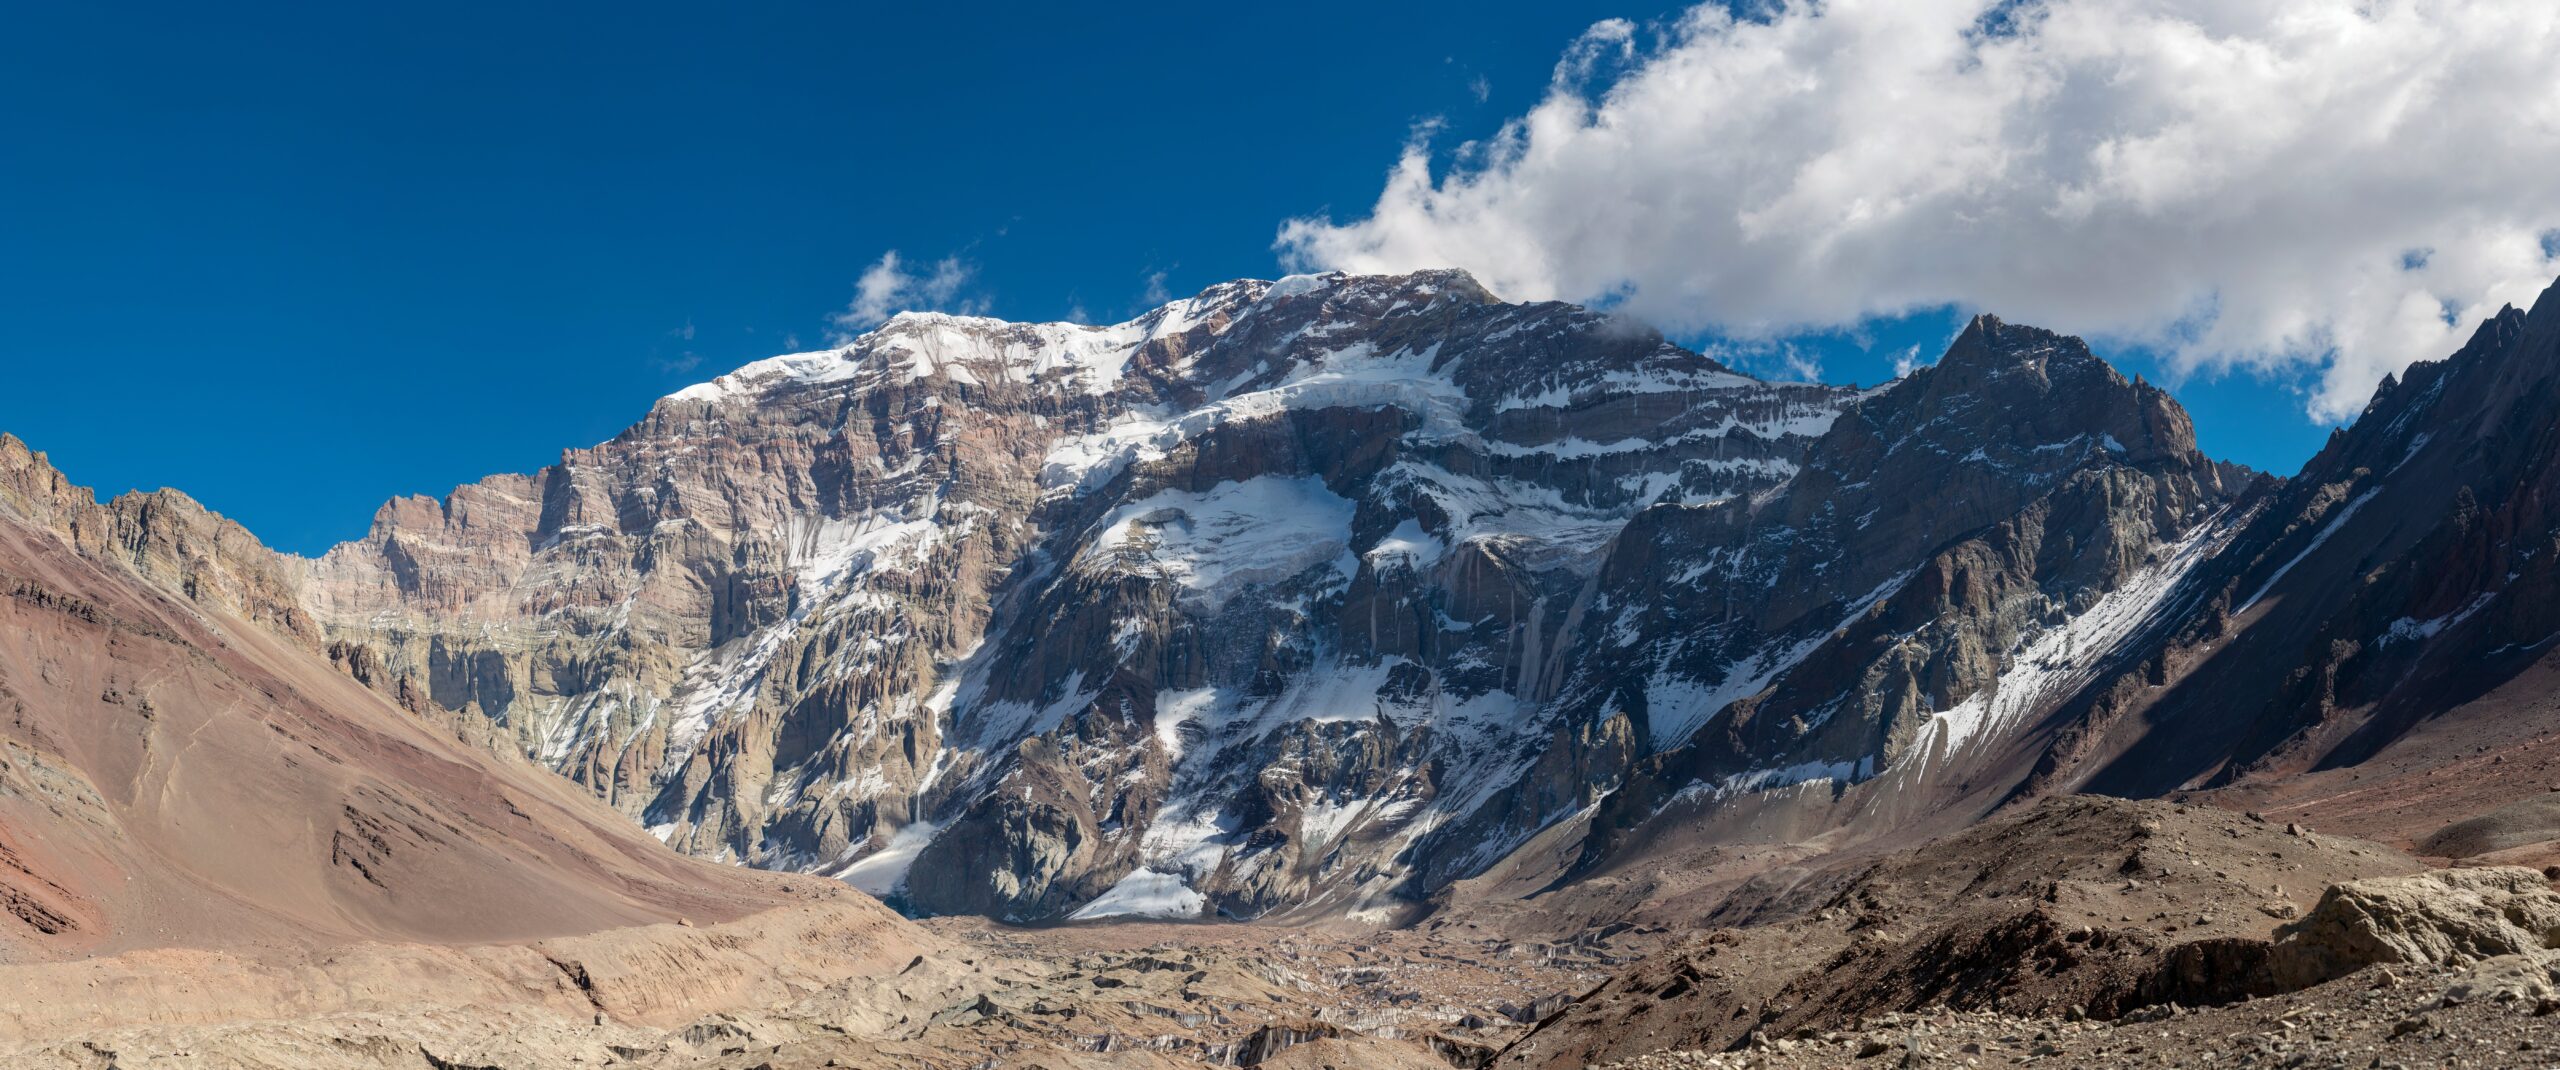
Route Knowledge Helps Only if the Technical Systems Are Automatic.
Knowing that Yellow Tower comes before Camp 2 does not prepare a climber for it. The value of route research is understanding what skills must already be reliable before the expedition begins.
Ama Dablam Gear Is Built Around Fixed-Line & Mixed Climbing
The complete equipment list belongs in the main Ama Dablam planning cluster. For this route, focus on the equipment that affects movement efficiency between Camps 1 and the summit.
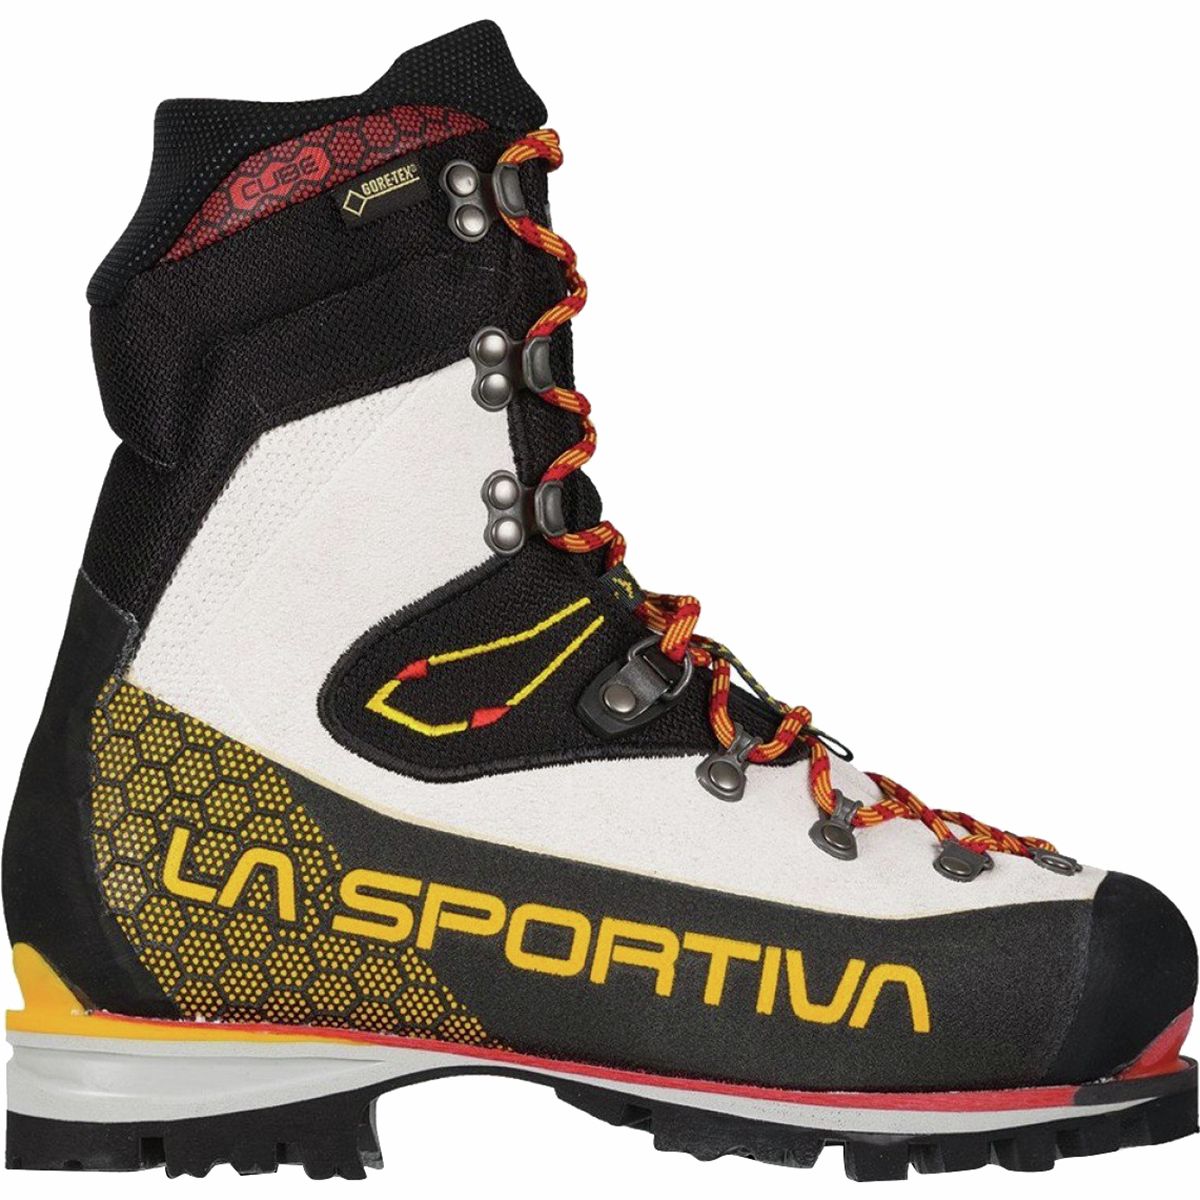
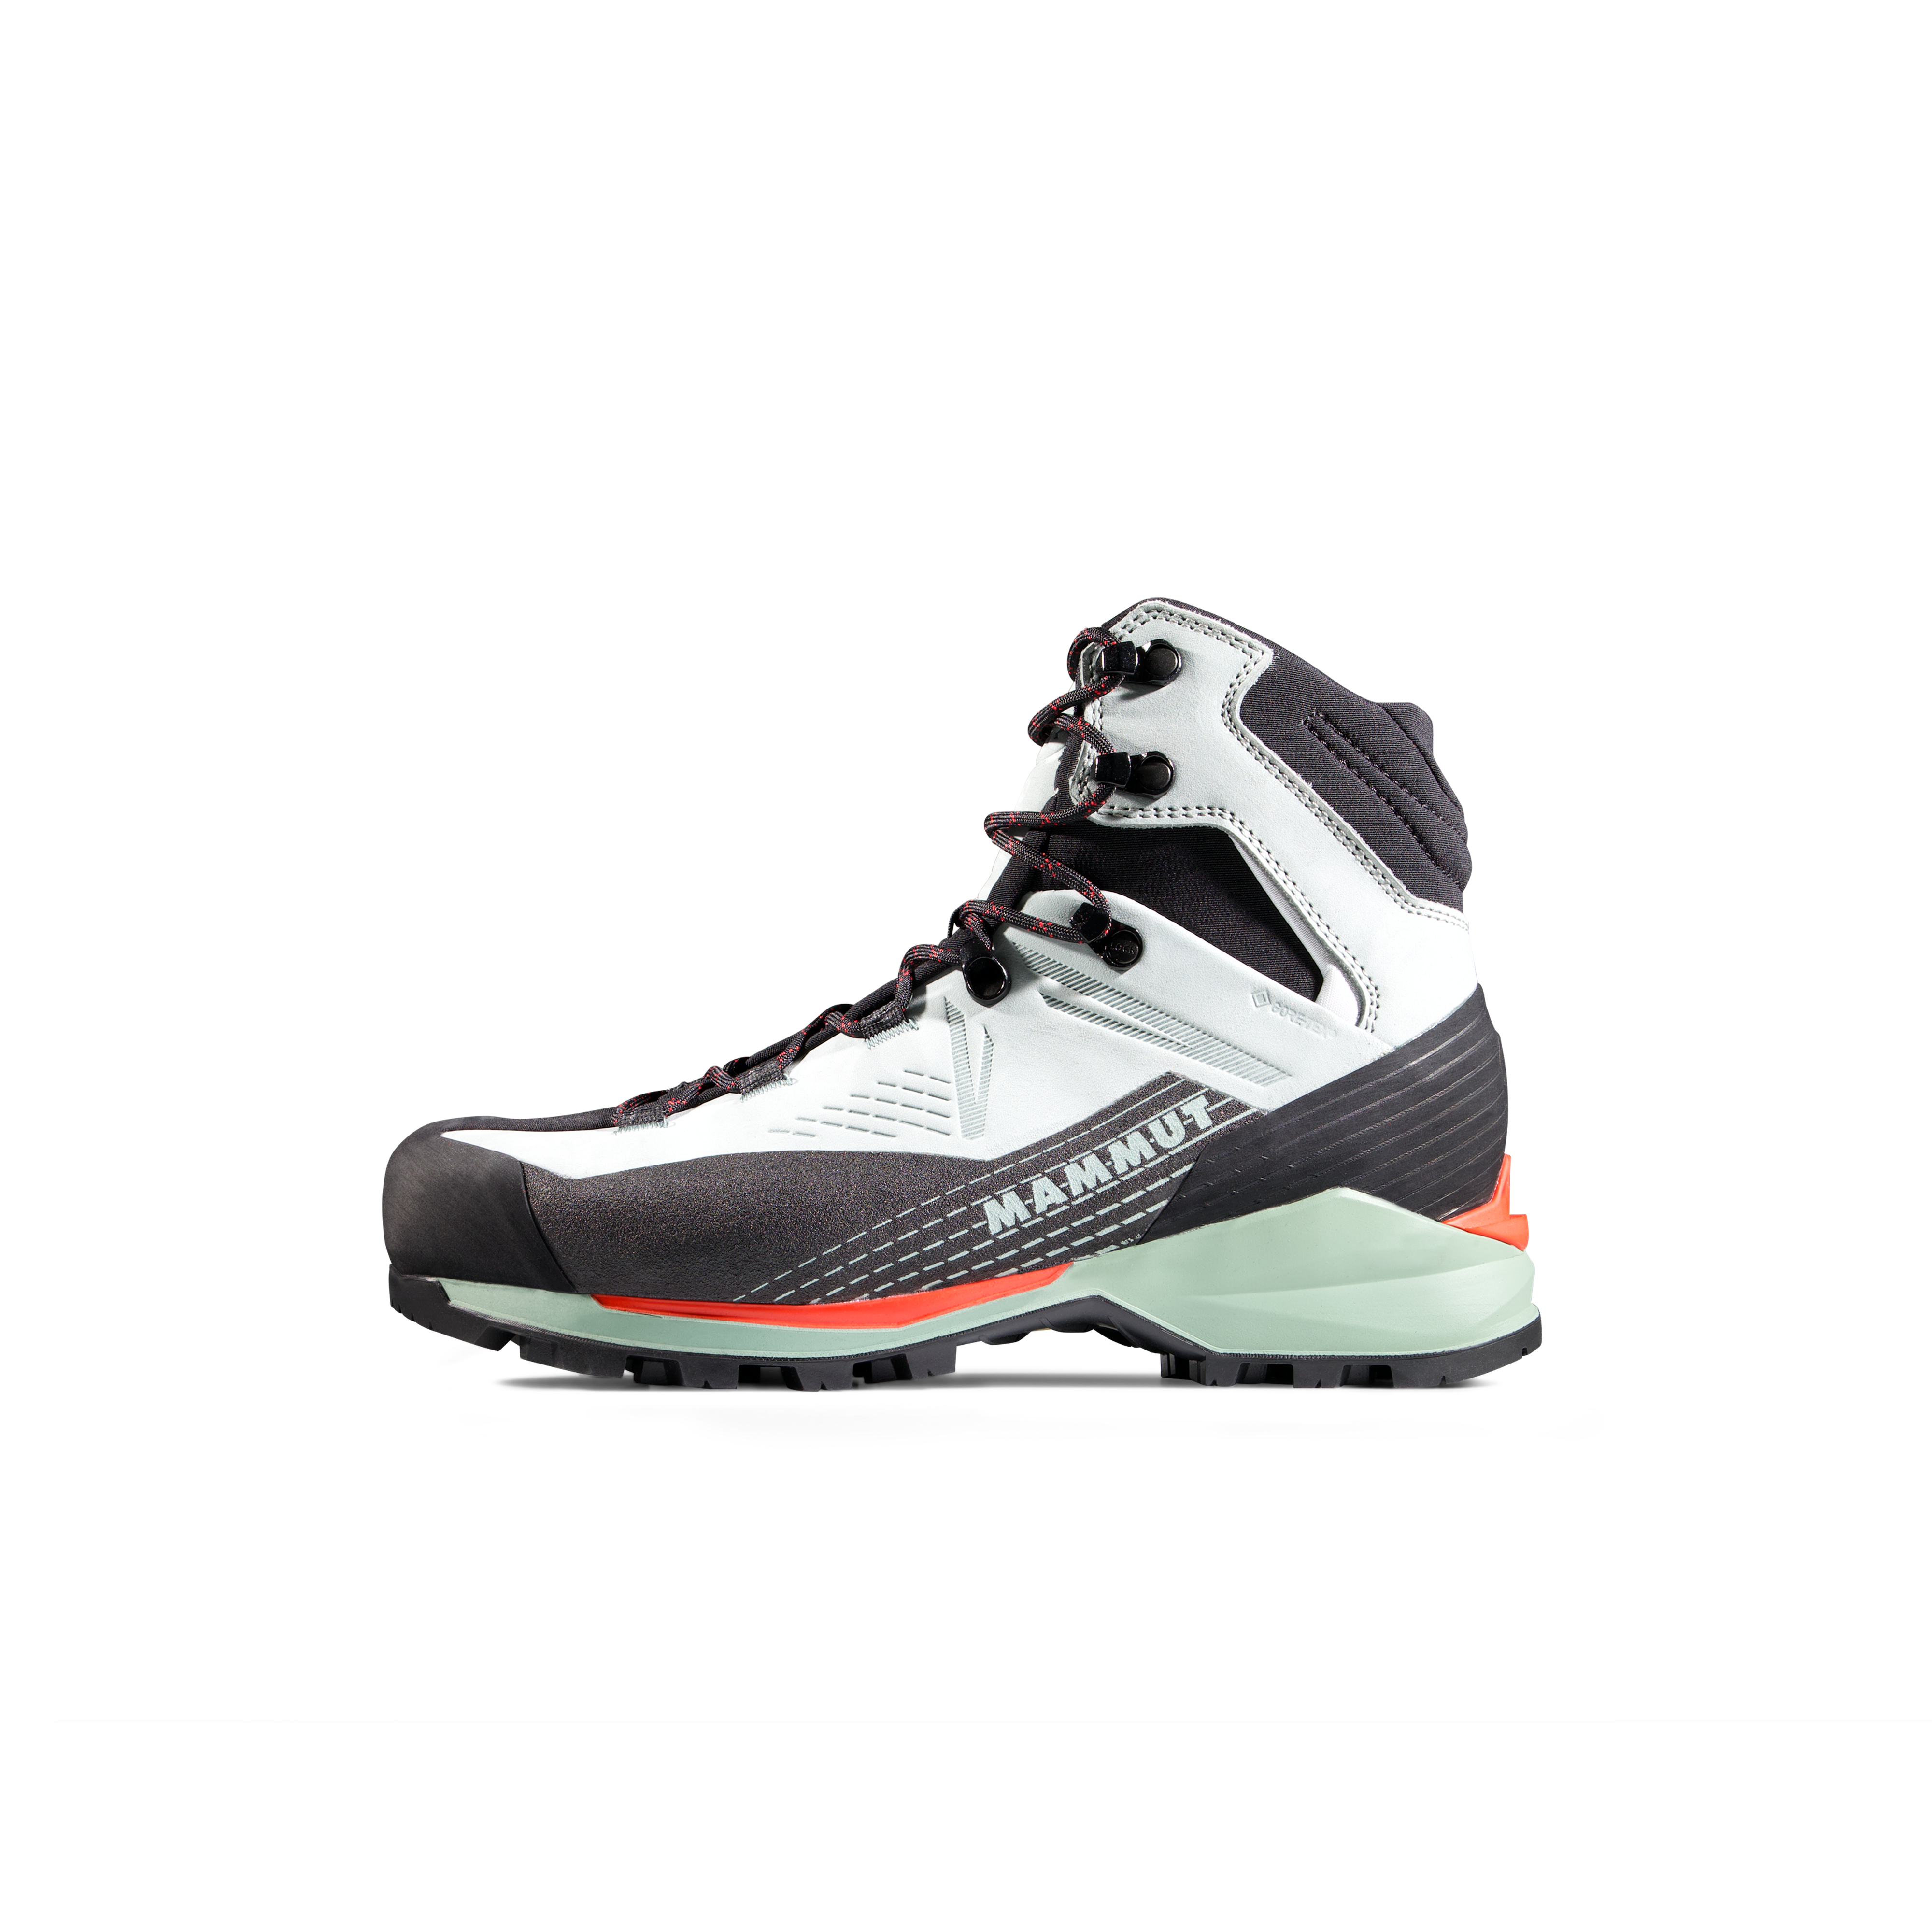
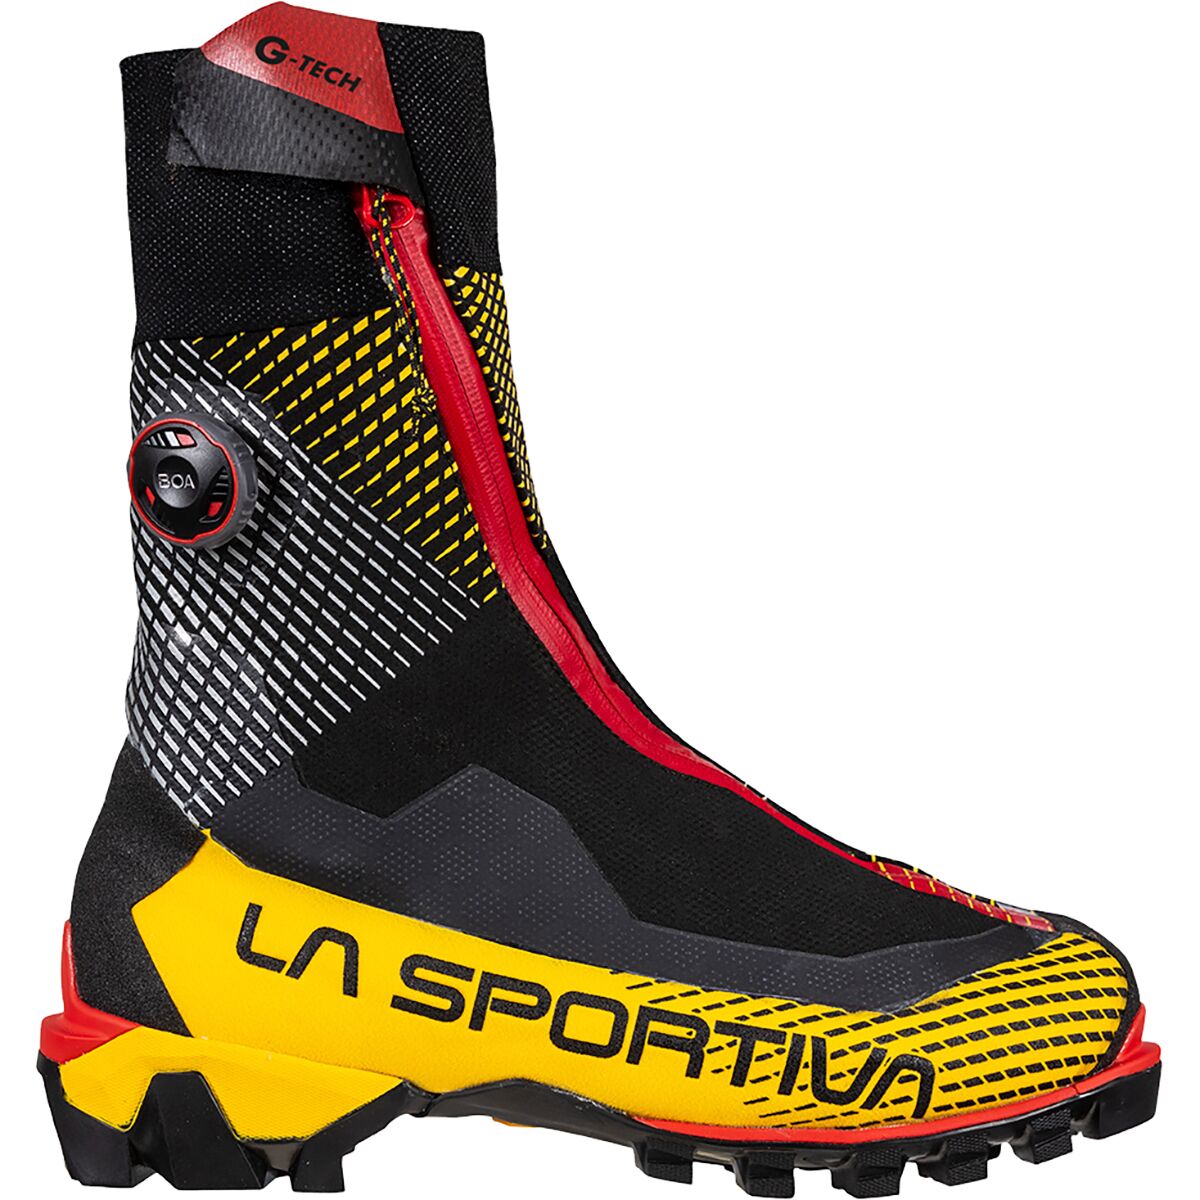
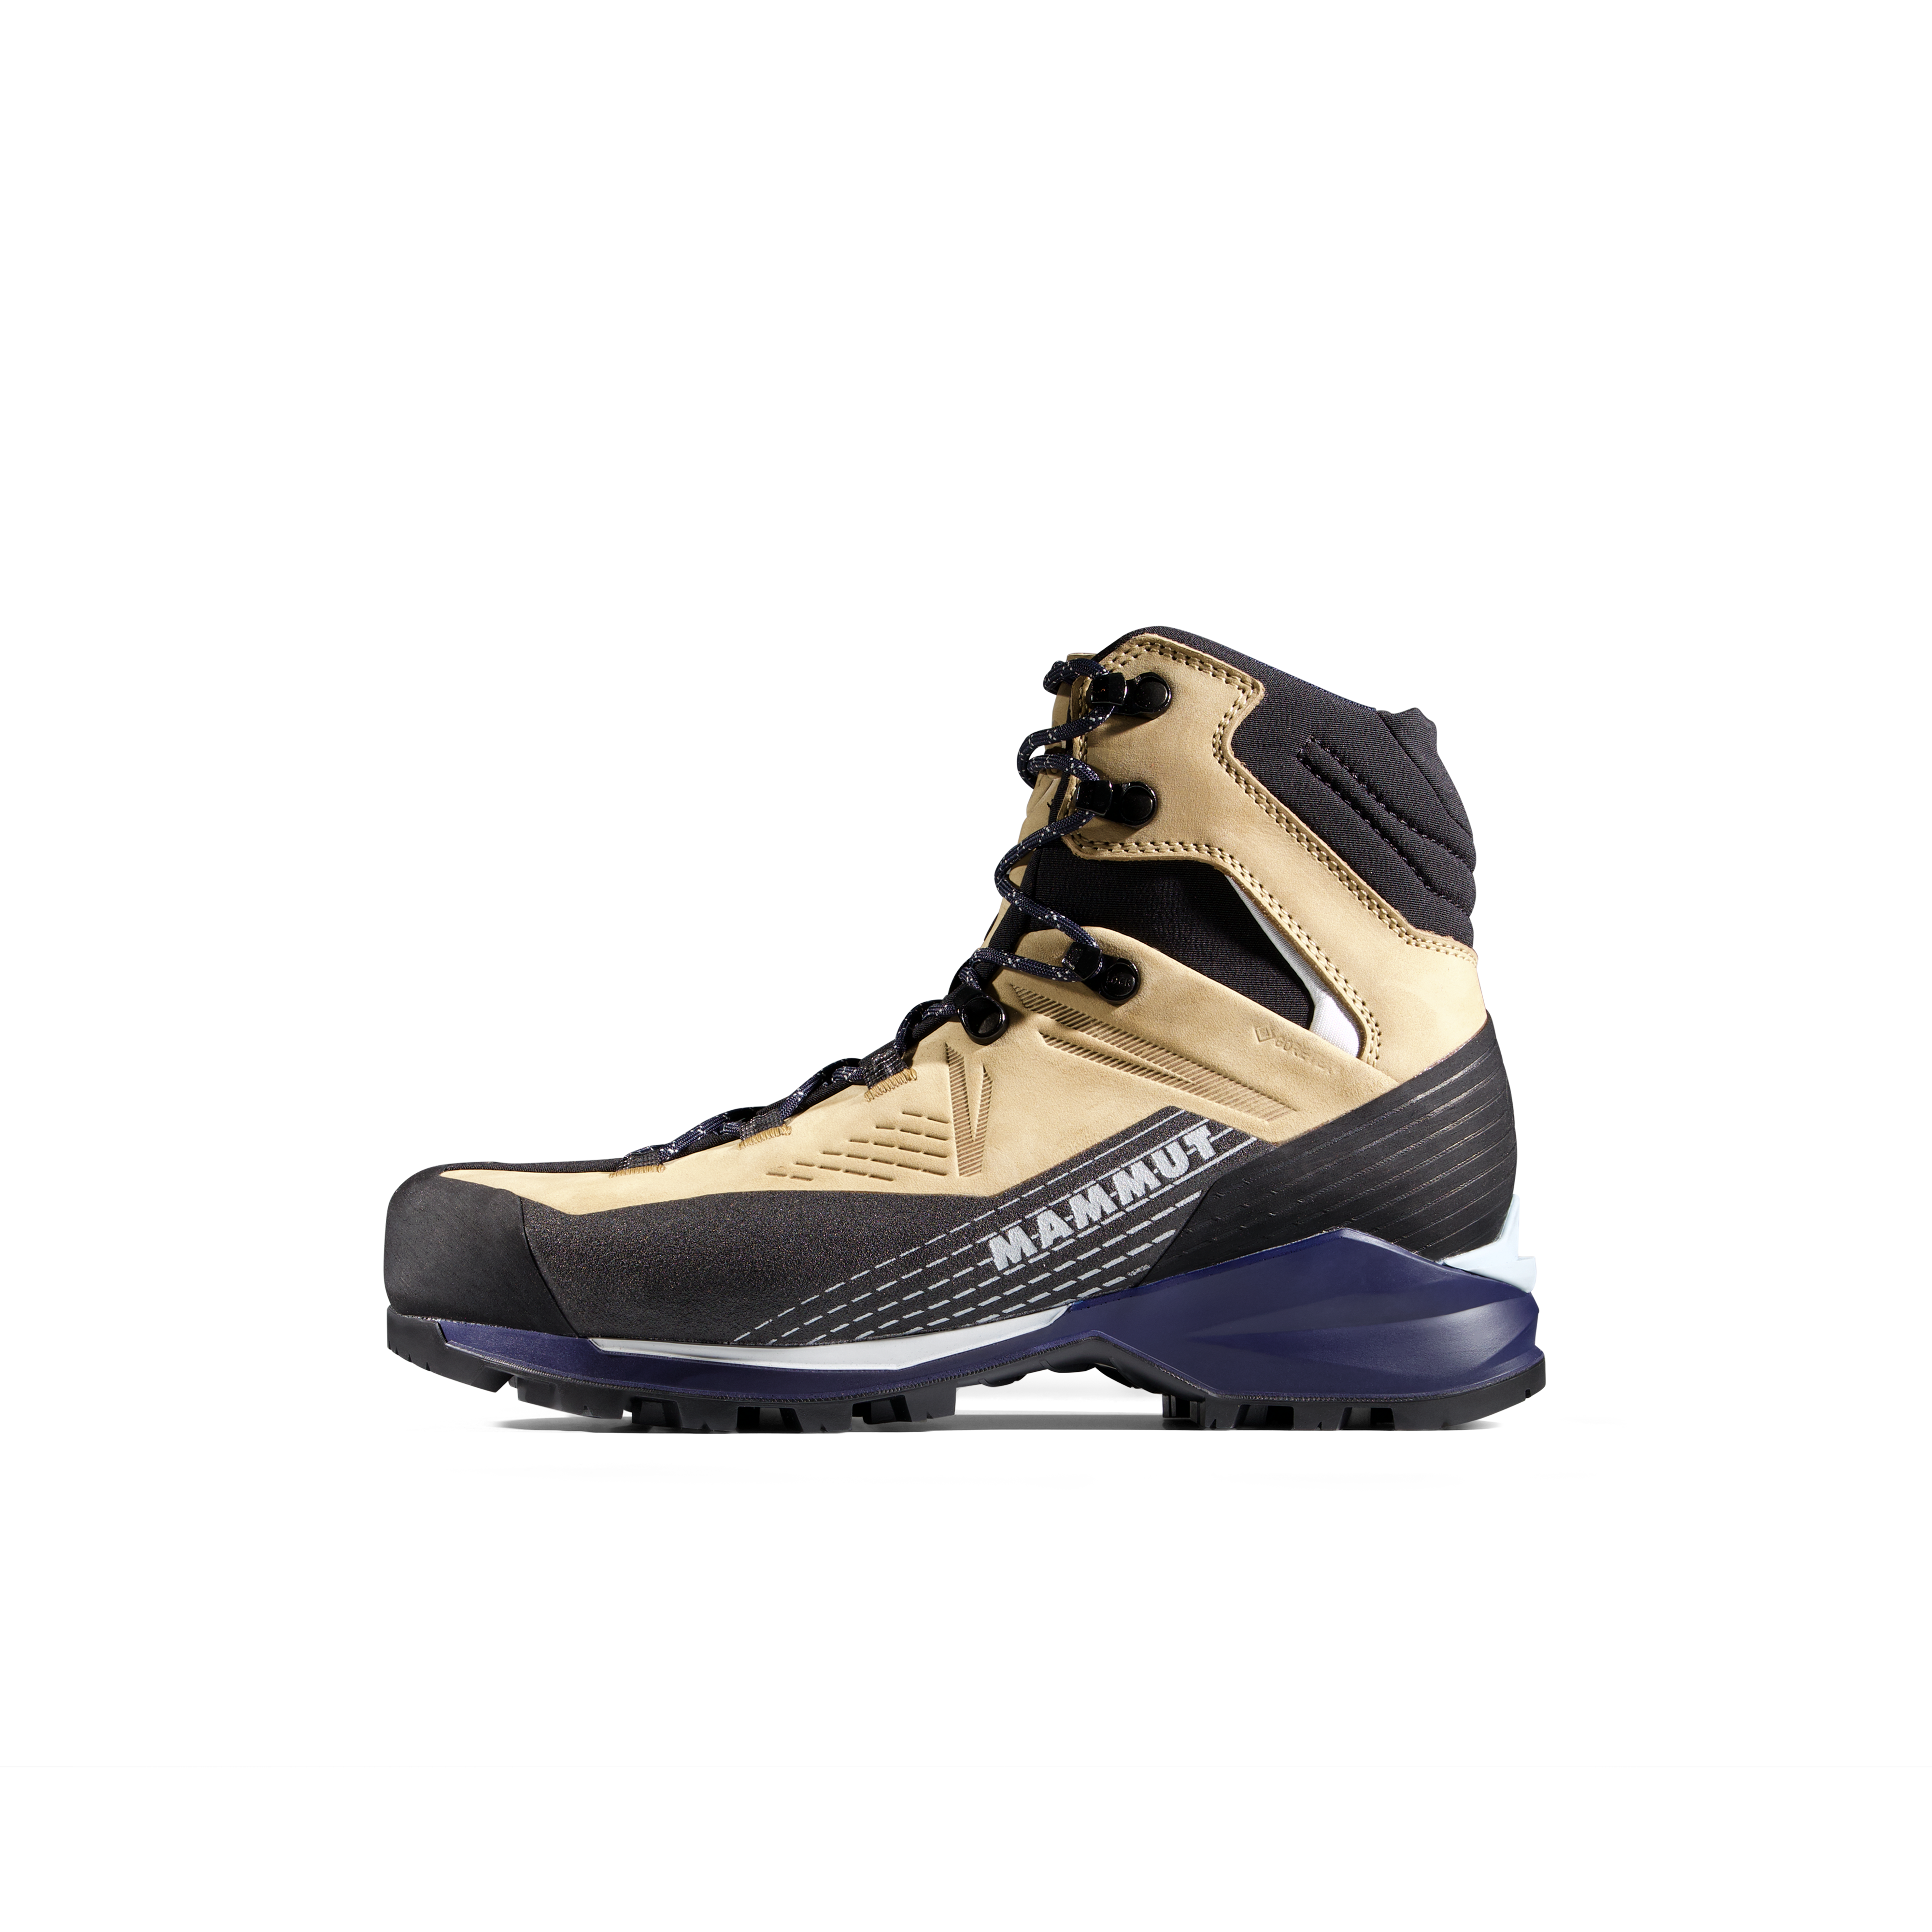
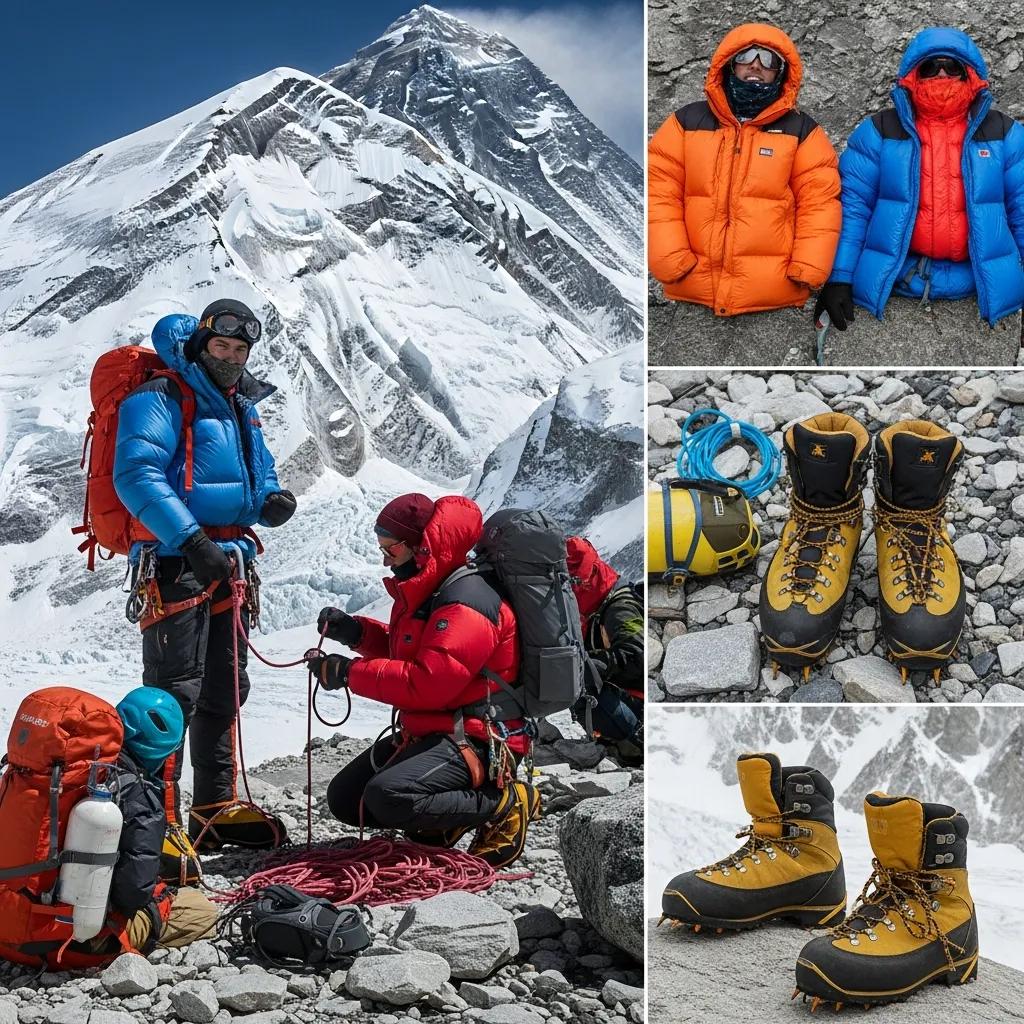
Mountaineering Boots
Warm enough for 6,800 m yet precise enough for technical rock and mixed movement.
Crampons
Must fit the exact boot securely and work efficiently through mixed transitions.
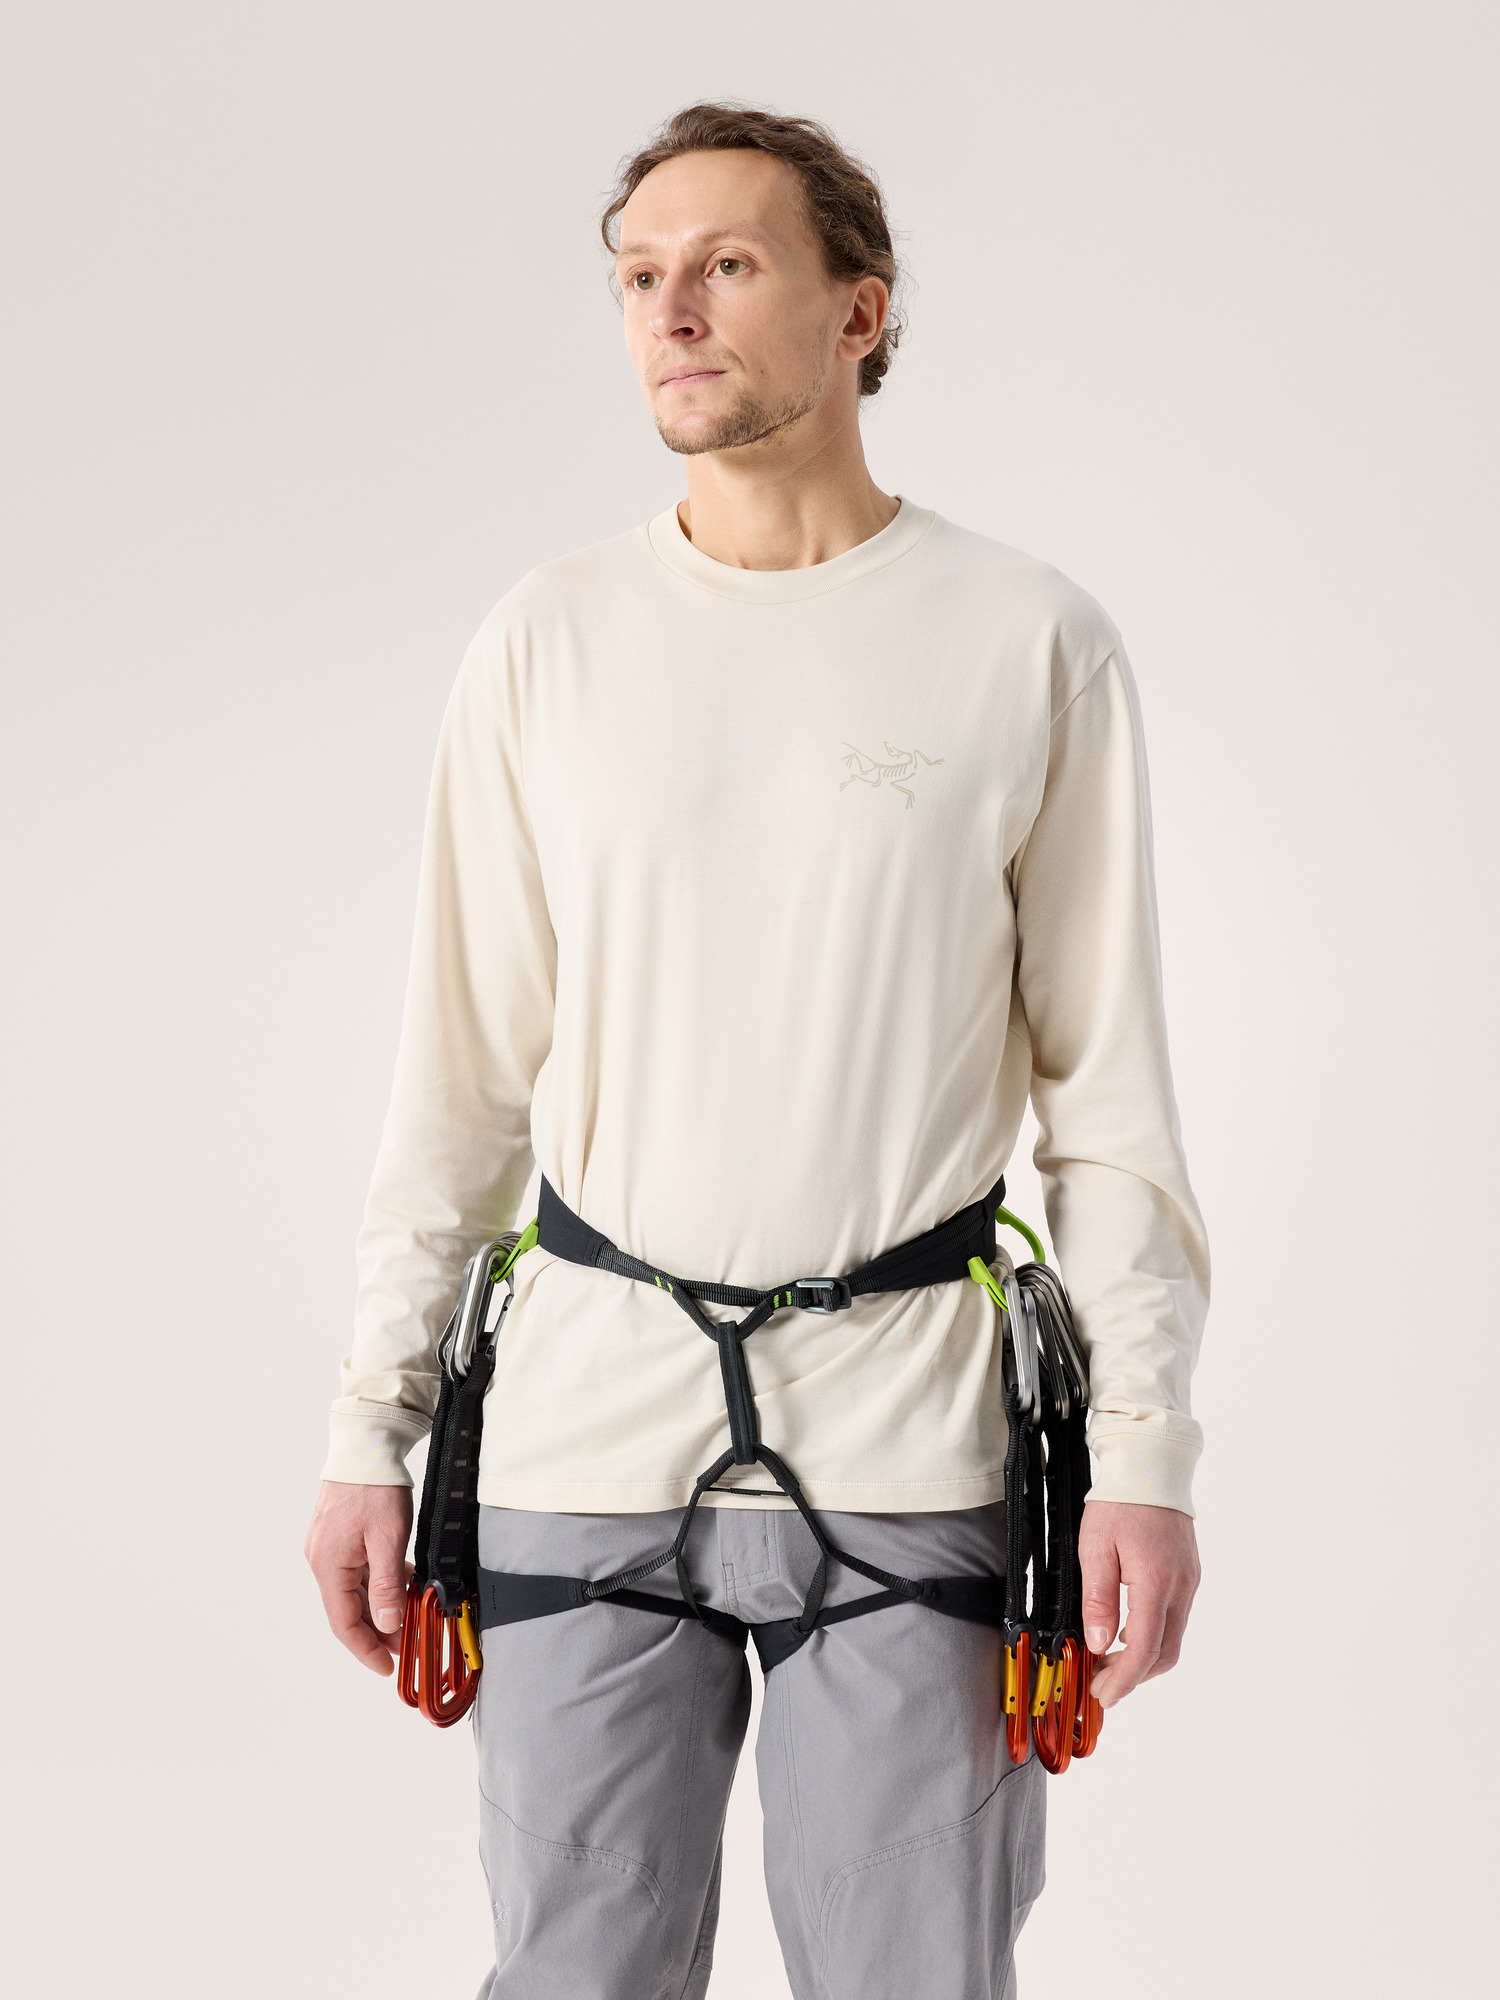
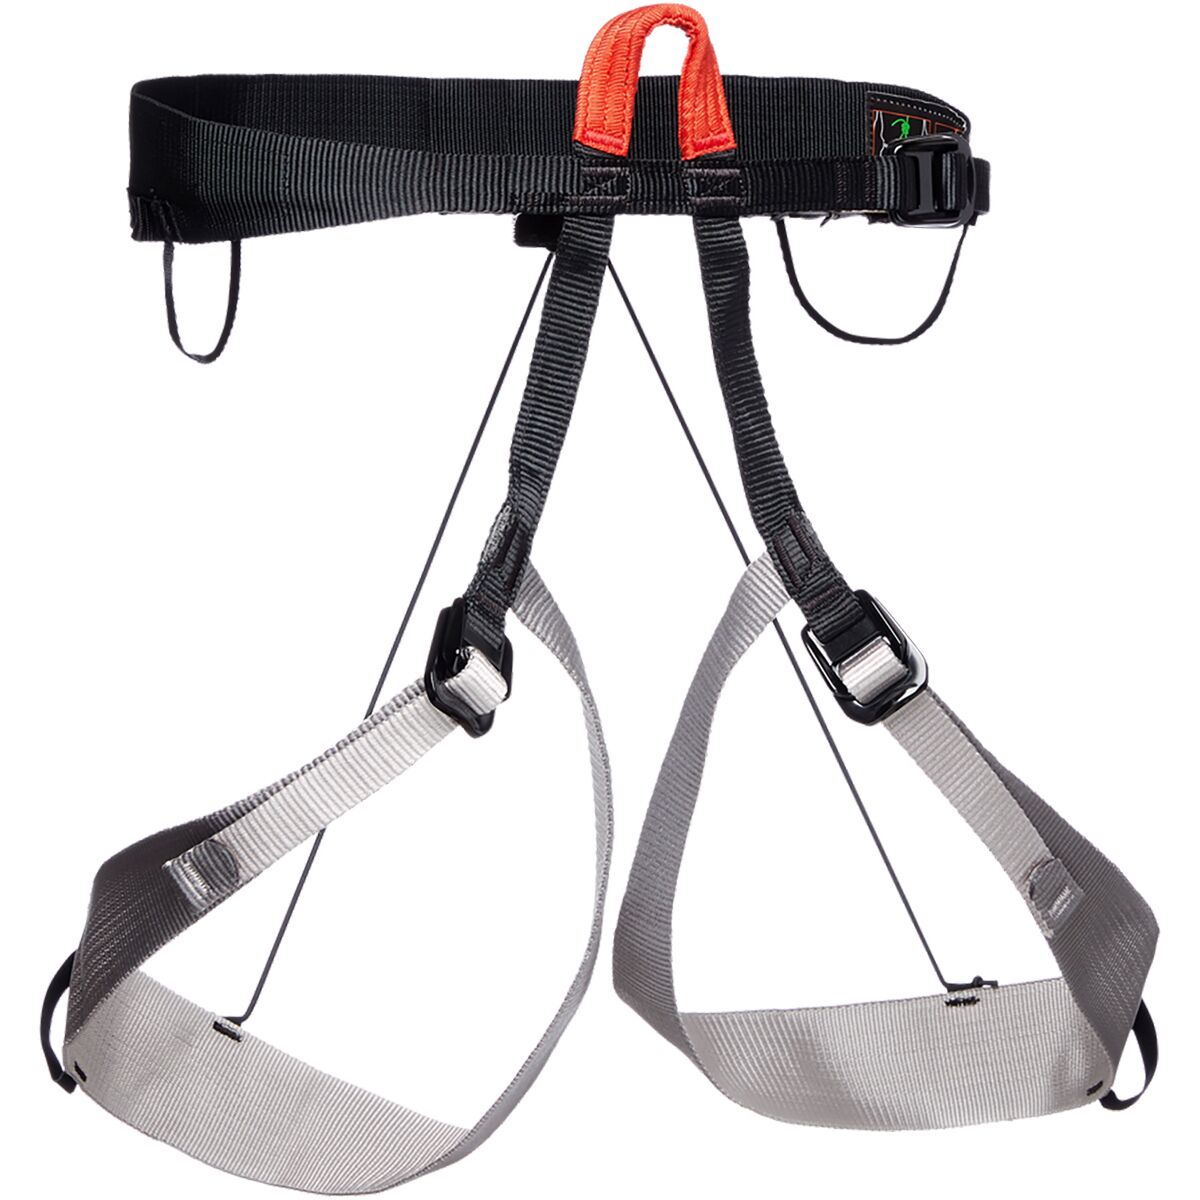
Harness & Helmet
Worn for extended periods through exposed fixed-line terrain.
Ascender & Rappel System
Operator-specific hardware configuration should be practiced before Nepal.
Ama Dablam Route Gear
Compare current boots, crampons, harnesses, helmets and headlamps after checking your operator’s exact equipment list and fixed-line system.
Ama Dablam Technical Gear
Ask How Your Team Fixes, Uses and Descends the Route.
Two operators can climb the same Southwest Ridge with different guide ratios, camp strategies, fixed-line procedures and summit-day plans. Route choice is only the beginning of operator comparison.
Ask the Operator How Their Southwest Ridge System Actually Works
The route name is standardized. Expedition execution is not.
Who Climbs With Me?
Ask specifically about support above Camp 1 and during the summit push.
Do You Use Camp 3?
Understand the acclimatization rotations and planned summit staging.
Who Maintains Them?
Ask how the team’s rope system is established, inspected and coordinated with other expeditions.
Who Makes the Call?
Weather, congestion, climber pace and upper-mountain conditions must all influence the decision.
Ama Dablam Has Other Routes—but They Are Not Commercial Alternatives
Ama Dablam has a serious history of exploratory alpinism on other faces and ridges. That does not make those routes interchangeable with the standard Southwest Ridge.
| Route / Face | Status | Planning Meaning |
|---|---|---|
| Southwest Ridge | Standard commercial route | Established high-camp and fixed-line expedition system. |
| Northwest Ridge | Historic alpine route | First ascended in 2001; far more committing than the normal commercial line. |
| West Face routes | Specialist alpinism | Technical exploratory lines for elite climbers, not commercial route choices. |
| Other ridges / faces | Rare | Research through alpine-journal history, not ordinary expedition-booking pages. |
That is why this page is organized around the normal route rather than presenting rare historic lines as equivalent modern options.
Ama Dablam Sits Directly Above the Everest Trekking Corridor
The expedition approach uses the familiar Khumbu gateway through Lukla, Namche and the upper valley before leaving the main trekking corridor for Base Camp.
Starting point for most commercial Khumbu approaches.
Common early acclimatization stage on the approach.
Village near the Ama Dablam approach corridor.
Southwest Ridge rises above the Base Camp area.
Primary Sources Behind This Route Guide
Historic expedition reports are especially valuable on Ama Dablam because they document the physical route before modern commercial shorthand simplified it.
Nepal Department of Tourism
Current Ama Dablam royalty and garbage-deposit schedule.
Official Fees →American Alpine Journal · South Ridge
Documents Camp 1, the exposed ridge, Yellow Tower and Camp 2 location.
Read AAJ Report →American Alpine Journal · 1980 Route Account
Describes Yellow Tower, Mushroom Ridge and 40–50° upper snow-and-ice terrain.
Read Route Account →Continue Planning the Expedition
This page owns the route. Use the neighboring guides for difficulty, progression, operators and the complete mountain plan.
Southwest Ridge Questions
What is the normal route on Ama Dablam?
How many camps are used on Ama Dablam?
What is the Yellow Tower?
Is Ama Dablam climbed using fixed ropes?
How high is Camp 2 on Ama Dablam?
How high is Camp 3 on Ama Dablam?
Can climbers skip Camp 3?
What is the hardest part of the Ama Dablam route?
How much is the Ama Dablam permit in 2026?
Are there other routes on Ama Dablam?
Ama Dablam Is Not One Crux. It Is an Entire Technical Ridge.
Camp 1 introduces the exposure. Yellow Tower makes the technical nature obvious. Camp 2 compresses the mountain onto tiny ridge ledges. Mushroom Ridge and the upper snow slopes add mixed climbing, altitude and cold. Then the entire line must be descended. That combination—not one numerical grade—is what defines Ama Dablam’s Southwest Ridge.
Ama Dablam: Routes, Risk & the Nepal Peak Ladder
Ama Dablam is the jewel of the Khumbu and a step beyond the trekking peaks. Go deeper on the climb, or see where it sits in the Nepal progression.
Was this helpful?
🏔Related peaks nearby
🧭Explore & compare
Global Summit Guide is an independent mountaineering resource founded in 2026. The team combines first-hand trekking and climbing experience with in-depth research and professional health and nutrition review to help climbers choose objectives, prepare properly, and stay safe.
Health, altitude, and nutrition content is reviewed by Taylor Ludlow (Registered Nurse) and Brigg Hoopes (Nutritionist).
What We Don't Know Yet
Mountain information changes quickly. This box explains the limits of what this page can responsibly promise.
- Route conditions, trailhead access, crevasse exposure, stream crossings, and rescue access may vary from published planning guidance.
- Visa, passport, vaccination, border, insurance, and local transportation rules may change before your trip.
- Route conditions, snowpack, closures, and weather can change quickly after this page is updated.
- Permit rules, fees, quotas, and reservation windows may change between review cycles.
- Operator availability, pricing, guide ratios, and cancellation terms can change by season.
Verify current conditions with official land managers, guide services, local forecasts, and current route reports before booking or climbing.
Mountaineering, rock and ice climbing, glacier travel, and high-altitude activity are inherently dangerous and can result in serious injury or death. The information on Global Summit Guide is provided for general informational and educational purposes only and is not a substitute for professional instruction, qualified guiding, proper equipment, or your own judgment and experience.
Route conditions, weather, snowpack, permits, regulations, and hazards change constantly and may differ from what is described here. Details may be incomplete, out of date, or contain errors. Always verify current information with local authorities, certified guides, and official sources before making any decision in the mountains.
Nothing on this site is medical, legal, or financial advice. Our fitness, acclimatization, altitude, and nutrition content is general in nature; consult a qualified physician before beginning any strenuous exercise program or exposing yourself to high altitude.
You are solely responsible for your own safety and decisions. To the fullest extent permitted by law, Global Summit Guide and its team accept no liability for any loss, injury, damage, or expense arising from use of, or reliance on, this information. By using this site you acknowledge these risks and accept these terms.
Some links on this site may be affiliate links. If you buy through them we may earn a small commission at no extra cost to you; this never affects our recommendations.
Global Summit Guide recommendation path
Next Best Mountain to Research
Use these recommendations to continue the right planning path instead of stopping on one page.
Use current permit, weather, route, and operator information before booking or climbing.
Explore Travel Options for Your Destination
Once your mountain, dates and route are taking shape, compare flights, hotels and other travel options that fit the trip.
Affiliate link. We may earn a commission at no additional cost to you.