
Last updated July 15, 2026
 Adobe Stock · Alan Majchrowicz
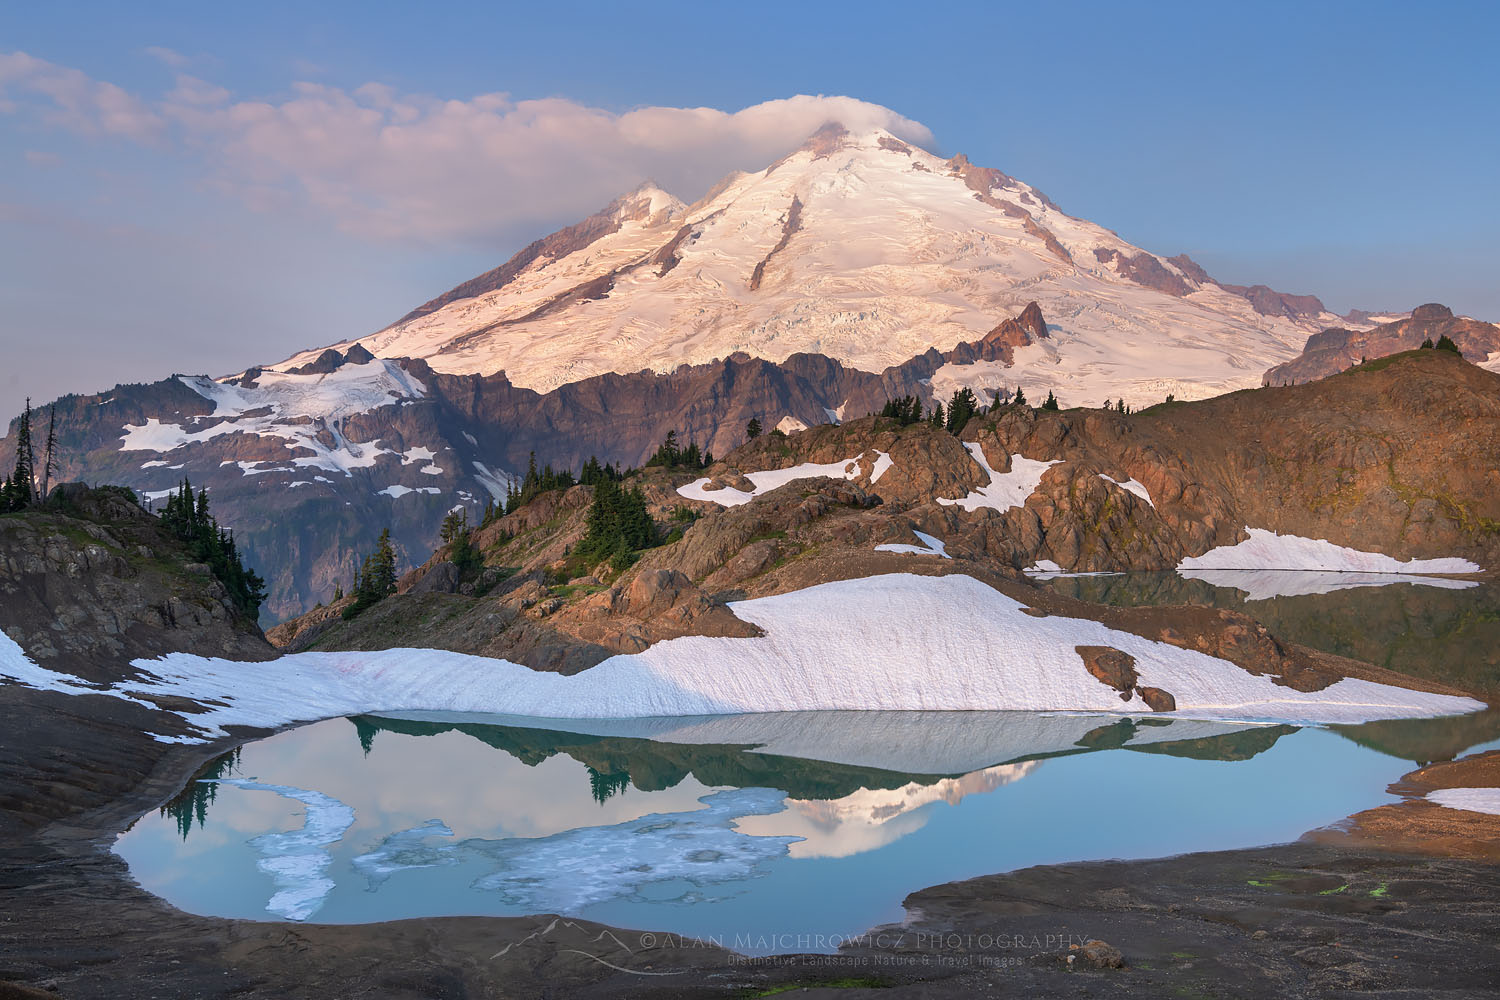
Official permit rule corrected and route, access, guide and progression links reviewed.
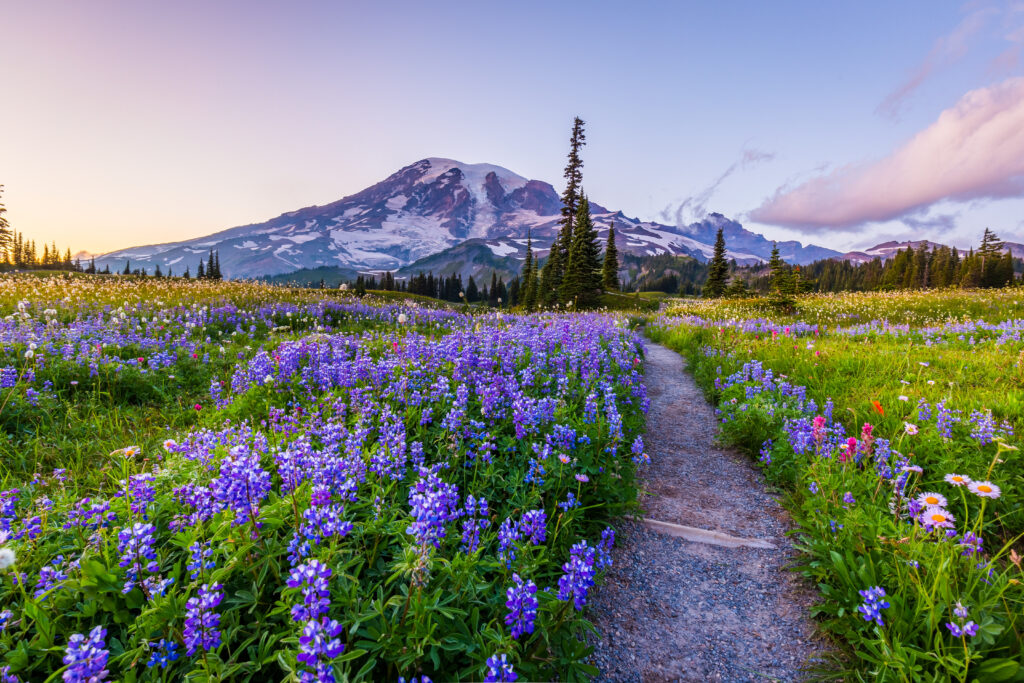
Global Summit Guide: Explore Peaks, Volcanoes & Mountain Challenges
Best first route: Coleman-Deming or Easton Glacier with a three-day instructional program. Permit rule: no Forest Service climbing permit is required, but relevant fee trailheads require a valid recreation pass. Best fit: a strong hiker ready to learn crampons, ice axe, rope-team travel, crevasse rescue concepts and alpine camp systems.
Find Hotels, Flights & Trips for the World’s Best Hiking Destinations
The Global Summit Guide Travel Shop on Expedia — curated for outdoor adventurers, mountaineers, and serious hikers. Patagonia to the Alps. Nepal to the Rockies. Curated lodging for every region we cover.
Explore Travel Shop on Expedia →Independent climbing is appropriate only for teams already capable of glacier navigation, crevasse rescue and emergency self-management.
This parent page owns
Broad Mount Baker route selection, difficulty, permit rule, season, itinerary, training, gear, hazards, guided decision and travel planning.
Supporting pages own
Mount Baker vs Rainier owns the direct comparison; Best Peaks After Mount Baker owns the next-climb ladder; glacier skills pages own detailed instruction.
Mount Baker at a glance
The highest peak in the North Cascades and one of the most heavily glaciated Cascade volcanoes.
| Fact | Mount Baker | Planning meaning |
|---|---|---|
| Elevation | 10,781 ft / 3,286 m | Altitude matters, but glacier systems are the defining challenge |
| Mountain type | Active andesitic stratovolcano | Climbers pass active volcanic and glacial terrain |
| Regional position | Northern Washington, south of the Canadian border | Bellingham and the North Cascades are the normal travel region |
| Major glaciers | Coleman, Deming, Easton, Squak, Boulder, Park and others | Route choice is inseparable from glacier condition |
| Common routes | Coleman-Deming, Easton and Squak | Most guided introductory programs use one of these lines |
| Trip length | Two to four days; three is common | Three days leaves room for instruction and a summit attempt |
| Permit | No Forest Service climbing permit required | Recreation passes and current trailhead procedures still apply |
| Core skills | Glacier travel, crampons, ice axe, route finding and rescue systems | Fit hikers need instruction before relying on these skills |
USGS identifies Mount Baker as the highest summit in the North Cascades and the northernmost volcano in the contiguous United States. After Rainier, it carries one of the Cascade Range’s largest concentrations of glacier ice. That combination makes Baker unusually valuable as a training mountain: the altitude is manageable, but the terrain is authentic.
See the full regional ladder in the Cascade Volcanoes climbing guide and compare other learning objectives in Best Mountains to Build Glacier Travel Experience.
Which Mount Baker route should you choose?
Most first-time climbers should choose Coleman-Deming or Easton; Squak is a quieter standard alternative.
| Route | Character | Best for | Main caution |
|---|---|---|---|
| Coleman-Deming | Northwest-side glacier route with established camps and guide use | First glacier climb, Rainier preparation, skills seminars | Crevasses, route finding and exposure near Black Buttes |
| Easton Glacier | South-side moderate glacier with broad snow terrain | Guided beginners, instruction and a scenic three-day climb | Long approach, heat and late-season bridge changes |
| Squak Glacier | Quieter south-side line between Easton and Deming systems | Experienced teams seeking lower traffic | Less established track and seasonal bergschrund complexity |
| North Ridge | Classic technical ice route | Experienced alpine ice climbers | Steep ice, route commitment and descent planning |
| Park / Boulder | Less frequently climbed eastern routes | Experienced independent parties | Complex access, navigation and limited current information |
| Headwalls | Steep, serious alpine ice and mixed objectives | Expert climbers only | Objective hazard, changing ice and high commitment |
Coleman-Deming Glacier Route
The northwest-side classic and one of America’s best instructional glacier climbs.
Coleman-Deming
Heliotrope Ridge approach · Moderate glacier route · Usually two to four days
- Approaches from the Heliotrope Ridge trail system.
- High camps are commonly placed near the Coleman Glacier between roughly 6,000 and 7,000 feet.
- Teams travel across the Coleman Glacier, around the Black Buttes and onto the Deming Glacier.
- The Roman Wall provides the principal upper-mountain snow climb before the summit plateau.
- Instructional programs use the route for rope-team travel, crampons, self-arrest and crevasse-rescue practice.
Coleman-Deming is popular because its learning value is high without requiring the altitude and summit-day scale of Rainier. That does not make it casual. Crevasse patterns shift, whiteout navigation can be difficult, and the line near Black Buttes requires attention to avalanche, ice and rockfall exposure.
Easton Glacier Route
A broad south-side glacier and another leading option for first-time guided climbers.
Easton Glacier
Park Butte / Railroad Grade approach · Moderate glacier route · Common three-day format
- Approaches from the south through the Park Butte and Railroad Grade area.
- Often uses a camp in the Sandy Camp or lower Easton Glacier zone.
- Provides broad terrain for skills practice and rope-team movement.
- Passes near Sherman Crater before the final summit slopes.
- Guided programs commonly devote a full day to basic climbing and rescue systems.
RMI describes Easton as a moderate glacier line suitable for beginners learning glaciated climbing. Its broader terrain can be an excellent classroom, but summer heat, crevasse openings and wildfire smoke can change the quality of a date quickly.
Squak Glacier Route
A quieter standard route for teams that already have stronger independent glacier systems.
Squak Glacier
South side · Moderate glacier route · Lower traffic
- Shares portions of the south-side approach network.
- Offers a less crowded line than Easton in many periods.
- Requires current route information and confident navigation.
- The upper glacier and bergschrund can become more complicated later in the season.
- Guided use exists, but the route is less automatic than the two primary standards.
North Ridge and Mount Baker’s technical routes
Beyond the standard glaciers, Baker becomes a serious alpine ice mountain.
The North Ridge is a classic Cascade ice route requiring steep ice technique, confident protection, efficient transitions and a well-planned descent. Coleman Headwall, Park Glacier Headwall and other steep lines are expert objectives whose condition changes are central to whether they are climbable at all.

Mount Baker permits, passes and camping rules
The 2026 official rule is simpler than the previous page stated: there is no climbing permit.
No climbing permit
The U.S. Forest Service does not require a permit or climbing fee merely to attempt Mount Baker.
Recreation pass required
A valid recreation pass is required per vehicle at Heliotrope Ridge, Artist Point/Ptarmigan Ridge and Park Butte fee trailheads.
Obtain the pass first
Official guidance says passes are not available onsite. Obtain one ahead of time or use Recreation.gov Scan and Pay where supported.
Leave No Trace rules
Pack out human waste, follow camp restrictions and do not rely on campfires. Snow and glacier camps require careful sanitation.
Trailhead registers may be present, and group, commercial or special-use rules can differ from an ordinary recreational climb. Road closures, trail damage, fire restrictions and camping regulations should be checked immediately before departure.
Best time to climb Mount Baker
The best window balances snow coverage, stable bridges, road access, heat and smoke.
| Period | Advantages | Watch for | Best use |
|---|---|---|---|
| May to early June | Strong snow coverage and ski opportunities | Road snow, avalanche conditions, cold storms and deep travel | Experienced spring teams and ski mountaineers |
| Mid-June to July | Common guided season, better access and continuous glacier routes | Heat waves, warming bridges and busy weekends | Most first-time guided climbers |
| August | Stable access and often predictable schedules | More open crevasses, route detours, smoke and exposed ice | Teams with current route information |
| September and later | Lower traffic and cooler autumn periods | Storms, shorter daylight and more complex glacier lines | Experienced teams only when conditions support it |
Mount Baker receives enormous snowfall, but a deep winter does not guarantee a simple late-summer route. Heat changes bridges and crevasses, and wildfire smoke can remove an otherwise good summit day. Pair a mountain forecast with current guide, ranger and road reports.
How difficult is Mount Baker?
Moderate by glacier-mountaineering standards; serious compared with hiking and non-glaciated snow climbs.
Physical
Standard routes gain roughly 7,000 feet from trailhead to summit and require carrying overnight equipment before a long summit day.
Technical
Rope-team travel, crampons, ice axe, crevasse-rescue systems and route finding are fundamental—not optional extras.
Objective
Crevasses, snow bridges, storms, whiteouts, warming snow, avalanche terrain and volcanic features create risk beyond fitness.
Readiness checklist
- Hike six to ten hours with a loaded pack
- Climb at least 4,000 vertical feet in training
- Move efficiently in crampons
- Use an ice axe for balance and arrest
- Understand rope spacing and communication
- Practice crevasse rescue hands-on
- Camp on snow or in cold alpine conditions
- Navigate with limited visibility
- Manage food and hydration during an alpine start
- Turn around for route or weather deterioration
Use Glacier Travel Basics and Crevasse Rescue Basics for conceptual preparation, then learn the systems from a qualified instructor before relying on them.
A practical three-day Mount Baker itinerary
Three days is popular because it preserves a real instruction day rather than compressing everything into a summit push.
| Day | Typical plan | Purpose |
|---|---|---|
| 1 | Gear check, trailhead approach and climb to high camp | Establish camp, learn pacing and begin mountain systems |
| 2 | Glacier school: crampons, ice axe, rope travel and rescue practice | Build functional skills before the summit attempt |
| 3 | Alpine start, summit attempt, return to camp and descend | Apply the systems during a long real-world glacier day |
Two-day climbs can work for experienced climbers who already possess the technical skills and fitness. A first-time climber gains more from a three-day course or a longer six-day seminar than from choosing the shortest product.
How to train for Mount Baker
Train for loaded elevation gain, back-to-back work and technical efficiency—not just summit elevation.
Eight to sixteen weeks out
- Build three to five aerobic sessions per week.
- Use stairs, steep hiking and inclined treadmill work.
- Strengthen step-ups, split squats, calves and trunk.
- Progress pack weight gradually.
Final six weeks
- Complete multiple 3,000–4,000-foot gain days.
- Use the intended boots and pack.
- Practice a long day after an overnight camp.
- Refresh glacier and rescue systems.
The dedicated training plan for a first glacier climb provides the broader progression from hiking fitness to rope-team readiness.
Mount Baker gear
Standard routes require full personal glacier equipment plus overnight camp systems.
Personal technical gear
- Crampon-compatible mountaineering boots
- General mountaineering crampons
- Ice axe
- Helmet and harness
- Prusiks, carabiners and rescue equipment as assigned
- Trekking poles for approach terrain
Clothing and camp gear
- Base, active, insulation and waterproof layers
- Warm gloves and eye protection
- Overnight pack, tent and sleeping system
- Stove, food and water systems
- Headlamp and navigation tools
- Waste-removal supplies
Use the mountaineering boots guide before buying or renting. Most guided programs provide a detailed list and may rent technical equipment, but boots should be fitted and tested well before summit day.
Guided or independent?
Baker is accessible to fit beginners through instruction; independent climbing demands complete team competence.
Choose a guided program when
- This is your first glaciated mountain.
- You need hands-on rope and rescue instruction.
- You want a structured Rainier preparation climb.
- You do not have a complete, experienced rope team.
- You need current route and camp decisions handled.
Independent climbing requires
- Every member understands glacier movement.
- The team has practiced crevasse rescue together.
- Navigation does not depend on following tracks.
- Group gear and emergency systems are complete.
- Leadership can turn around despite summit pressure.
Operator products range from short summit climbs to six-day expedition-skills seminars. Compare route, guide ratio, instruction time, rental equipment, camp food, group gear and cancellation terms rather than selecting only by price.
How much does Mount Baker cost?
The land-manager cost is low; guide instruction and personal equipment create most of the budget.
| Cost layer | Independent team | Guided client |
|---|---|---|
| Climbing permit | No Forest Service climbing fee | No separate Forest Service climbing fee |
| Trailhead pass | Valid recreation pass where required | Confirm whether guide transportation covers parking |
| Guide program | Not applicable | Current multi-day quote; instruction and ratio drive value |
| Technical equipment | Own or rent complete team and personal kit | Some group gear included; personal rentals may be extra |
| Travel and lodging | Vehicle, trailhead staging and recovery night | Usually client responsibility outside program dates |
| Food | Full mountain food and stove plan | May be included or partially client supplied |
Guided prices change by company, trip length and group size. A three-day instructional climb is often more valuable than the cheapest two-day summit product because the principal return is the glacier skill set—not only the summit.
Plan Seattle, Bellingham and North Cascades travel
Use the Global Summit Guide Expedia storefront to compare flights, rental cars and pre- or post-climb lodging. Trailhead transport, group equipment and meeting locations should be confirmed directly with the guide service.
Affiliate disclosure: Global Summit Guide may earn a commission when you book through this link, at no additional cost to you.
Shop Mount Baker Travel on ExpediaMount Baker hazards
Most Baker accidents begin with a systems failure, changing terrain or a schedule that no longer matches conditions.
Crevasses
Hidden and open cracks require correct rope spacing, route choice and practiced rescue systems.
Weather and whiteout
Pacific storms can erase visibility and make glacier navigation much harder than the slope angle suggests.
Heat and weak bridges
Warm temperatures soften snow and can weaken crossings during descent.
Avalanche and debris
Spring loading, warming snow, icefall and rockfall affect route and camp choices.
Volcanic terrain
Sherman Crater emits steam and gas; teams should follow current official hazard information.
Late descent
Fatigue, route changes and warming snow make the return to camp part of the summit decision.
Mount Baker to Mount Rainier—and beyond
Baker is the classroom; Rainier is the larger application of the same core glacier systems.
Baker and Rainier use the same foundational tools: rope-team movement, crampons, ice axe, glacier reading, crevasse awareness, alpine starts and camp discipline. Rainier adds more altitude, longer summit-day commitment, larger glacier systems and a more complicated permit structure.
Use Mount Baker vs Mount Rainier for the complete side-by-side decision. After a strong Baker climb, review Best Peaks After Mount Baker for Rainier, Shasta, Hood, Adams and broader expedition pathways.
Template 5.0 internal-link repair
These pages were chosen because they directly continue the Baker reader’s decision and were orphaned, archive-dependent or weakly linked in the audit.
Mount Baker climbing FAQ
Direct answers to the most common planning questions.
Is Mount Baker good for beginners?
Yes for fit beginners using a qualified instructional guide. No for untrained hikers attempting a glacier independently.
Do I need a permit?
No Forest Service climbing permit is required. A recreation pass is required at specified fee trailheads, and current trailhead and camping rules still apply.
Which route is easiest?
Coleman-Deming and Easton are the standard introductory choices. Both require real glacier skills and are most appropriate for beginners when guided.
How long is the climb?
Most standard trips take two to four days. Three days is common because it preserves instruction time.
When should I climb?
June and July are the core standard-route months, although conditions may support earlier or later climbing. Check road, glacier, weather and smoke information.
Is Baker harder than Rainier?
No. Rainier is higher, longer and more committing. Baker is valuable precisely because it teaches similar glacier systems on a more manageable mountain.
Can I climb without a guide?
Yes only with a complete, experienced rope team capable of glacier travel, rescue, route finding and emergency decisions.
Does Mount Baker have technical ice routes?
Yes. North Ridge and the headwall routes are advanced objectives requiring steep ice and alpine-climbing experience well beyond the standard glacier routes.
Research limitations and review standard
Global Summit Guide has not climbed Mount Baker. Distances, camp elevations and exact route lines vary by source, snowpack and season. Current land-manager notices, guide reports and field observations always outrank an evergreen route description.
Template 5.0 review cycle: verify the Forest Service permit and pass rules annually; review route access before the summer season; update guide costs only from current operator pages; maintain comparison and progression links after each orphan audit.
Official and primary sources
- U.S. Forest Service: Mount Baker summit climbing, passes and camping rules
- U.S. Geological Survey: Mount Baker elevation, geology and volcano status
- USGS: Mount Baker glaciers and their effects
- American Alpine Institute: Easton, Squak and Coleman-Deming route overview
- RMI: Coleman-Deming guided route description
- RMI: Easton Glacier guided route description
Use Baker to learn the systems before the mountain gets bigger
A strong Baker climb should leave you with more than a summit. It should leave you capable of moving, communicating and making decisions as part of a glacier rope team.
Compare Baker and Rainier Choose the Next Peak Build the Training PlanWas this helpful?
🏔Related peaks nearby
🧭Explore & compare
Global Summit Guide is an independent mountaineering resource founded in 2026. The team combines first-hand trekking and climbing experience with in-depth research and professional health and nutrition review to help climbers choose objectives, prepare properly, and stay safe.
Health, altitude, and nutrition content is reviewed by Taylor Ludlow (Registered Nurse) and Brigg Hoopes (Nutritionist).
What We Don't Know Yet
Mountain information changes quickly. This box explains the limits of what this page can responsibly promise.
- Permit availability, reservation windows, quotas, and official fee rules may change after this page is updated.
- Route conditions, trailhead access, crevasse exposure, stream crossings, and rescue access may vary from published planning guidance.
- Gear requirements can change by season, route variation, weather window, personal cold tolerance, and guide-service requirements.
- Fitness and altitude response vary by person; no guide, itinerary, or training plan can guarantee acclimatization or summit success.
Verify current conditions with official land managers, guide services, local forecasts, and current route reports before booking or climbing.
Part of this Global Summit Guide cluster
Explore the complete Mountains guide for more context, routes, planning links, and related resources.
Mountaineering, rock and ice climbing, glacier travel, and high-altitude activity are inherently dangerous and can result in serious injury or death. The information on Global Summit Guide is provided for general informational and educational purposes only and is not a substitute for professional instruction, qualified guiding, proper equipment, or your own judgment and experience.
Route conditions, weather, snowpack, permits, regulations, and hazards change constantly and may differ from what is described here. Details may be incomplete, out of date, or contain errors. Always verify current information with local authorities, certified guides, and official sources before making any decision in the mountains.
Nothing on this site is medical, legal, or financial advice. Our fitness, acclimatization, altitude, and nutrition content is general in nature; consult a qualified physician before beginning any strenuous exercise program or exposing yourself to high altitude.
You are solely responsible for your own safety and decisions. To the fullest extent permitted by law, Global Summit Guide and its team accept no liability for any loss, injury, damage, or expense arising from use of, or reliance on, this information. By using this site you acknowledge these risks and accept these terms.
Some links on this site may be affiliate links. If you buy through them we may earn a small commission at no extra cost to you; this never affects our recommendations.
Global Summit Guide recommendation path
Next Best Mountain to Research
Use these recommendations to continue the right planning path instead of stopping on one page.
Use current permit, weather, route, and operator information before booking or climbing.