
Last updated September 17, 2026
How to Read a Topographic Map for Hiking and Mountaineering
A topographic map is a two-dimensional picture of three-dimensional terrain. Learn to decode contour shape, contour spacing, scale, ridges, drainages, saddles, coordinates and declination, and you can see the mountain before you step onto it.
Read Shape First. Then Read Numbers.
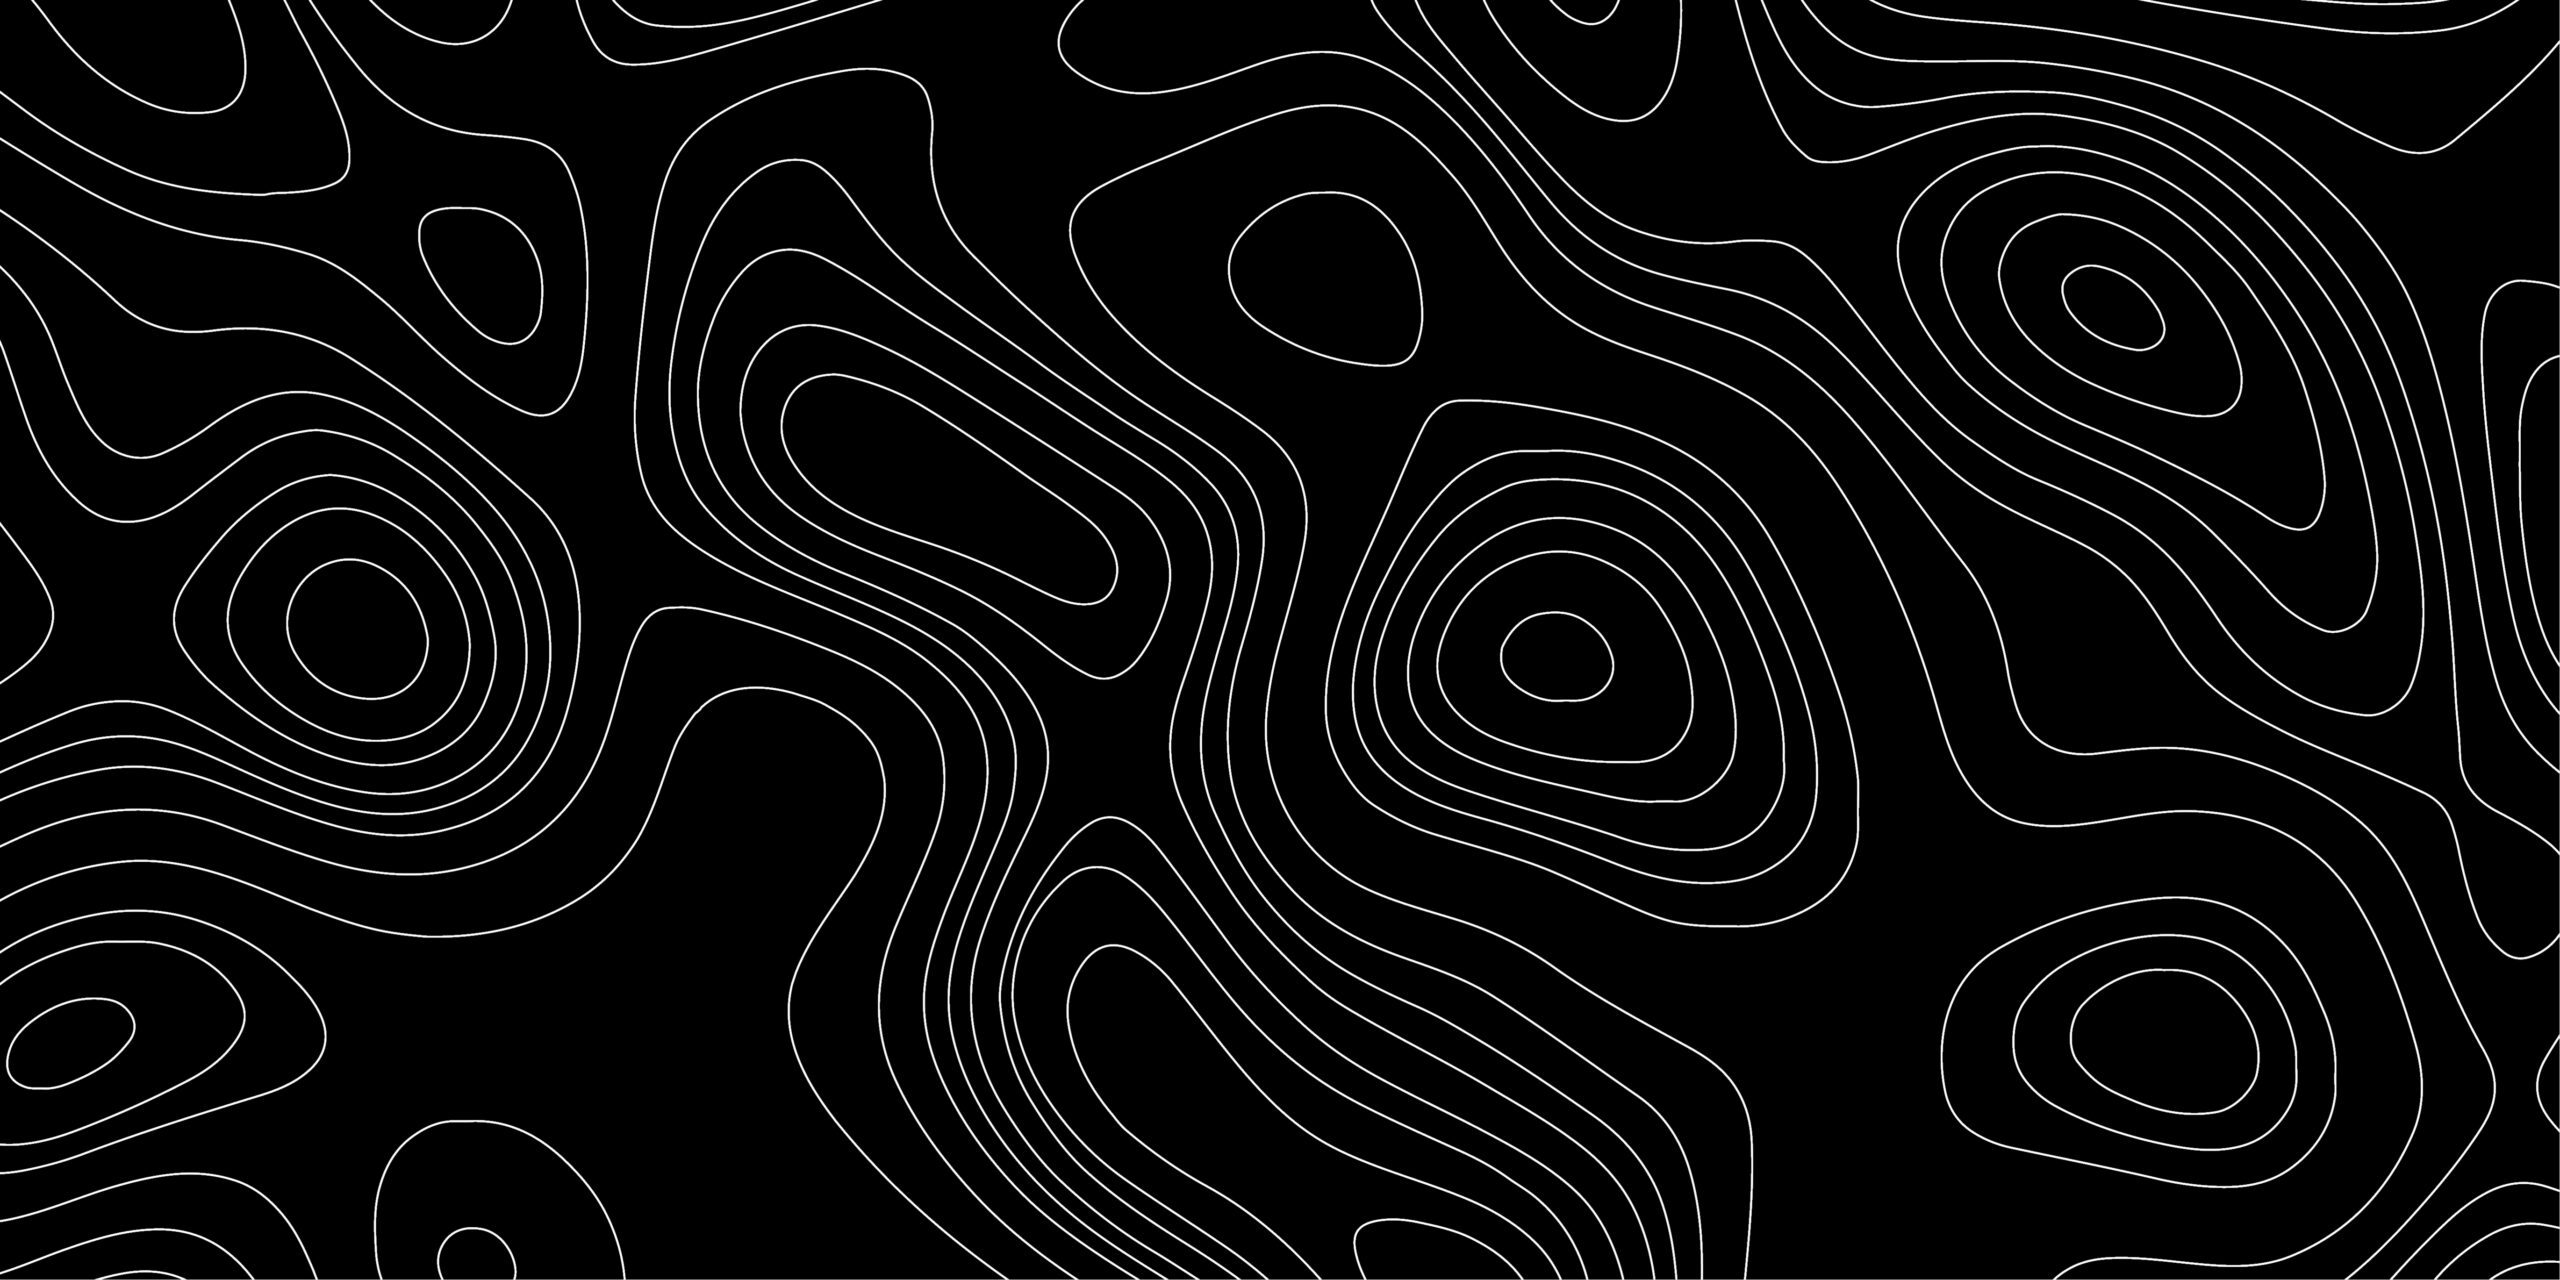
Start by finding the contour interval in the map margin. Every contour connects points of equal elevation. Next look at spacing: tightly packed lines mean steep ground; widely spaced lines mean gentler ground. Then read the pattern: closed loops usually indicate a hill or summit, Vs bending uphill usually indicate drainages, and contours bending downhill usually indicate ridges or spurs.
Only after you understand the terrain shape should you add distance, coordinates and compass bearings. That order keeps the map tied to the actual mountain instead of becoming a collection of numbers.
Contour Lines Turn Elevation Into Shape.
USGS defines contours as imaginary lines joining points of equal elevation. The vertical difference between neighboring contours is the contour interval.
Contour Interval
The vertical change from one adjacent contour to the next. Find it in the map margin or marginal information before interpreting any line spacing.
Index Contours
Heavier, labeled contours make elevation easier to read. Do not rely on a universal “every fifth line” rule; use the labels and legend on the actual map.
Intermediate Contours
Thinner lines between index contours reveal the terrain shape in greater detail. Count them only after confirming the contour interval.
Close Spacing
Many contour lines packed into a short horizontal distance mean rapid elevation change: steep ground.
Wide Spacing
Large gaps between contours mean the elevation changes slowly across the ground: gentler terrain.
Closed Loops
Closed contours without inward hachures generally rise toward the center. Closed contours with inward hachures mark a depression.
Read These Three Contour Patterns.
This simplified diagram is not a navigation map. It isolates the three visual ideas you should be able to recognize instantly.
The Map Gives You Shape. The Compass Gives You Direction.
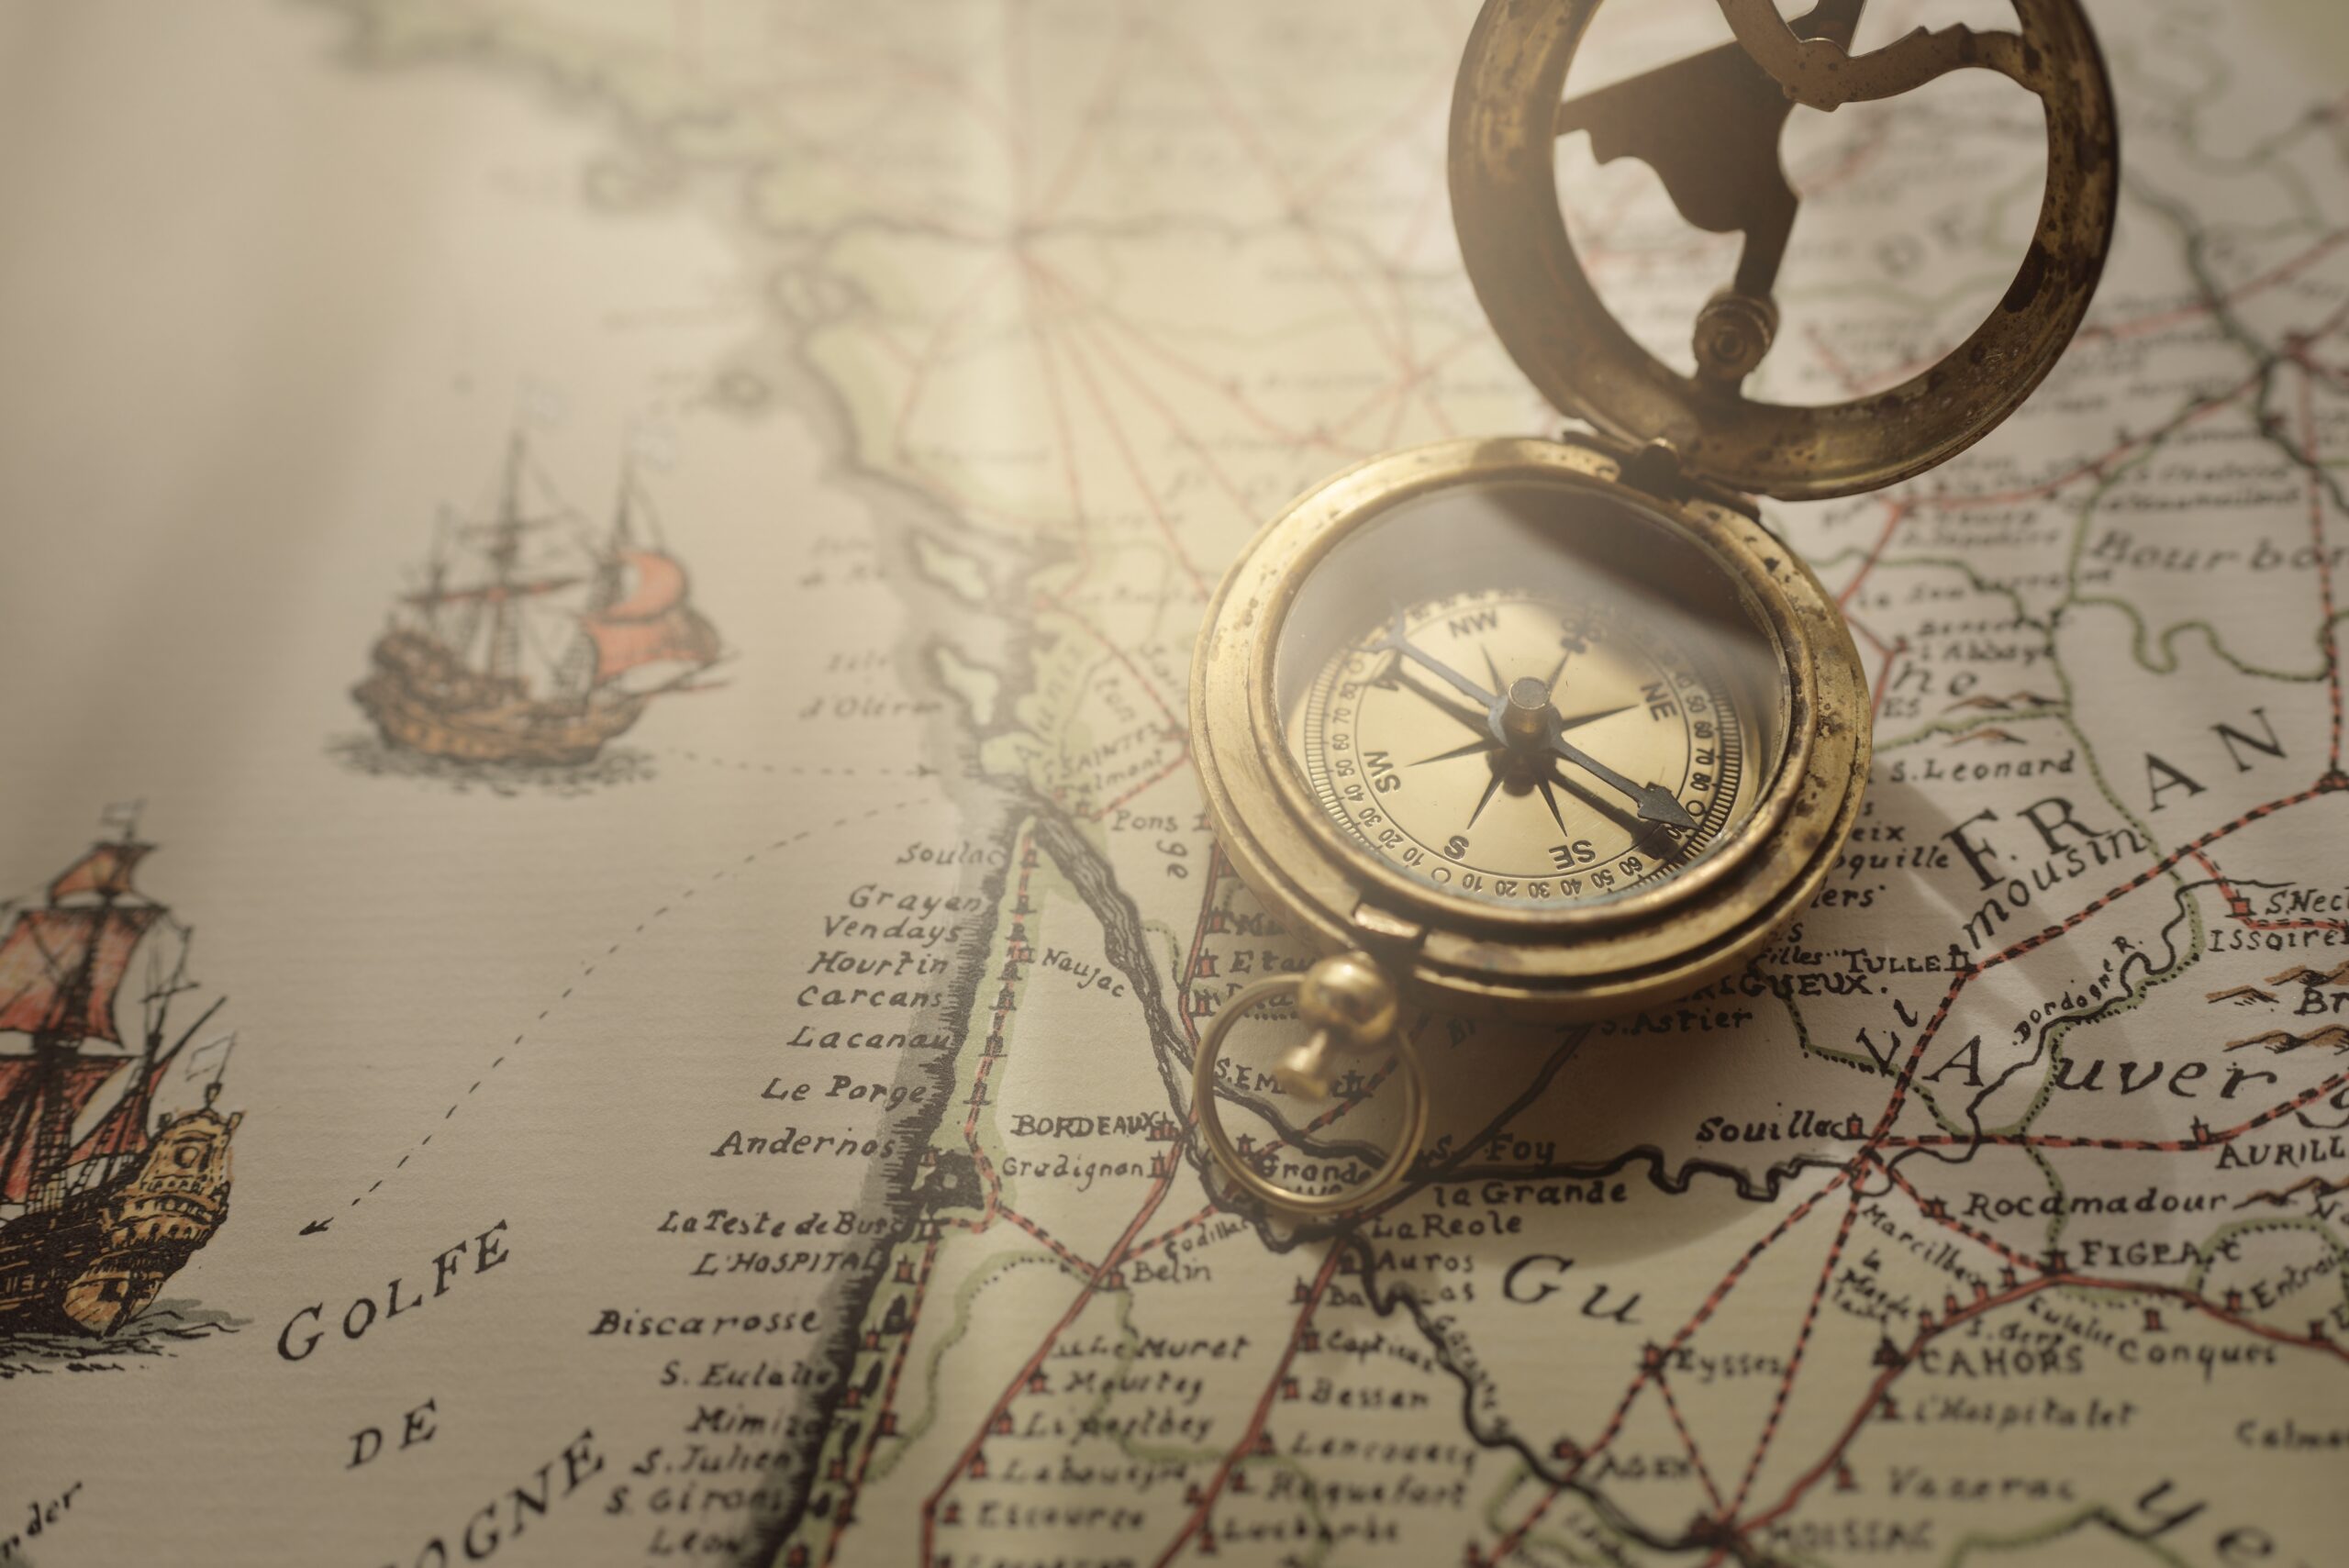
A compass bearing without terrain awareness can walk you efficiently toward the wrong feature. A topo map without a reliable north reference becomes harder to use when cloud removes the visual landmarks. The two systems become powerful when you continuously compare both to the ground around you.
Seven Shapes to Recognize Before Leaving the Trailhead.
The goal is not to memorize abstract symbols. It is to look at contour patterns and predict the actual landform you will meet.
Summit or Hill
Closed contours generally rise toward the center. Spot elevations, benchmarks or summit labels may identify the exact high point.
Col or Pass
A low point between higher ground, often represented by opposing contour bulges or an hourglass-like pattern.
Spur or Rib
High ground projecting away from a summit. Contour bends generally point downhill along the spur.
Drainage or Gully
Low ground that collects water. Contours crossing the drainage usually form Vs pointing uphill or upstream.
Near-Vertical Terrain
Contours crowd extremely close together. Some map series add rock or cliff symbols. Never assume you can descend through a contour wall without route-specific evidence.
Ground Falling Inward
A closed contour with inward-pointing hachures indicates a depression rather than a summit.
Flatter Ground
A local widening of contour spacing can indicate a bench, shelf or plateau—potentially useful for route transitions or camps, subject to terrain and regulations.
Drainage That Tightens Downhill
A broad gully can narrow into cliffs, waterfalls or avalanche terrain. Trace any proposed descent all the way to known safe ground before committing.
Map Scale Controls Detail.
A larger-scale map has the smaller denominator. So 1:24,000 is a larger scale—and shows more detail—than 1:50,000.
| Scale | What 1 inch represents | Use | Trade-off |
|---|---|---|---|
| 1:24,000 | 2,000 ft | US Topo detailed hiking / route planning | Smaller geographic area per sheet |
| 1:25,000 | ~2,083 ft | Detailed metric mountain mapping in many countries | Small-area detail |
| 1:50,000 | ~4,167 ft | Long approaches and wider route context | Less terrain detail |
| 1:100,000 | ~8,333 ft | Regional planning | Usually too coarse for fine off-trail decisions |
Estimate Slope From Rise and Run.
Contour spacing gives the quick visual answer. A simple calculation gives a more precise estimate when route steepness matters.
Slope Math
Measure the vertical rise between two points from the contours, then measure the horizontal map distance between those points using the map scale. Convert both to the same units.
Example: 400 ft of vertical rise over 1,000 ft of horizontal run = 40% grade. The slope angle is about 22°. Do not confuse grade percent with degrees.
Coordinates Work Only When the Format Is Clear.
The most common mountain-navigation failures with coordinates are not math errors. They are format, datum or transcription errors.
Latitude / Longitude
Universal and easy to share digitally. It may appear as decimal degrees, degrees and decimal minutes, or degrees-minutes-seconds. Never send a number without specifying the format.
UTM
Universal Transverse Mercator uses zone-based eastings and northings in metres. It is convenient for measuring distance on gridded paper maps, but the zone and datum must be correct.
Datum
The datum defines the reference model behind the coordinate. A coordinate copied between maps or devices with mismatched datums can shift position. Keep the map and device settings aligned.
Declination Is Location- and Date-Specific.
NOAA defines magnetic declination as the angle between true north and magnetic north. It varies by location and changes over time.
Find Current Declination
Use a current calculator such as NOAA’s magnetic declination tool for the location and trip date.
Check Your Compass
If your compass has adjustable declination, set the local value and confirm you understand the manufacturer’s east/west convention.
Orient the Map
Rotate the map so its north reference matches the ground and compass system you are using.
Cross-Check Terrain
Never follow a bearing blindly. Confirm ridges, drainages, saddles or other features as you move.
Use a Real Mountain to Practice Terrain Association.
The embedded map below is an orientation map, not a topo-navigation substitute. Use it to locate the mountain, then open a USGS topographic product and compare ridges, drainages and glacier valleys.
Practice This Seven-Step Map Routine.
Map reading becomes useful when it is a habit you repeat before and during a trip—not a skill you try to remember only after you are uncertain.
| Step | Question | Action | Why it matters |
|---|---|---|---|
| 1 | What map am I using? | Read scale, contour interval, legend, grid and date. | Prevents wrong assumptions before route planning begins. |
| 2 | Where is the high ground? | Mark summits, ridges and saddles. | Creates the terrain skeleton. |
| 3 | Where does water go? | Trace drainages downhill. | Clarifies valleys, terrain traps and ridge boundaries. |
| 4 | Where is it steep? | Scan for compressed contour spacing. | Finds likely cruxes and cliffs before arrival. |
| 5 | What should I see? | Match map features to actual ridges, valleys and peaks. | Maintains terrain association. |
| 6 | Where am I? | Thumb your position or update it regularly. | Relocation is easier before you are lost. |
| 7 | What if the device fails? | Keep an independent navigation method ready. | Removes one-point electronic failure. |
Your Phone Is Excellent. Make It Redundant.
Offline GPS mapping has made mountain navigation faster and easier. The smart response is not to reject it—it is to remove the single point of failure.
Before the Trip
- Download the correct offline map area.
- Save the intended route and key waypoints.
- Confirm coordinate format and map datum.
- Carry a charging plan appropriate to trip length and cold.
During the Trip
- Use GPS to confirm—not replace—terrain awareness.
- Keep the phone protected from cold and moisture.
- Check position before uncertainty becomes disorientation.
- Do not blindly follow a downloaded track into changed terrain.
Independent Backup
- Carry a paper map appropriate to the route.
- Carry a usable compass.
- Know the current declination.
- Practice map-and-compass skills on familiar ground.
What This Guide Uses—and What It Does Not Claim.
Topographic conventions are stable, but individual map products differ. This guide teaches transferable reading principles rather than pretending every national map series uses identical symbols.
Primary references
Editorial limits
- Contour interval is map-specific; no universal 40-ft assumption.
- Symbols and colors vary among map series and eras.
- Historical maps may carry outdated declination diagrams.
- Topo-derived slope is an estimate and can smooth small terrain features.
- A map-reading article is not a substitute for avalanche, glacier or technical navigation instruction.
- Serious off-trail skills should be practiced before they become emergency skills.
Topographic Map FAQ
These are the core questions to answer before you rely on a topo map in mountain terrain.
What do contour lines on a topographic map mean?
Contour lines connect points of equal elevation. Close spacing means the ground is steep; wide spacing means it is gentler. The contour interval is the vertical elevation difference between adjacent lines and must be read from the specific map.
How do I know the contour interval?
Read the map margin or marginal information. USGS says contour interval is selected to fit the terrain: relatively flat areas may use about 10 feet while steep areas may use 100 feet or more. Do not assume every 1:24,000 map uses 40-foot contours.
How do I tell a ridge from a valley?
Contours crossing a drainage usually form a V that points uphill or upstream. Contours bending across a ridge or spur generally point downhill. Confirm the interpretation with surrounding elevations, streams and the larger terrain pattern.
What map scale is best for hiking and mountaineering?
In the U.S., 1:24,000 is a strong detailed scale for on-foot navigation. A 1:50,000 map covers more ground with less detail. Many climbers use a detailed map for route work and a broader map for regional context.
What is magnetic declination?
The angle between true north and magnetic north at a specific place and time. It changes, so use a current NOAA value rather than assuming an old map’s declination diagram is still accurate.
Can I navigate with only a phone app?
A phone with downloaded offline maps is extremely useful, but serious mountain navigation benefits from redundancy. Carry a second independent system such as paper map and compass and know how to use it.
How can I estimate slope from a topo map?
Slope percent equals vertical rise divided by horizontal run, multiplied by 100. Slope angle is the arctangent of rise divided by run. Use the same units for rise and run and remember that map distance is horizontal distance.
What should I read first on an unfamiliar topographic map?
Start with scale, contour interval, map date or data vintage, north references, coordinate grid and legend. Then identify the major ridges, drainages, summits, saddles and cliffs before tracing your route.

Global Summit Guide Editorial Team
This instructional page is research-based and is part of the Mountain Navigation cluster. Core cartographic conventions are checked against USGS resources; magnetic-declination guidance is tied to current NOAA tools. Practice map reading on familiar terrain before relying on it in consequential mountain navigation.
Continue the Mountain Navigation System
Topo reading is one layer. Add compass work, low-visibility technique, weather judgment, emergency communication and terrain-specific safety.
Look at the Map. Predict the Mountain. Then Look Up.
Topographic map reading becomes powerful when the contour pattern in your hand matches the terrain in front of you. Practice that connection on easy ground until ridges, drainages, saddles and steepness become obvious before visibility or electronics make the problem harder.
Was this helpful?
Global Summit Guide is an independent mountaineering resource founded in 2026. The team combines first-hand trekking and climbing experience with in-depth research and professional health and nutrition review to help climbers choose objectives, prepare properly, and stay safe.
Health, altitude, and nutrition content is reviewed by Taylor Ludlow (Registered Nurse) and Brigg Hoopes (Nutritionist).
What We Don't Know Yet
Mountain information changes quickly. This box explains the limits of what this page can responsibly promise.
- Visa, passport, vaccination, border, insurance, and local transportation rules may change before your trip.
- Route conditions, snowpack, closures, and weather can change quickly after this page is updated.
- Permit rules, fees, quotas, and reservation windows may change between review cycles.
- Operator availability, pricing, guide ratios, and cancellation terms can change by season.
- Your fitness, altitude response, risk tolerance, and experience level may change what is safe or realistic.
Verify current conditions with official land managers, guide services, local forecasts, and current route reports before booking or climbing.
Mountaineering, rock and ice climbing, glacier travel, and high-altitude activity are inherently dangerous and can result in serious injury or death. The information on Global Summit Guide is provided for general informational and educational purposes only and is not a substitute for professional instruction, qualified guiding, proper equipment, or your own judgment and experience.
Route conditions, weather, snowpack, permits, regulations, and hazards change constantly and may differ from what is described here. Details may be incomplete, out of date, or contain errors. Always verify current information with local authorities, certified guides, and official sources before making any decision in the mountains.
Nothing on this site is medical, legal, or financial advice. Our fitness, acclimatization, altitude, and nutrition content is general in nature; consult a qualified physician before beginning any strenuous exercise program or exposing yourself to high altitude.
You are solely responsible for your own safety and decisions. To the fullest extent permitted by law, Global Summit Guide and its team accept no liability for any loss, injury, damage, or expense arising from use of, or reliance on, this information. By using this site you acknowledge these risks and accept these terms.
Some links on this site may be affiliate links. If you buy through them we may earn a small commission at no extra cost to you; this never affects our recommendations.
Global Summit Guide recommendation path
Next Best Mountain to Research
Use these recommendations to continue the right planning path instead of stopping on one page.
Use current permit, weather, route, and operator information before booking or climbing.