
Last updated October 5, 2026
Whiteout Navigation: how to stay on route when everything disappears
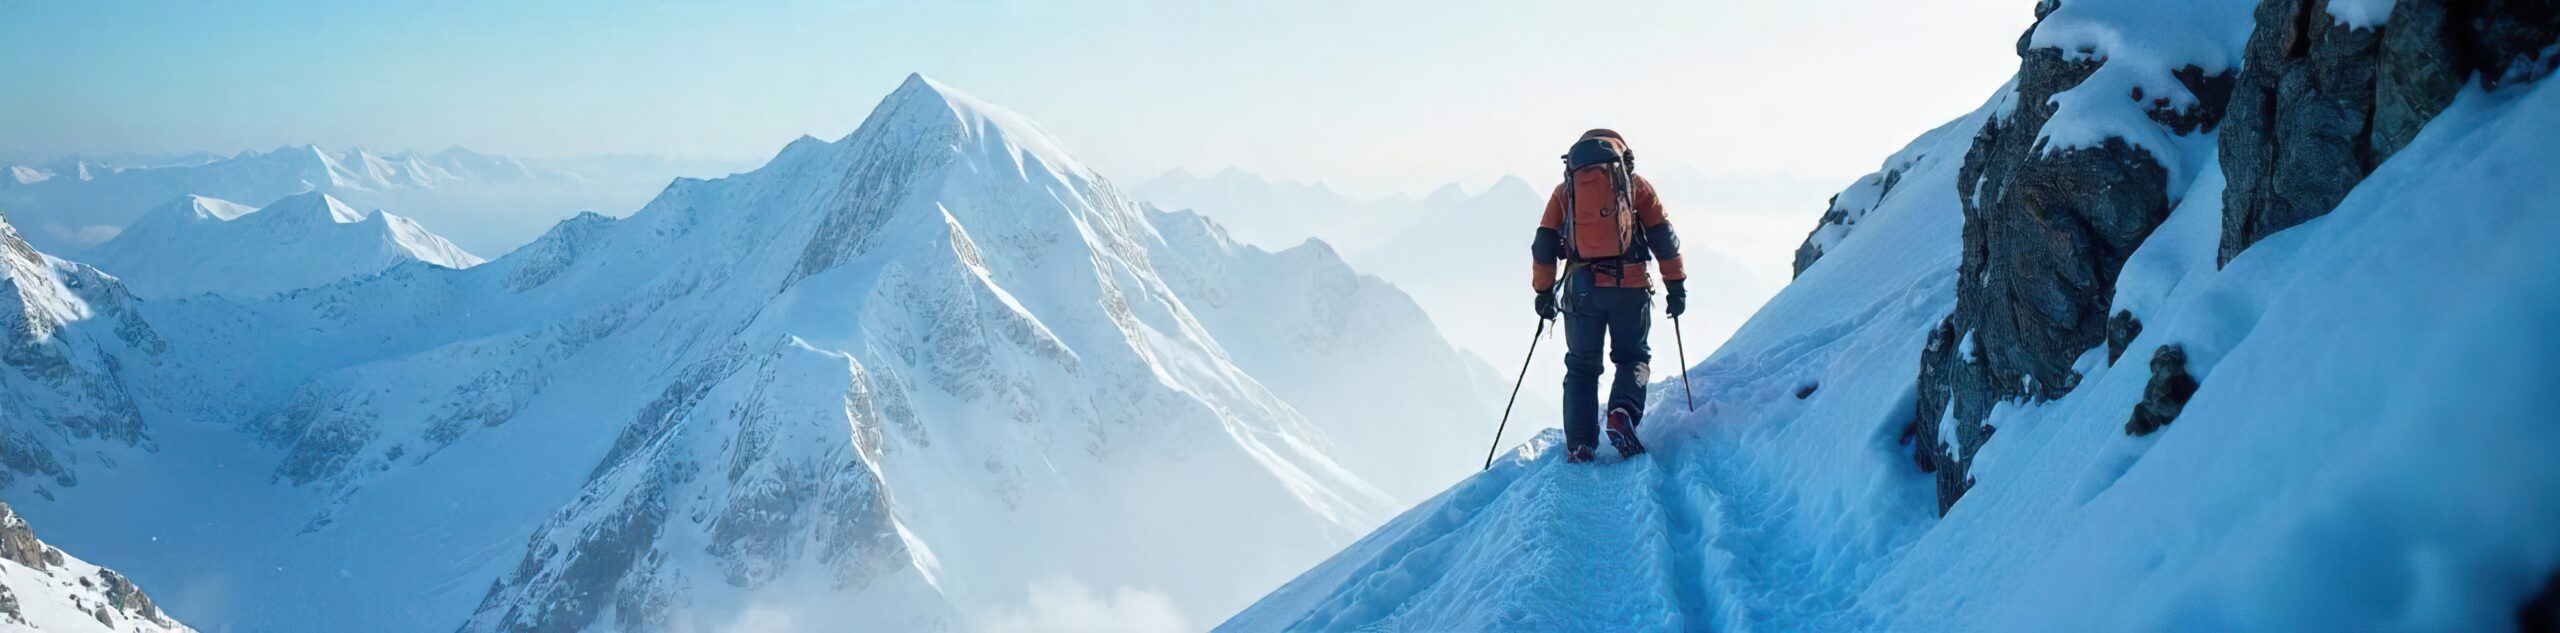
A whiteout removes the horizon, flattens all contrast, and takes away depth perception, so a familiar slope becomes a blank white void where you cannot tell up from down or spot the edge of a cornice. Navigating through it is a learnable system built on the compass, the map, and counting your own steps, plus the judgment to know when to stop instead. This guide covers what a whiteout does to you, how to prepare before one hits, and the techniques (bearing and pacing, handrails, catching features, aiming off, and roped-team method) that keep you on route when your eyes can no longer help.
In a whiteout, stop trusting your eyes and trust the instruments.
The core method is bearing and pacing: follow a precise compass heading taken from the map, and measure distance by counting paces or timing, so you know which way you are going and how far you have gone when you can see neither.
Support it with handrails, catching features, and aiming off, cross-check slope aspect against the map, and use GPS as a confirmation rather than the whole plan.
Most of the safety margin is built before the whiteout: mark your track, log your bearings, and set a turnaround. And know that stopping to shelter is always a legitimate choice.
What a whiteout does to you
Understanding the specific ways a whiteout defeats the eyes is what makes the instrument-based response feel necessary rather than optional.
A whiteout happens when falling snow, cloud, fog, or blowing snow removes contrast and erases the horizon, so the snow underfoot and the sky above blend into a single uniform white. The effects stack quickly. You lose depth perception, so you cannot judge how far away anything is or how steep the slope is under your feet. You lose the horizon, so your inner sense of level and direction drifts, producing vertigo and the well-documented tendency to walk in circles. You cannot see terrain hazards that normally announce themselves: the lip of a cornice, the edge of a cliff band, the sag of a hidden crevasse, or the change of aspect onto a wind-loaded avalanche slope. People have walked over cliff edges and onto avalanche terrain in whiteouts believing they were on safe, flat ground. The response to all of this is the same: stop navigating by sight and start navigating by instrument.
Prepare before it hits
Most whiteout safety is bought in advance. What you do before visibility drops decides how well you cope when it does.
Whiteouts often arrive gradually, and the climbers who handle them well are the ones who set up while they could still see. Before and during the ascent, note the bearings you will need for the descent, so you are not trying to work them out for the first time in zero visibility. Mark your ascent track where the terrain is complex: wands (thin marker flags) on a glacier, mental notes of catching features, or GPS waypoints at key turns. Watch the weather and set a turnaround time and turnaround conditions in advance, then honor them rather than renegotiating in the moment. Keep the map and compass accessible, not buried in the pack, and keep the phone or GPS warm in an inside pocket. The goal is that when the cloud closes in, every tool and every number you need is already in hand.
Bearing and pacing
This is the backbone of whiteout navigation. Everything else supports it.
Bearing and pacing answers the two questions your eyes normally answer: which way am I going, and how far have I gone.
Following a bearing
Take a precise compass bearing from the map to your next point, corrected for declination, and follow it in a straight line regardless of what the ground looks like. In a full whiteout you cannot pick a distant object to walk toward, so hold the compass carefully and, on a rope team, send a partner ahead to the limit of visibility as a moving aiming mark, then have them line up on your bearing before you follow. Small errors add up over distance, so re-check the bearing often and keep legs short.
Measuring distance by pacing and timing
Distance is measured two ways. Pacing means counting your double-paces (every time the same foot lands) against your known pace count, which is the number of double-paces you take to cover 100 metres, established beforehand on flat ground and adjusted for snow, slope, and load. Timing means using your known speed to estimate distance from elapsed time, useful over longer legs. Together they let you predict when a feature should appear, so you can slow down and look for it, or know you have overshot and stop.
Handrails, catching features, and aiming off
Three classic techniques that make a bearing far more forgiving.
Handrails
A handrail is a linear feature you follow to stay on line: a ridge crest, the edge of a valley, a stream, a treeline, or a fence. Following a handrail is easier and more error-tolerant than holding a precise bearing across open ground, so use one whenever the terrain offers it.
Catching features
A catching feature is a backstop beyond your target: a ridge, road, stream, or steep drop that tells you unmistakably if you have gone too far. Knowing there is a catching feature past your goal lets you move with confidence, because overshooting will be obvious rather than silent.
Aiming off
When aiming for a point on a handrail (say a bridge on a stream), deliberately aim to one known side of it rather than straight at it. Then when you hit the handrail you know exactly which way to turn to reach the target, instead of arriving unsure whether it is left or right.
Attack points
Navigate first to an easy-to-find larger feature near your target (an attack point), then make the final precise approach from there over a short, controlled distance. This shortens the leg where precision matters most.
Slope aspect as a check
Even blind, the slope under your feet carries navigation information you can verify against the map.
Slope aspect is the compass direction a slope faces, and it is one of the few things you can still measure in a whiteout. Point your compass down the fall line (the direction a ball would roll) and read the aspect, then compare it to what the map says the aspect should be at your believed position. If the map says you should be on a slope facing north-east and your compass reads south, you are not where you think you are. Slope angle, estimated with an inclinometer or a compass with a clinometer, adds a second cross-check. Aspect and angle together are a powerful way to catch a navigation error before it grows, and to avoid unknowingly traversing onto a steeper, wind-loaded avalanche slope.
In a whiteout you can wander onto dangerous avalanche terrain without seeing it. Wind-loaded lee slopes of a particular aspect and angle carry the most risk, and a slope-aspect reading that does not match your intended safe line is a warning to stop and reassess, not to push on. Whiteout navigation and avalanche awareness are inseparable on snow. See the avalanche awareness guide for how aspect, angle, and loading combine.
Roped-team method
A team can navigate a whiteout more accurately than a solo climber, if it works deliberately.
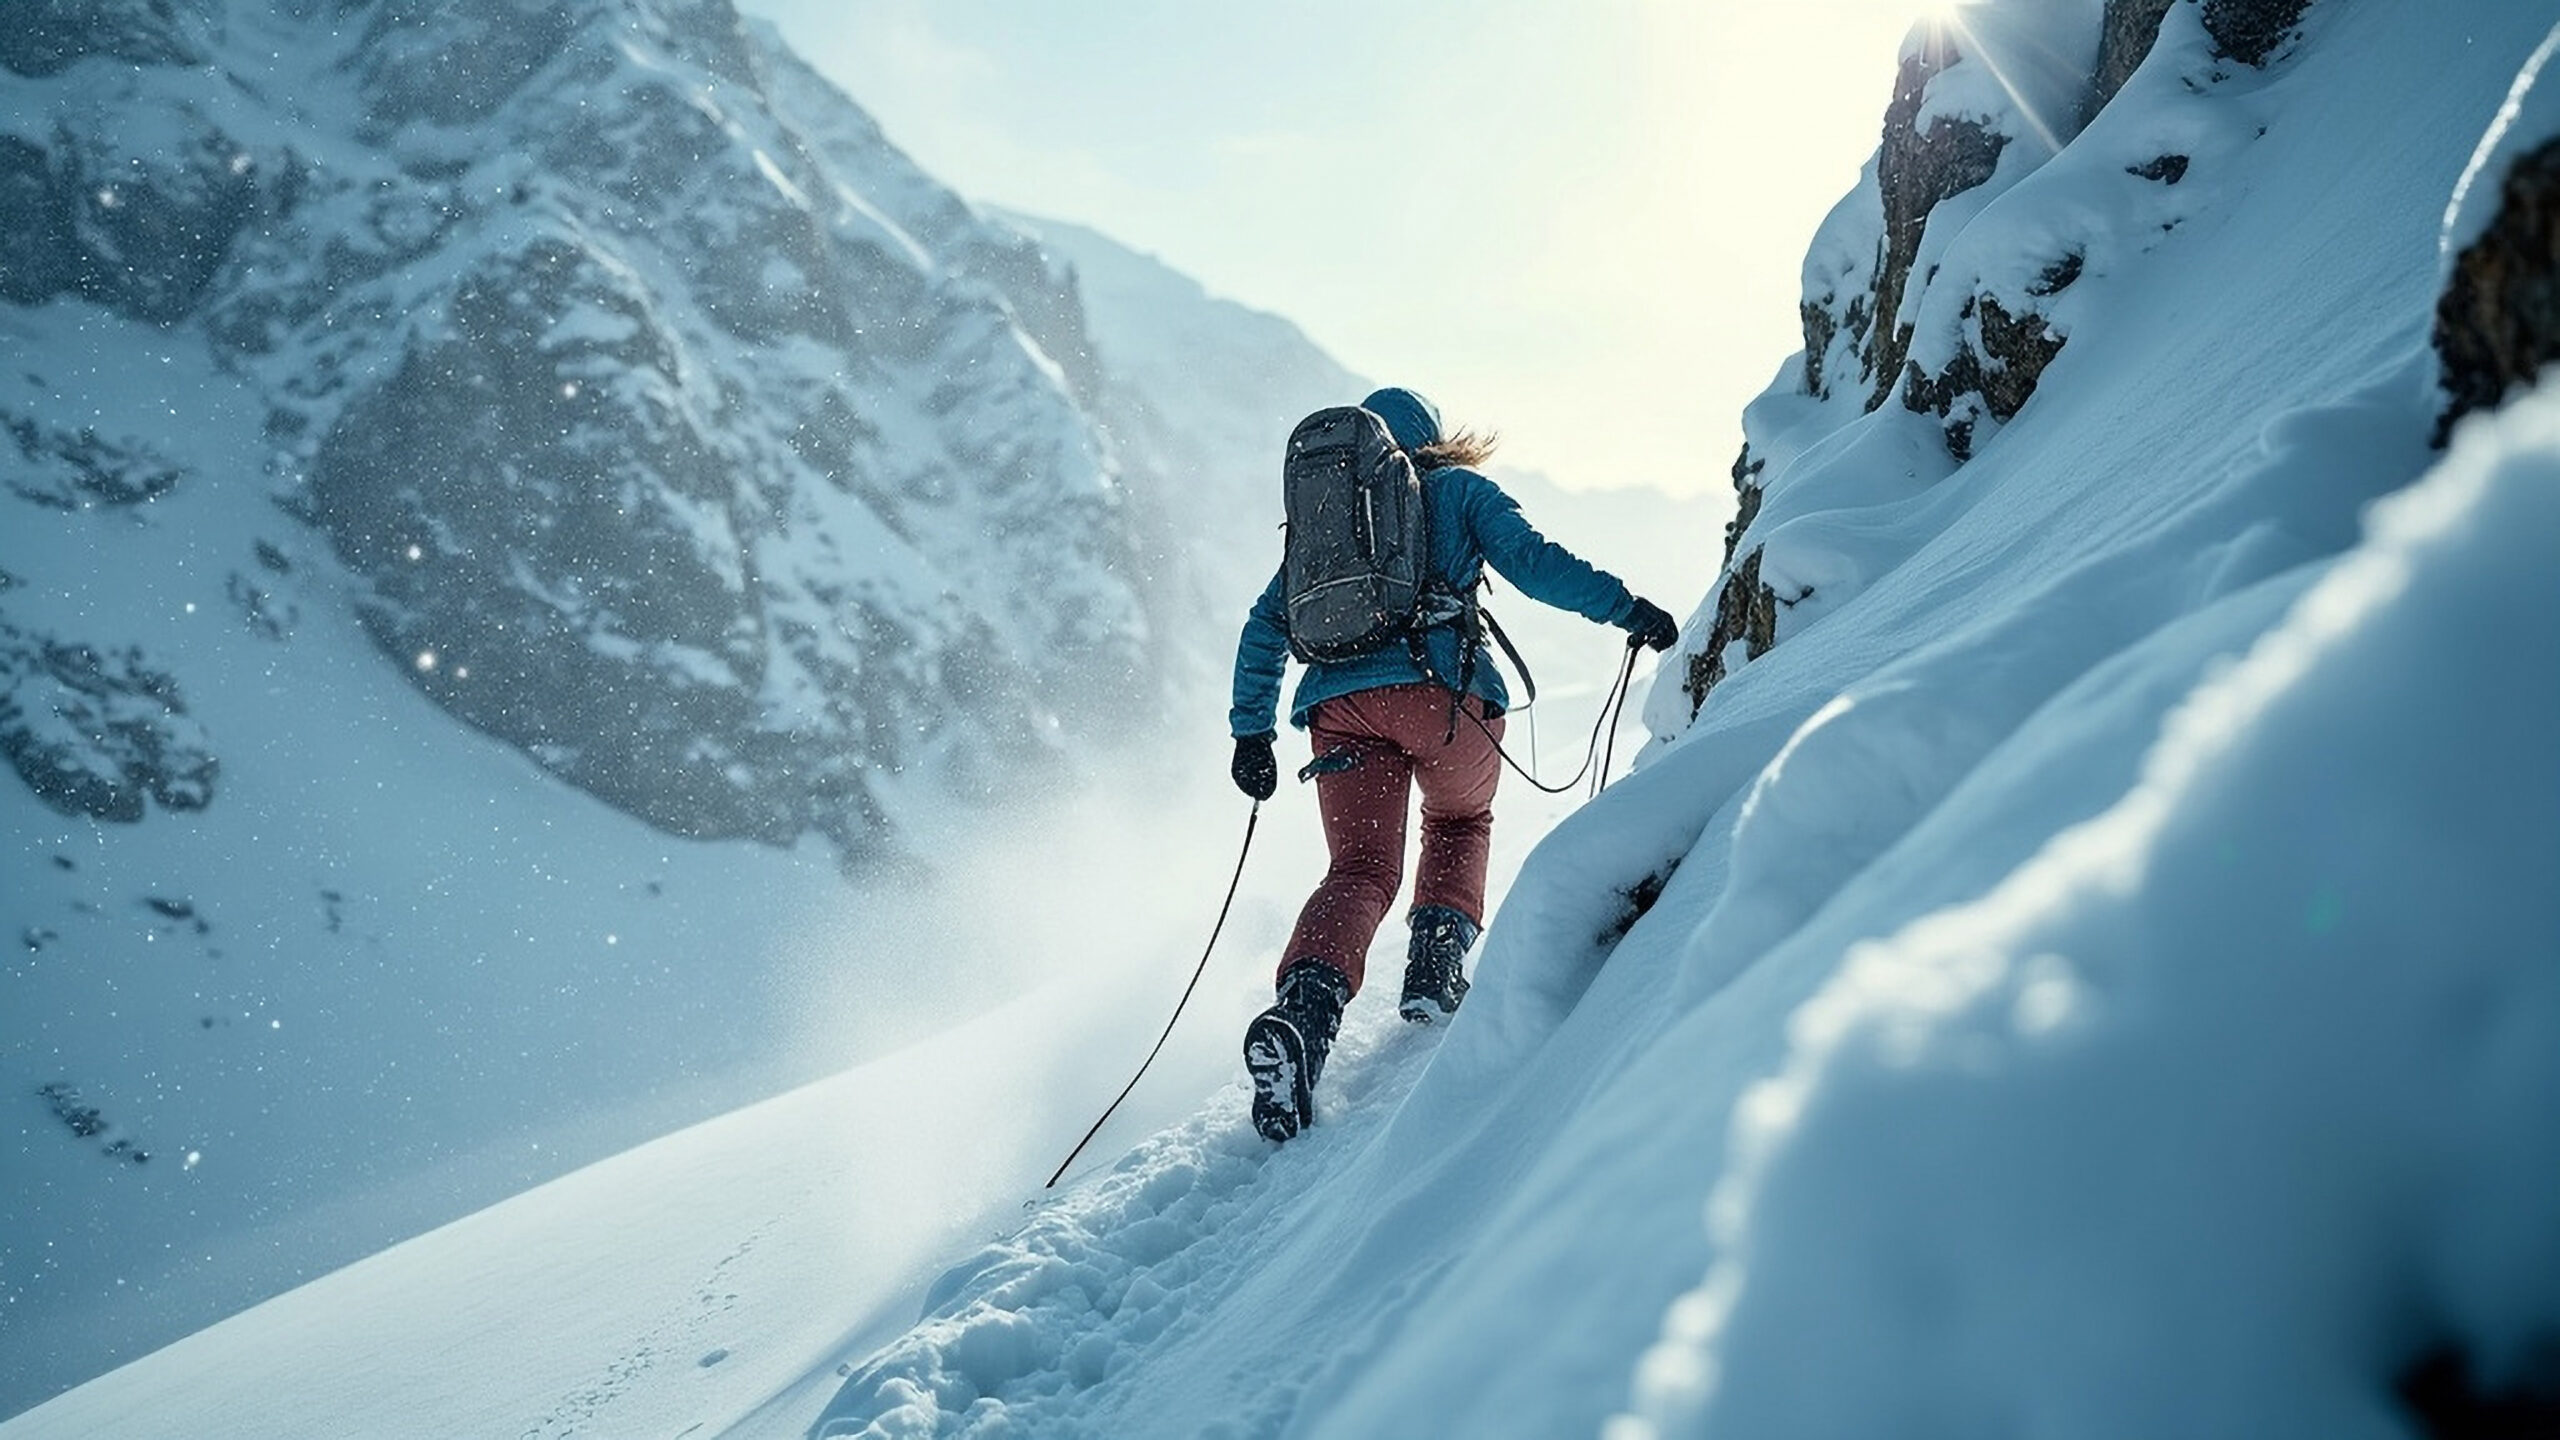
The core team technique is to use the lead person as a movable aiming mark. The navigator holds the bearing at the back and directs a partner out ahead to the limit of visibility, signalling them left or right until they are exactly on the bearing line, then the team moves up to them and repeats. This leapfrogging keeps a straight line far better than one person trying to walk a bearing while staring at a compass and stumbling over unseen ground. Keep the rope managed for crevasse terrain, keep spacing consistent, and communicate constantly, since a partner twenty metres away can vanish into the white. The navigator should keep a running tally of pace count and bearings so the team’s believed position stays continuously updated rather than reconstructed after the fact.
GPS as a check
A GPS is a superb confirmation tool and a poor sole plan.
A GPS unit or phone app shows your position on a map layer, which can confirm in seconds that your bearing and pacing have kept you on line, or reveal that they have not. Carry one, keep it warm, download offline maps in advance, and bring a power bank. But do not let it replace the underlying system. Cold destroys battery life, screens fail, and devices get dropped or lost at the worst times, so you must be able to navigate without it. A GPS also tells you where you are but not what is immediately around you, so the map, compass, and terrain reading still do the work of moving safely between waypoints and avoiding the cornice or crevasse a single dot on a screen will never show. Treat it as the check on your navigation, not the navigation itself. The full map-and-compass system is covered in the mountain navigation guide, and reading terrain shape in the topographic map guide.
Descent and the shelter decision
Descending in a whiteout is the most dangerous phase, and knowing when not to move is part of the skill.
Errors compound downhill. On descent you are tired, often moving faster, and the featureless slope hides exactly what hurts: the lip of a cornice, the edge of a cliff band, the drift off the correct ridge into a steepening gully, or the change of aspect onto avalanche terrain. This is why the descent bearings noted on the way up, the marked ascent track, and a deliberate slowing of pace matter so much. It is also why stopping is sometimes the right call. If you are on complex or hazardous ground and cannot navigate with confidence, digging in and sheltering to wait for visibility is often safer than moving, and an emergency shelter, bivy bag, or dug snow pit is a legitimate tool, not a failure. Make the stop-or-go decision deliberately against your turnaround plan, not by momentum or summit pressure. On safe terrain with a reliable bearing and worsening weather, careful movement toward safety may be right; on dangerous terrain without confidence, waiting usually wins.
Common mistakes
Whiteout accidents cluster around a few repeatable errors.
Trusting your sense of direction. Without a reference, everyone drifts and can circle. Follow the compass bearing, not your instinct.
Not noting descent bearings on the way up. Working out navigation for the first time in zero visibility, while tired, is when errors happen. Prepare while you can still see.
Skipping pace counting. A bearing without distance measurement tells you direction but not when to expect or when you have passed your feature.
Relying only on GPS. A dead or lost device with no map, compass, and pacing skills removes navigation entirely at the worst moment.
Ignoring slope aspect. Aspect and angle are a free cross-check on position and an avalanche warning. Not reading them discards information you still have.
Pushing on by momentum. Continuing because you have been moving, rather than because the plan says to, is how climbers end up on cliffs and avalanche slopes. Stopping to shelter is a valid choice.
Long legs on a bearing. Small heading errors grow with distance. Keep legs short, re-check often, and use a lead person as an aiming mark.
Whiteout navigation FAQ
The questions climbers ask most.
What is a whiteout and why is it dangerous?
A loss of visibility where snow or cloud removes the horizon and flattens contrast, merging ground and sky. It strips depth perception and hides cornices, cliffs, crevasses, and avalanche slopes, so climbers can walk into hazards or in circles. Navigation must shift to instruments.
How do you navigate in a whiteout?
By instrument, not sight. The core method is bearing and pacing: follow a precise compass heading and measure distance by counting paces or timing, supported by handrails, catching features, and aiming off, with GPS as a check.
What is bearing and pacing?
The bearing is a precise map-derived compass heading you follow in a straight line; pacing is measuring distance by counting double-paces against a known pace count. Together they replace the direction and distance your eyes normally give you.
Can you walk in circles in a whiteout?
Yes. Without a visible reference, people drift to one side and can circle without noticing. Following a compass bearing, and using a lead person as an aiming mark, prevents it.
Keep moving or shelter?
It depends on terrain, confidence, and conditions. On hazardous ground without reliable navigation, sheltering to wait for visibility is often safer. On safe terrain with a solid bearing and worsening weather, careful movement may be better. Decide against your turnaround plan, not by momentum.
Why is descending most dangerous?
You are tired, faster, and the featureless slope hides cornices, cliff edges, and aspect changes, while errors compound downhill. Descent bearings noted on the way up and a slower pace are the countermeasures.
Is GPS enough on its own?
No. It is a strong check but batteries die and devices fail, and a dot on a screen does not show the cornice or crevasse beside you. Carry map, compass, and pacing skills as the backbone and a paper backup.
Sources & notes
- Navigation technique: standard mountaineering instruction on bearing and pacing, handrails, catching features, aiming off, attack points, and slope-aspect cross-checks.
- Disorientation research: the documented human tendency to walk in circles without a visual reference, which underpins the reliance on compass bearings.
- Avalanche cross-reference: slope aspect and angle as both a navigation check and an avalanche-terrain indicator.
- Digital tools: GPS units and apps such as Gaia GPS and CalTopo used as a position check alongside map, compass, and a paper backup.
- Honest framing: instructional reference content reviewed for safety by Dawson Ludlow. Whiteout navigation should be practiced in low-consequence conditions and, ideally, learned in a hands-on skills course before it is relied on.
About Global Summit Guide
Global Summit Guide is an independent mountaineering resource. This guide is part of our Skills & Safety series and the Mountain Navigation cluster, alongside guides on reading topographic maps, satellite communicators, and emergency contact planning. The team’s navigation experience spans the Cascade volcanoes, Kilimanjaro, and Utah’s ranges in variable conditions; safety content is reviewed by Dawson Ludlow. Read more about the team and mission.
Whiteout Navigation Works Best When You Never Lose Your Position in the First Place.
Bearing and pacing are powerful only when the team still knows where the leg begins. On complex snow and glacier terrain, do not wait until visibility is gone and then try to reconstruct a position from scratch. Track the route continuously as conditions deteriorate: record waypoints, note bearings, keep distance, preserve the last known point, and stop the moment map, compass, GPS and terrain stop agreeing.
Whiteout Hazards Need Different Navigation Rules
A compass can keep a straight line and still lead a team into the wrong kind of terrain. The route has to be designed around what happens if the line is slightly wrong.
| Terrain | Main whiteout problem | Safer navigation principle | Do not assume |
|---|---|---|---|
| Corniced ridge / plateau | The true edge can be invisible and may extend beyond the mapped ground edge | Build a deliberate margin away from the edge; use dog-leg, aim-off or boxing-away concepts only if already practiced | That a cliff or cornice edge is a safe handrail in winter whiteout conditions |
| Crevassed glacier | A precise horizontal position does not reveal the hidden crevasse immediately beside the track | Maintain continuous known position, roped glacier systems and a preplanned route/track | That map-and-compass alone can safely recover a route after the team has already become position-uncertain |
| Avalanche terrain | Visibility removes the observations used to judge loading, runout and nearby slope transitions | Use conservative preplanned terrain, aspect/angle checks and current avalanche information | That a correct bearing makes the snow terrain safe |
| Broad descent | Fatigue and downhill speed amplify drift; gullies and convexities appear late | Slow down, shorten legs, use recorded descent bearings/waypoints and verify every major terrain change | That retracing “roughly the same direction” is enough |
| Unknown position | Movement can turn a small uncertainty into a major relocation problem | Stop, establish last known point and safe options, then relocate deliberately or shelter | That moving farther will eventually make the answer obvious |
Important exception to “use a handrail.”
Linear terrain features are excellent navigation aids only when following them does not pull the team toward a hazard. Mountaineering Scotland specifically warns that in poor visibility near corniced edges, climbers should create a safety margin away from the edge rather than casually handrailing it.
A Four-Step Whiteout Stop & Relocation Protocol
The existing guide explains the navigation tools. This protocol explains when to stop using forward momentum as the default.
Stop movement
Keep the team together and secure. Do not keep walking while debating where you are.
Fix the last known point
Use the last confirmed terrain feature, waypoint, time, pace count and bearing rather than starting with a guess.
Cross-check independently
Compare paper map/compass, GPS position, slope aspect, altitude and expected terrain change. Agreement matters more than any single device.
Choose move, backtrack or shelter
Move only when the route and consequence are understood. Otherwise reverse a known leg, relocate cautiously on safe terrain, or shelter.
GPS, Map and Compass Should Check One Another
Modern whiteout navigation is strongest when electronic and non-electronic systems are layered. Treating GPS as forbidden is as weak as treating it as infallible.
Fast position confirmation
Download offline maps and route data before the climb, keep the device warm and verify the position before uncertainty grows.
Failure mode: battery, screen, damage or a bad/missing track.Direction and terrain logic
Use bearings, contour interpretation, aspect and planned catching features to understand where the route should run.
Failure mode: starting from the wrong assumed position.Distance control
Measure how far each leg has progressed and expect snow, slope and heavy loads to alter normal pace counts and speed.
Failure mode: losing count or using dry-trail numbers in deep snow.Elevation cross-check
Elevation can narrow the position estimate when contour spacing and slope direction are known.
Failure mode: pressure changes or poor calibration.Breadcrumbs before the storm
Record key turns, descent bearings, waypoints and safe escape directions while visibility still exists.
Failure mode: trying to invent the descent plan after the horizon disappears.Keep one shared mental model
State each bearing, distance and checkpoint aloud so the entire rope team knows what should happen next.
Failure mode: different team members silently holding different positions.Train These Skills Where a Mistake Is Annoying, Not Fatal
Mountaineering Scotland and the BMC both stress that whiteout navigation should be rehearsed before it is needed. Low-consequence training exposes pace-count drift, glove problems, compass mistakes and team-communication gaps.
Bearings with gloves
Take, set and follow bearings while wearing the gloves you actually use in winter.
Goal: remove fine-motor surprises.Pace over snow and slope
Compare your known dry-ground pace count with soft snow, steep ground and a loaded pack.
Goal: know how your personal distance estimate changes.Short blind legs
On safe terrain, have a partner supervise while you navigate short map-defined legs using bearing, distance and terrain checks.
Goal: learn how quickly small heading errors grow.Three Sources Worth Reading Alongside This Guide
These reinforce the same core system from independent mountaineering and land-management organizations.
Build the Whole Navigation System, Not Just the Whiteout Skill
Whiteout technique works best when it sits on top of route planning, topographic-map fluency, avalanche terrain awareness and a reliable emergency communication system.
Mountain Navigation & Emergency Communication
See how map, compass, GPS, whiteout technique and rescue communication fit together.
Route judgementRoute-Finding for Mountaineering
Choose safer lines before low visibility forces the decision onto instruments.
Snow terrainAvalanche Safety for Mountaineers
Understand why aspect, slope angle and loading remain part of whiteout navigation.
Emergency communicationSatellite Communicators
Plan for the moment navigation becomes an overdue-climber or rescue problem.
Deep recoveryHow to Read a Topographic Map
Contours, slope shape and terrain interpretation are what make a bearing meaningful.
Deep recoveryMountain Weather for Climbers
Anticipate visibility collapse before the whiteout becomes a navigation emergency.
Deep recoveryPre-Departure Checklist
Confirm offline maps, charged devices, turnaround rules, route plan and emergency contacts before leaving.
Never Let “I Think We’re Here” Become the Starting Point for the Next Leg.
The strongest whiteout system keeps position continuously: short legs, measured distance, known bearings, GPS confirmation, terrain cross-checks and deliberate margins around hazards. When those sources stop agreeing, stop moving. Re-establish certainty—or choose shelter and time over momentum.
Was this helpful?
Global Summit Guide is an independent mountaineering resource founded in 2026. The team combines first-hand trekking and climbing experience with in-depth research and professional health and nutrition review to help climbers choose objectives, prepare properly, and stay safe.
Health, altitude, and nutrition content is reviewed by Taylor Ludlow (Registered Nurse) and Brigg Hoopes (Nutritionist).
What We Don't Know Yet
Mountain information changes quickly. This box explains the limits of what this page can responsibly promise.
- Weather, snowpack, avalanche risk, road access, and route conditions can change quickly and may be different on your climbing dates.
- Route conditions, trailhead access, crevasse exposure, stream crossings, and rescue access may vary from published planning guidance.
- Route conditions, snowpack, closures, and weather can change quickly after this page is updated.
- Permit rules, fees, quotas, and reservation windows may change between review cycles.
- Operator availability, pricing, guide ratios, and cancellation terms can change by season.
Verify current conditions with official land managers, guide services, local forecasts, and current route reports before booking or climbing.
Mountaineering, rock and ice climbing, glacier travel, and high-altitude activity are inherently dangerous and can result in serious injury or death. The information on Global Summit Guide is provided for general informational and educational purposes only and is not a substitute for professional instruction, qualified guiding, proper equipment, or your own judgment and experience.
Route conditions, weather, snowpack, permits, regulations, and hazards change constantly and may differ from what is described here. Details may be incomplete, out of date, or contain errors. Always verify current information with local authorities, certified guides, and official sources before making any decision in the mountains.
Nothing on this site is medical, legal, or financial advice. Our fitness, acclimatization, altitude, and nutrition content is general in nature; consult a qualified physician before beginning any strenuous exercise program or exposing yourself to high altitude.
You are solely responsible for your own safety and decisions. To the fullest extent permitted by law, Global Summit Guide and its team accept no liability for any loss, injury, damage, or expense arising from use of, or reliance on, this information. By using this site you acknowledge these risks and accept these terms.
Some links on this site may be affiliate links. If you buy through them we may earn a small commission at no extra cost to you; this never affects our recommendations.
Global Summit Guide recommendation path
Next Best Mountain to Research
Use these recommendations to continue the right planning path instead of stopping on one page.
Use current permit, weather, route, and operator information before booking or climbing.