
Last updated June 3, 2026
National Park Mountains for Beginners: 7 Parks, 14 Beginner Objectives
Seven national parks. Fourteen trail experiences. The safest, most rewarding, and most spectacular beginner mountain objectives in the USA — inside the parks that already have the infrastructure to back you up. National parks are where most Americans first encounter mountain terrain — and they’re the ideal beginner classroom for reasons that go beyond the scenery.
National parks are the ideal beginner mountain classroom because they uniquely combine world-class terrain with world-class support infrastructure — ranger presence and emergency response, maintained trails with clear signage, educational visitor centers, and millions of visitors who have done exactly what you’re planning. Generally, seven major US national parks offer the strongest beginner objectives: Rocky Mountain NP (Colorado — Flattop Mountain Class 2 at 12,324 ft and Hallett Peak approach), Olympic NP (Washington — Hurricane Ridge alpine trails and Mount Storm King), Great Smoky Mountains NP (Tennessee/North Carolina — Clingmans Dome highest east of Mississippi at 6,643 ft and Mount LeConte via Alum Cave), Grand Teton NP (Wyoming — Taggart Lake Loop and Cascade Canyon Trail), Glacier NP (Montana — Highline Trail and Grinnell Glacier Viewpoint), Zion NP (Utah — Observation Point as the correct beginner summit, NOT Angels Landing which requires Year 2 minimum), and Mount Rainier NP (Washington — Skyline Trail Loop and Camp Muir as intermediate gateway). Specifically, permit systems have expanded significantly since 2020 with Zion Angels Landing lottery, Glacier Going-to-the-Sun Road vehicle reservation, Great Smokies parking reservations, and Rocky Mountain seasonal entry — all booked via recreation.gov. Notably, NPS trail ratings (Easy/Moderate/Strenuous) measure cardiovascular effort and length rather than technical difficulty — a “strenuous” NPS trail is almost always still Class 1 or Class 2 in YDS terms.
Key Takeaways
- National parks combine world-class terrain with world-class support infrastructure — ranger presence, maintained trails, established emergency protocols.
- 7 parks · 14 objectives covered: Rocky Mountain, Olympic, Great Smoky Mountains, Grand Teton, Glacier, Zion, Mount Rainier.
- Easiest first NP summit: Clingmans Dome (Great Smoky Mountains) — 6,643 ft, 1 mile paved, 330 ft gain, highest east of Mississippi.
- Skip Angels Landing in year one — Class 3 with chains and fatal exposure. Choose Observation Point instead (superior views, no chains, no exposure).
- 4 parks require permits/reservations (Zion Angels Landing, Glacier GTSR, Great Smokies parking, Rocky Mountain seasonal). All via recreation.gov.
- America the Beautiful Pass ($80) covers entry to all federal lands for 12 months — pays for itself in 2 visits.
- NPS “strenuous” ≠ technically difficult — it means cardiovascularly demanding (long, steep, high). Most strenuous NPS trails are still Class 1-2.
- 30-minute ranger conversation at visitor centers is worth more than most guidebooks — they know current conditions today.
- Bear spray non-optional in Glacier and Grand Teton — active grizzly populations. Carry accessible, not packed.
Why National Parks Are the Ideal Beginner Classroom
The outdoor industry tends to treat national parks as stepping stones — places you pass through on the way to “real” mountaineering objectives. Generally, that’s a backwards framing. Specifically, national parks offer something no other mountain environment does: the combination of world-class terrain with world-class support infrastructure. Notably, for a beginner, that combination is genuinely irreplaceable.
Ranger Presence & Emergency Response
Every major NP has trained law enforcement rangers, wilderness rangers on popular trails, and coordinated search and rescue protocols. On a busy summer day at Rocky Mountain NP or Zion, you are rarely more than 30 minutes from ranger contact — a safety net no dispersed wilderness area can match.
Find Hotels, Flights & Trips for the World’s Best Hiking Destinations
The Global Summit Guide Travel Shop on Expedia — curated for outdoor adventurers, mountaineers, and serious hikers. Patagonia to the Alps. Nepal to the Rockies. Curated lodging for every region we cover.
Explore Travel Shop on Expedia →Maintained Trails & Clear Signage
NPS trail crews maintain popular routes to a standard no other land management agency matches. Signs at junctions, distance markers on most major trails, and the sheer volume of current trip reports make route-finding mistakes far less likely. Beginners don’t have to develop navigation skills before they need mountain experience.
Educational Infrastructure
Visitor centers, ranger-led programs, interpretive signs, and junior ranger programs mean every park provides a learning environment that goes far beyond the trail. Before your first summit, a 30-minute conversation with a ranger at the visitor center is worth more than most guidebooks — they know exactly what conditions are like right now, today.
The 7 Best National Parks for Beginners
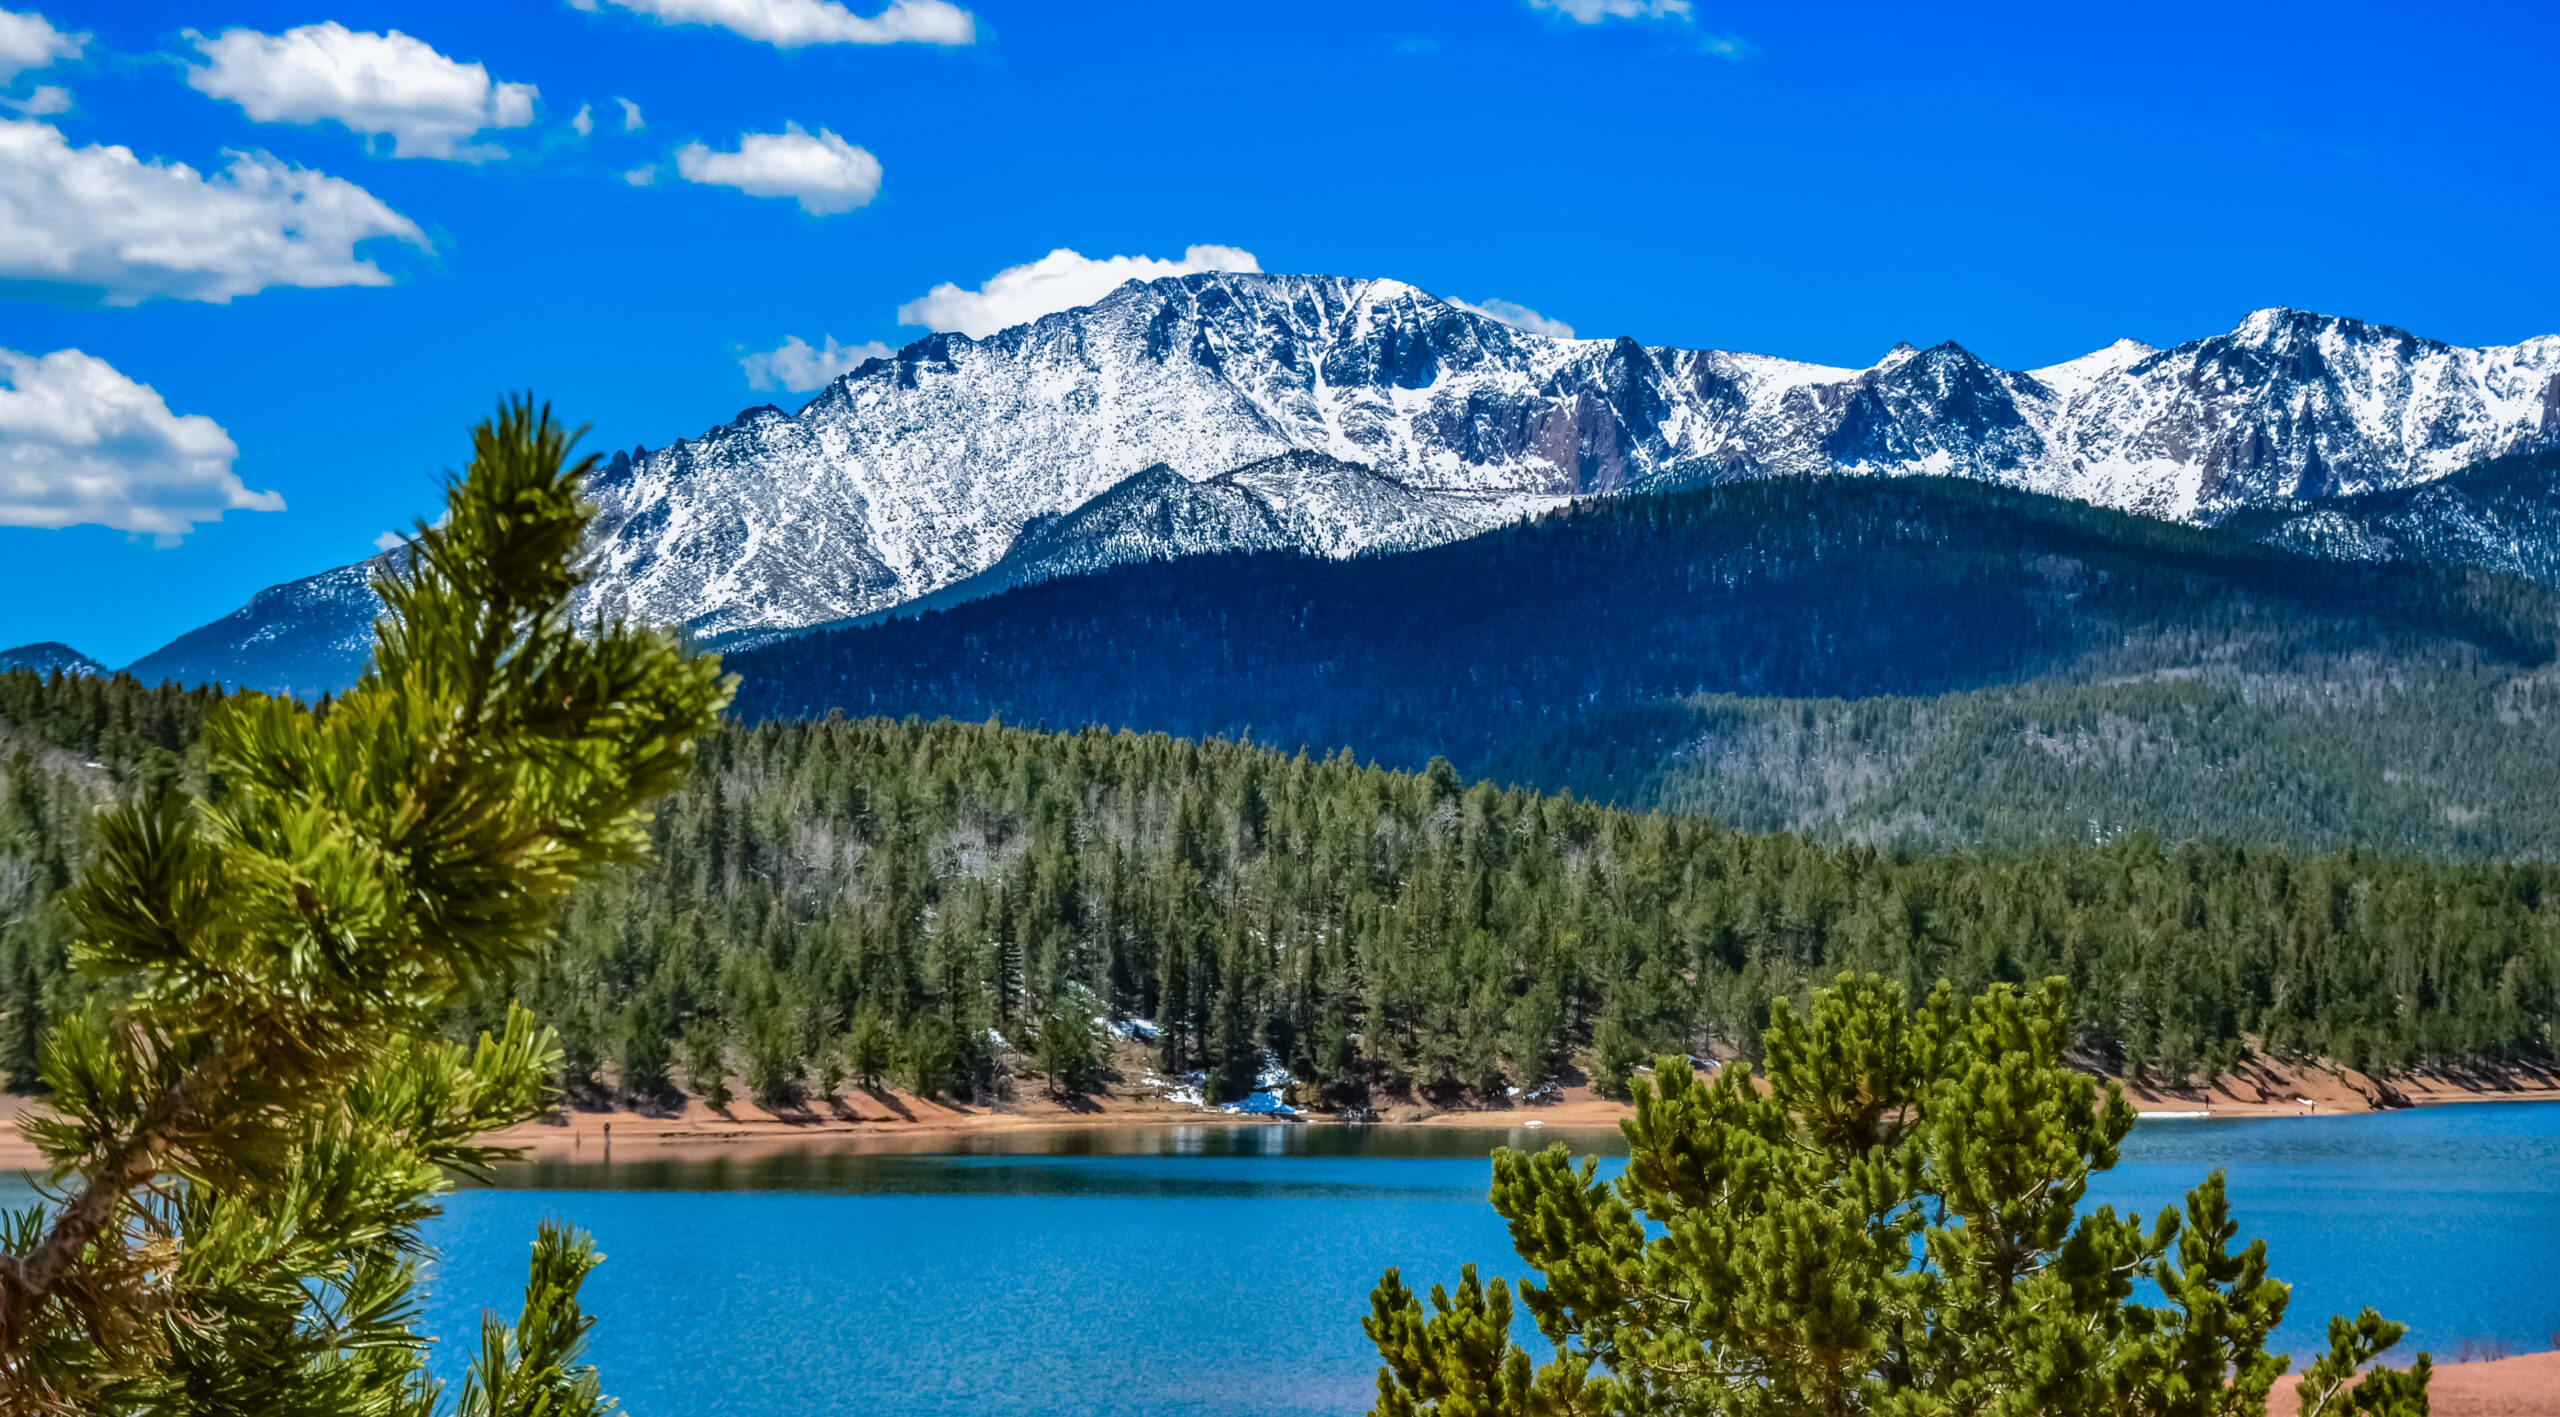
Rocky Mountain National Park
Flattop Mountain
One of RMNP’s most popular high-country routes with a well-maintained trail nearly to the summit plateau. Excellent for a first above-treeline experience — wide, open terrain with massive views toward Never Summer Range.
Hallett Peak Approach
Extends the Flattop route with a Class 2-3 ridge scramble to Hallett’s rocky summit. The approach is well-traveled; the final push involves some hand-over-foot movement. Outstanding 360° views.
Olympic National Park
Hurricane Ridge Trails
One of the most accessible alpine environments in the USA — paved road to 5,242 ft means you step directly onto mountain meadows with immediate views of the Olympic Range and Mt. Olympus. Multiple trail options from short strolls to longer ridge walks.
Mount Storm King
A steep and rewarding climb above the stunning Lake Crescent, with fixed ropes on the upper section (Class 3 scramble with rope assist). Not technical but more committing than Hurricane Ridge. The summit viewpoint over the lake is one of the most dramatic in the Pacific Northwest.
Great Smoky Mountains National Park
Clingmans Dome
The highest point east of the Mississippi River on a paved but steep half-mile trail. The iconic spiral concrete observation tower delivers 360° views into five states on clear days. An exceptional first “summit” experience — accessible, significant, and genuinely rewarding.
Mount LeConte via Alum Cave
One of the most spectacular maintained trails in the eastern USA — passing old-growth forest, dramatic bluff formations, and ridge views before the summit. LeConte Lodge at the top makes an overnight stay possible (book 12+ months ahead).
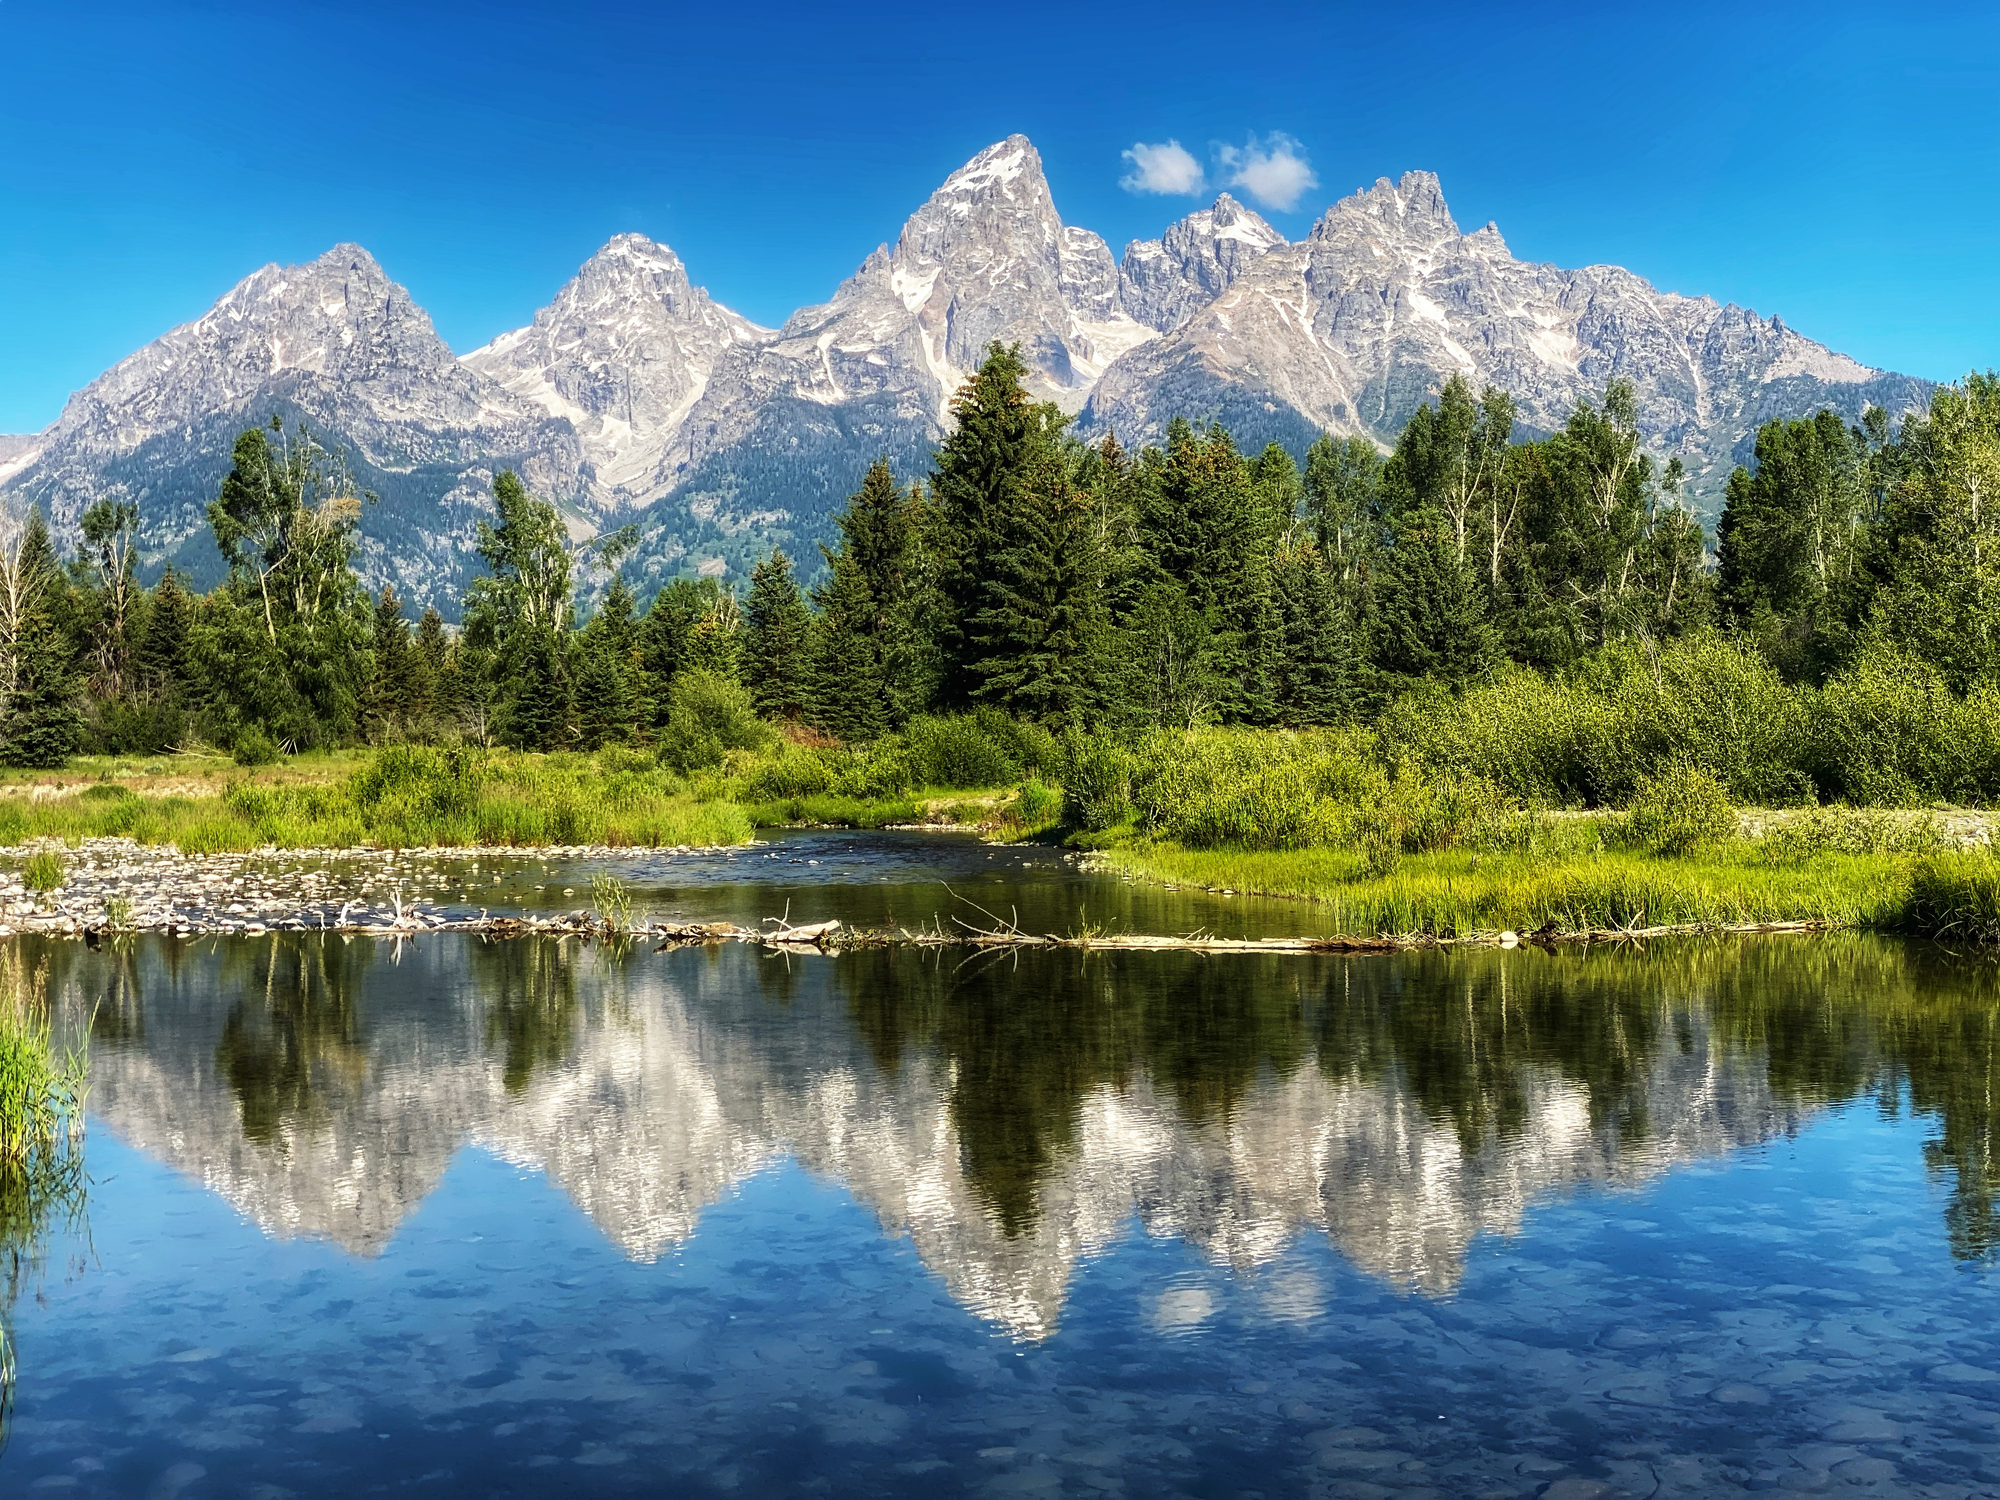
Grand Teton National Park
Taggart Lake Loop
The finest Teton mountain experience accessible to true beginners — a gentle loop to a glacial lake with the Grand Teton’s 13,775 ft massif towering directly above. The ratio of scenery to effort here is unmatched. For a first taste of the Tetons at any fitness level, start here.
Cascade Canyon Trail
Begin with a boat shuttle across Jenny Lake (optional but recommended), pass Hidden Falls and Inspiration Point, then follow Cascade Canyon deep into the Teton Range. One of the most spectacular mountain canyon hikes in North America — entirely on maintained trail with no technical terrain.
Glacier National Park
Highline Trail
One of the most spectacular maintained trails in North America — carved into cliff faces above the Logan Pass basin. The first 0.3 miles from Logan Pass features a cable-assisted section along an exposed ledge (very narrow, vertiginous — assess honestly before starting). Requires a shuttle back from The Loop.
Grinnell Glacier Viewpoint
A long but straightforward hike through quintessential Glacier terrain — passing two alpine lakes before reaching views of the rapidly receding Grinnell Glacier. One of the most iconic hikes in the park and entirely within beginner capability on the maintained trail.
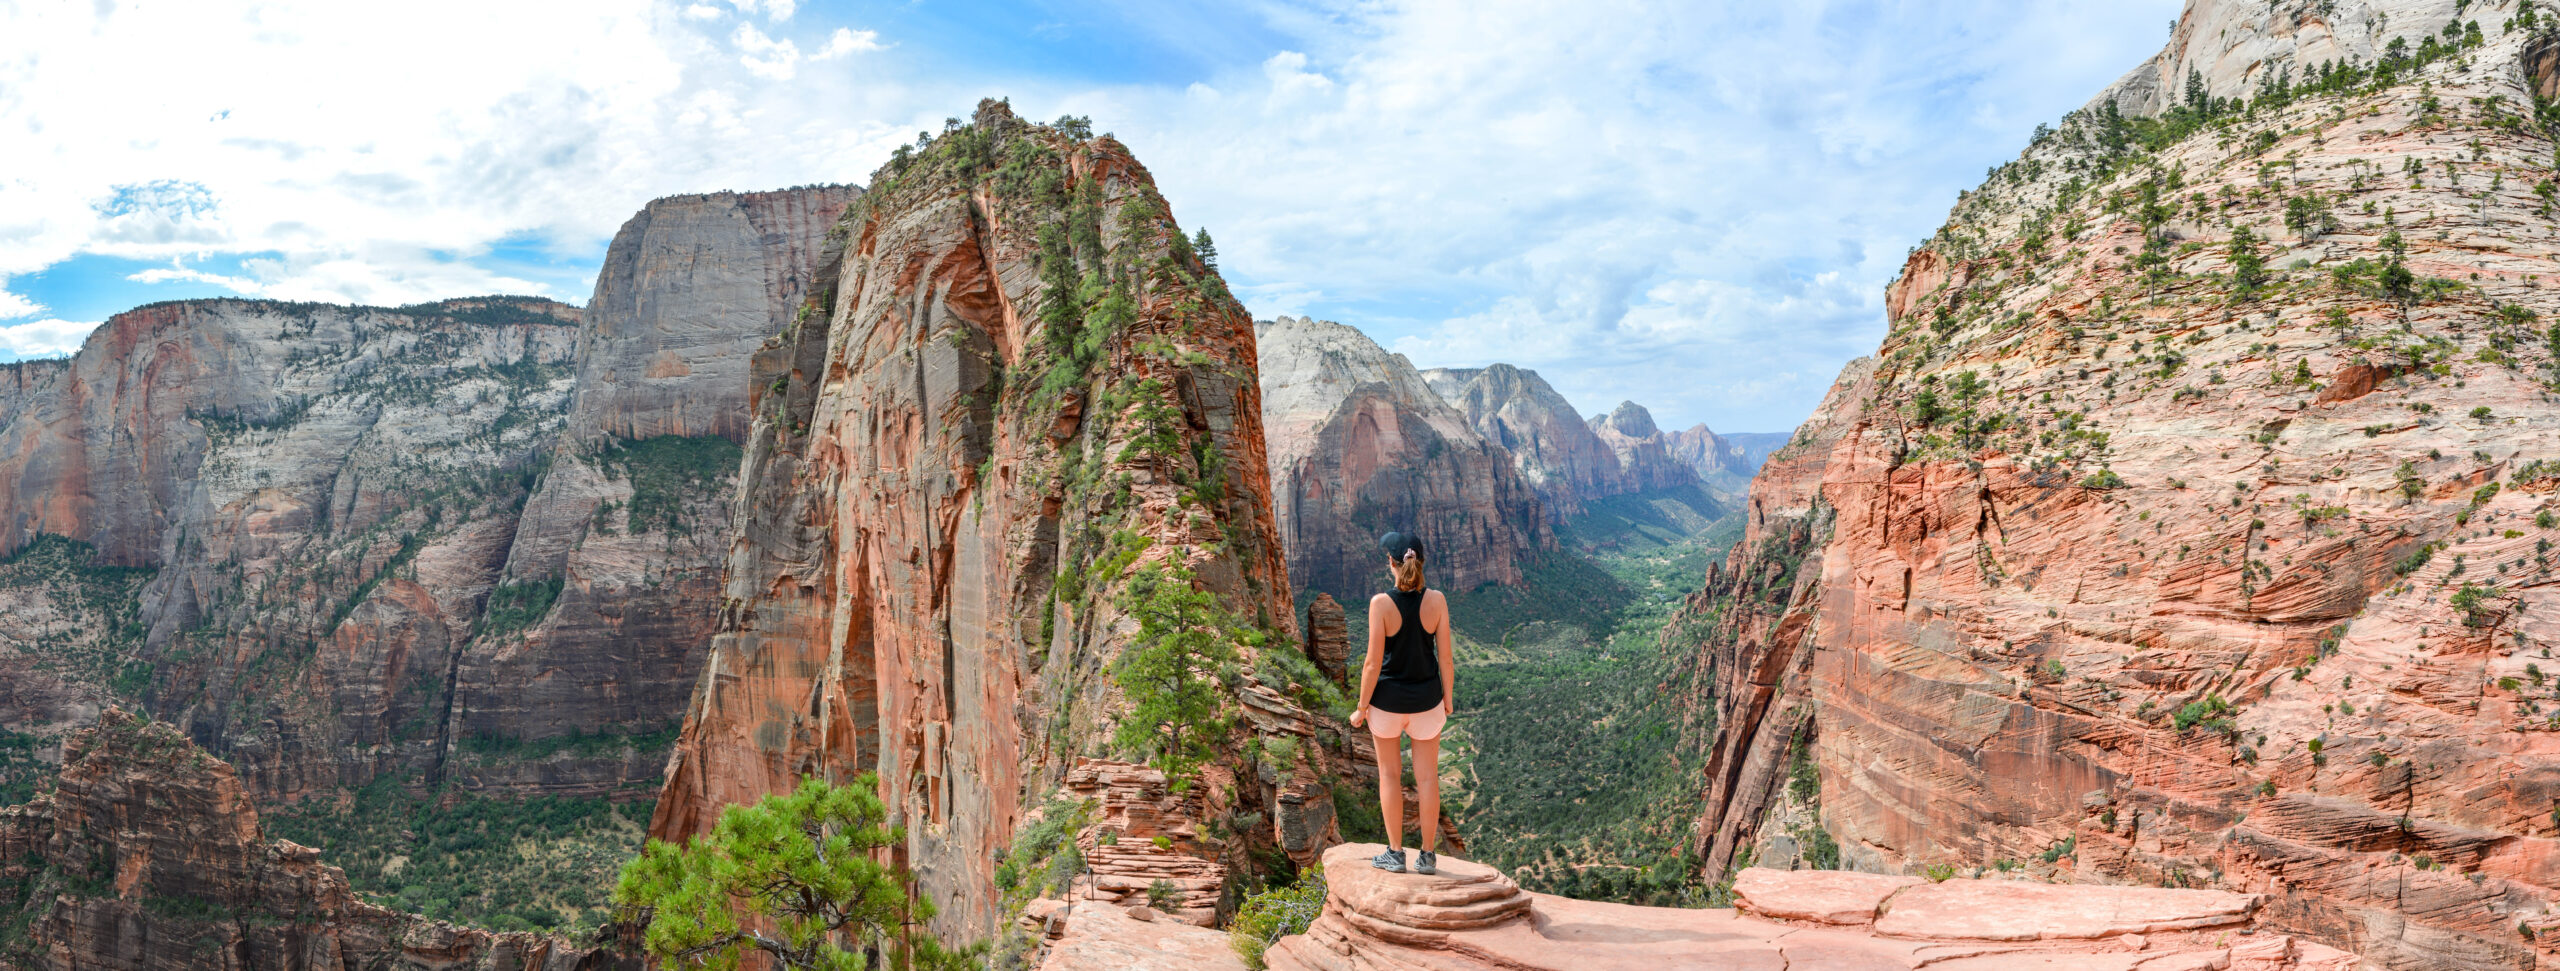
Zion National Park
Angels Landing
One of the most iconic hikes in the USA and one of the most frequently overestimated by first-timers. The final half-mile requires chain-assisted scrambling on an exposed ridge with fatal drop-offs on both sides. Multiple fatalities have occurred. A legitimate intermediate objective.
Observation Point
The overlooked masterpiece of Zion — sits 1,000 ft above Angels Landing’s summit and looks directly down at the chains section. The views are superior, the trail is non-technical, no chains, no exposure, no death-grip hand-over-hand movement. A strenuous switchback ascent on maintained trail.
Mount Rainier National Park
Skyline Trail Loop
Starting from Paradise at 5,420 ft, the Skyline Loop delivers an authentic subalpine and alpine experience on maintained trail — wildflower meadows, glacial views, and the closest most beginners will legally get to Rainier’s massive glaciated flanks. Panorama Point at 6,900 ft provides jaw-dropping views.
Camp Muir (Gateway Only)
The staging point for Rainier’s summit — base camp where guided parties spend the night before their summit push. The hike crosses the Muir Snowfield, steep enough to require microspikes (required) and navigation skills (GPS or clear visibility). Aspirational intermediate objective.
Permit Systems and Fees: Which Parks Require Reservations
NPS permit systems have expanded significantly since 2020. Generally, what was a casual drive-up experience at many parks now requires advance planning. Specifically, all permits and reservations listed below use recreation.gov as the booking platform — create a free account before you need it.
| Park | Permit Type | When to Book | Cost |
|---|---|---|---|
| Zion — Angels Landing | Timed permit lottery | Seasonal lottery: 3 months prior. Day-before lottery: 11 PM night before | $6/person if selected |
| Glacier — Going-to-the-Sun Road | Vehicle reservation | Sell out months in advance. Check recreation.gov for cancellation releases | $2/vehicle + entry fee |
| Great Smokies — popular trailheads | Parking reservation | Book 30-60 days in advance for summer weekends | $2 reservation fee |
| Rocky Mountain NP | Entry reservation (seasonal) | May-October peak season — book 1-5 days in advance | Included with entry |
| Grand Teton — popular trails | None currently | No timed entry for day hiking. Overnight permits required for backcountry | $45 backcountry permit |
| Olympic NP | None currently | No timed entry. Hurricane Ridge Road may require reservation — check seasonally | Entry fee only |
| Mount Rainier NP | None for day hiking | Paradise day use is first-come. Summit climbing permits required ($52) | Entry fee for day hikes |
NPS Trail Ratings vs YDS: How to Translate
National parks use their own simplified trail difficulty ratings — easy, moderate, strenuous — that are different from the Yosemite Decimal System (YDS) used throughout the rest of this guide. Generally, understanding how they translate prevents both under-preparation and unnecessary intimidation.
NPS “strenuous” does NOT mean technically difficult. The most important translation to understand: a trail rated “strenuous” by the NPS is almost always still Class 1 or 2 in YDS terms. “Strenuous” in NPS language means cardiovascularly demanding — long, steep, or high-altitude — not technically challenging. Always read the full trail description and recent trip reports rather than relying on the NPS label alone. The exception is scrambling routes (Angels Landing, some Glacier trails) where “strenuous” genuinely means technical terrain.
The 8 Common Mistakes Beginners Make in National Parks
Avoid These Common Beginner National Park Mistakes
- Choosing Angels Landing as your first NP summit. The most common beginner mistake in the US national park system. Angels Landing is Class 3 with chains and fatal exposure — appropriate for Year 2 climbers with solid Class 2 experience, not first-timers. Choose Observation Point instead: superior views, no chains, no exposure, and you can do it without lottery permits.
- Assuming “strenuous” means dangerous. NPS strenuous ratings measure cardiovascular effort, not technical difficulty. A strenuous trail with 3,000 ft of gain and 10 miles is Class 1 walking that’s just long and steep — completely beginner-appropriate with proper training. Read trail descriptions, not just the difficulty label.
- Showing up without checking permit requirements. 4 of the 7 parks covered here require permits or reservations. Zion Angels Landing lottery, Glacier Going-to-the-Sun Road timed entry, Great Smokies parking reservations, and Rocky Mountain seasonal entry all need recreation.gov bookings days to months in advance. Check before you travel, not when you arrive.
- Skipping the visitor center ranger conversation. The single most underused beginner safety practice in the NP system. A 30-minute conversation with a ranger at the visitor center provides current-day trail conditions, recent wildlife activity, water source availability, closures, and route-specific advice based on what’s happening right now. Free, available, consistently overlooked.
- Carrying bear spray packed instead of accessible (in grizzly country). Bear spray packed in the bottom of your bag is no bear spray at all. Glacier NP and Grand Teton NP have active grizzly populations — bear spray must be carried on a hip belt, chest strap, or otherwise immediately accessible. Practice drawing it before your trip.
- Underestimating Great Smokies humidity. The Smokies’ high humidity makes 6,000-foot peaks feel significantly harder than Western 12,000-foot peaks at similar exertion levels. Carry 500ml extra water beyond your normal calculation, expect to sweat more than you anticipate, and plan slower pace than your training fitness suggests.
- Not buying America the Beautiful Pass for multi-park years. $80 covers entry to all federal lands for 12 months. If you plan to visit two or more fee-required NPs in a year (RMNP $35, Grand Teton $35, Zion $35, Glacier $35, etc.), the pass pays for itself by your second visit. Buy at any entrance station or online.
- Treating NPS trail crews as omniscient. NPS trail crews maintain trails to outstanding standards, but they don’t update conditions in real-time on every trail. Snow patches, recent washouts, fallen trees, and current wildlife activity require trip reports from the past 48 hours — check AllTrails recent reviews and ranger station updates before your hike, not just NPS.gov general descriptions.
What We Don’t Know
Honest limitations of any national park climbing guide
NPS policies change continuously. Permit systems, timed entry requirements, parking reservations, road access seasons, and shuttle schedules all evolve year-to-year. The information here reflects 2026 standards but always check recreation.gov and the specific park’s NPS.gov page within 2 weeks of your trip — what was true last summer may have changed.
14 trails is not exhaustive. Each of the seven parks covered has dozens of beginner-appropriate objectives beyond the two highlighted per park. The trails selected here represent the best-known and most-recommended beginner objectives, but local rangers and recent trip reports may suggest superior alternatives based on current conditions, your specific fitness level, and seasonal factors not captured in this guide.
Beginner subjectivity varies. “Beginner-appropriate” depends on fitness, previous outdoor experience, comfort with exposure, and tolerance for discomfort. A trail that’s a perfect first summit for one beginner may be too challenging for another. Use the YDS class ratings and trail statistics (distance, elevation gain) as objective measures, supplemented by your honest self-assessment using Guide 03 (Fitness Self-Assessment).
Crowd levels affect the experience significantly. Many NP trails covered here are world-famous destinations with summer crowds that change the character of the hike. A 5 AM start avoids most crowds; a 9 AM start may mean parking 2 miles from the trailhead and constant pedestrian traffic on the trail. Plan around crowds, not just weather.
Climate change is affecting NP conditions. Glacier National Park has lost most of its named glaciers since 1900. Cascade volcanoes are seeing earlier snowmelt and more wildfire smoke. Smoky Mountain trail closures from extreme weather are increasing. Trail conditions described in older trip reports may not match current reality — always weight recent reports more heavily than historical averages.
Park visitor numbers are increasing dramatically. US national park visitation has grown significantly in recent years, with permit lotteries, shuttle requirements, and crowding all reflecting this trend. The “tip” of arriving early or visiting in shoulder season is more important than ever — and parks may add additional restrictions in coming years that this guide cannot anticipate.
National Park Mountains FAQ
What is the best national park for beginner hikers?
Several national parks serve beginner climbers exceptionally well, each with different strengths. The easiest entry point is Great Smoky Mountains National Park where Clingmans Dome (6,643 ft, highest point east of the Mississippi River) is reached via a 1-mile paved trail with only 330 feet of elevation gain — an exceptional first “summit” experience that’s accessible, significant, and genuinely rewarding. Olympic National Park’s Hurricane Ridge offers one of the most accessible alpine environments in the USA with paved road access to 5,242 feet and multiple beginner trail options. Rocky Mountain National Park’s Flattop Mountain (12,324 ft Class 2, 8.6 miles, 2,849 ft gain) is the strongest first-above-treeline experience with well-maintained trail nearly to the summit plateau — appropriate for Year 1 climbers who have completed the 8-week training plan. For Grand Teton experiences accessible to true beginners, Taggart Lake Loop is ideal with its unmatched scenery-to-effort ratio.
Should beginners climb Angels Landing in Zion?
No — Angels Landing is one of the most frequently overestimated hikes in the United States by first-timers and is NOT a beginner trail. The final half-mile requires chain-assisted scrambling on an exposed ridge with fatal drop-offs on both sides — this is Class 3 terrain with exposure that has produced multiple fatalities and requires solid Class 2 experience minimum. The correct Zion summit for beginners is Observation Point (6,508 ft, Class 2, 8 miles round trip with 2,148 ft gain) — the overlooked masterpiece of Zion which sits 1,000 feet above Angels Landing’s summit and looks directly down at the chains section. Observation Point has superior views, the trail is non-technical, the hike involves no chains, no exposure, and no death-grip hand-over-hand movement — just a strenuous switchback ascent on maintained trail. Save Angels Landing for Year 2 minimum and only with solid Class 2 experience including completion of 5-8 successful Class 1-2 summits.
Do I need a permit to hike in national parks?
Permit requirements vary significantly by park and have expanded since 2020. Most beginner day hikes don’t require trail-specific permits, but parking reservations, vehicle entry timed-entry permits, and specific trail lottery permits have become much more common. The seven parks covered here have these requirements: Zion Angels Landing requires a timed permit via seasonal lottery 3 months prior or day-before lottery at 11 PM the night before ($6/person if selected); Glacier National Park requires a vehicle reservation for Going-to-the-Sun Road that sells out months in advance ($2/vehicle plus entry fee); Great Smoky Mountains requires parking reservations at popular trailheads booked 30-60 days in advance for summer weekends ($2 reservation fee); Rocky Mountain NP has a seasonal entry reservation requirement May-October that can be booked 1-5 days in advance; Grand Teton, Olympic, and Mount Rainier currently have no timed entry for day hiking (entry fee only). All reservations use recreation.gov — create a free account before you need it. Buy the America the Beautiful Annual Pass ($80) at any entrance station to cover entry fees for all federal lands.
What does NPS “strenuous” mean compared to YDS class?
The most important translation to understand: a trail rated “strenuous” by the National Park Service is almost always still Class 1 or Class 2 in YDS (Yosemite Decimal System) terms. “Strenuous” in NPS language means cardiovascularly demanding — long distance, steep elevation gain, or high altitude — not technically challenging. The NPS uses three rating tiers: Easy (short, flat, paved or well-surfaced, usually under 2 miles), Moderate (longer distance or moderate elevation gain, may have unpaved surface, requires reasonable fitness — most NP signature hikes fall here), and Strenuous (significant elevation gain, long distance, or difficult terrain — usually still Class 1-2 in YDS terms). The exception is scrambling routes like Angels Landing or some Glacier trails where “strenuous” genuinely means technical terrain — always read the full trail description and recent trip reports rather than relying on the NPS label alone. Almost all “Easy” NPS trails are Class 1 and most “Moderate” and “Strenuous” NPS trails are still Class 1 or low Class 2.
What is the easiest national park mountain to climb?
Clingmans Dome in Great Smoky Mountains National Park is the easiest genuine “summit” experience in any major US national park. It sits at 6,643 feet — the highest point east of the Mississippi River — and is reached via a 1-mile round-trip paved trail with only 330 feet of elevation gain (Class 1 throughout). The iconic spiral concrete observation tower at the summit delivers 360-degree views into five states on clear days, making this an exceptional first summit experience that’s accessible, significant, and genuinely rewarding. The Clingmans Dome Road closes in winter (December through March), so plan visits between April and November. Other very accessible beginner summits in NPs include: Taggart Lake Loop in Grand Teton (Class 1, 3.8 miles, 360 ft gain — finest Teton experience for true beginners with Grand Teton’s massif towering directly above); Hurricane Ridge in Olympic NP (paved road to 5,242 ft alpine meadows with multiple short trail options); and the shorter trails near Paradise in Mount Rainier NP. All offer authentic mountain experience without requiring full beginner peak cardiovascular preparation.
How much does it cost to climb mountains in national parks?
National park climbing costs are remarkably affordable compared to international mountaineering. Single-park entry fees range from $20-$35 per vehicle (good for 7 days), with most major parks like Rocky Mountain, Olympic, Zion, Glacier, and Grand Teton at $35 per vehicle. The America the Beautiful Annual Pass at $80 covers entry fees for all federal lands including all national parks for 12 months — it pays for itself in two visits to fee-required parks and is the recommended option for anyone planning multiple NP visits per year. Additional permit costs are typically modest: Zion Angels Landing $6 per person if selected in lottery, Glacier Going-to-the-Sun Road $2 per vehicle, Great Smokies parking reservations $2, Grand Teton backcountry permits $45 for overnight trips (day hiking is free with entry), Mount Rainier summit climbing permits $52 (day hikes free). The only significant cost driver for beginner NP climbing is gear (see Beginner Gear Guide for $230-$590 budget tiers) and travel logistics (lodging, fuel, food) — the actual mountain access itself is dramatically less expensive than international objectives.
Sources and Methodology
Numbered Source References
This national park beginner climbing guide synthesizes data from National Park Service official resources, recreation.gov, climbing accident reporting, and community trip report databases.
- National Park Service (NPS). NPS.gov — federal land management authority providing official trail data, permit requirements, visitor statistics, and safety information for all seven parks covered.
- Recreation.gov. recreation.gov — federal recreation booking platform handling Zion Angels Landing lottery, Glacier Going-to-the-Sun Road vehicle reservations, Great Smokies parking reservations, and Rocky Mountain NP entry reservations.
- American Alpine Club (AAC). AAC — climbing organization providing annual Accidents in North American Climbing reporting that informs the Angels Landing safety assessment and beginner-specific NP accident patterns.
- NPS visitor statistics. Official NPS visitor counts referenced for park-specific crowd levels: Great Smoky Mountains (12.9M annual), Rocky Mountain NP (3.4M), Grand Teton (3.3M), Olympic (3.2M), Mount Rainier (1.5M).
- Mountain Project and SummitPost. Mountain Project and SummitPost — community route databases providing YDS class ratings and trip report cross-references for the 14 trails covered.
- AllTrails community reports. AllTrails — community platform providing recent trip reports referenced for current conditions, seasonal factors, and trailhead logistics.
- Mountain-Forecast.com. Mountain-Forecast — specialized forecasting service providing summit-elevation weather data referenced for trail-specific weather warnings.
- Internal Global Summit Guide research. Cross-referenced with our Beginner Climbing Guide hub, Best Beginner Mountains by Region (Guide 02), Trail Ratings Explained (Guide 05), and Permits, Fees & Regulations.
Methodology note. Quarterly review cycle — next review September 2026 (post-summer climbing season). Permit systems, road access seasons, and parking requirements change annually — always verify current requirements on recreation.gov and the specific park’s NPS.gov page within 2 weeks of your trip.
What’s Next?
National Parks Are the Safest Beginner Mountain Environments in the USA
Generally, the combination of ranger presence, maintained trails, emergency infrastructure, and educational support makes US national parks the ideal classroom for first summits. Specifically, the 14 objectives above span genuine beginner Class 1 walks (Clingmans Dome, Hurricane Ridge, Taggart Lake) through Year 2 intermediate progressions (Observation Point, Highline Trail, Camp Muir gateway). Notably, the most important beginner decision is choosing Observation Point over Angels Landing in Zion — it’s superior in every way except marketing.
Browse All 14 Objectives Full Permits Guide →Was this helpful?
🏔Related peaks nearby
🧭Explore & compare
Global Summit Guide is an independent mountaineering resource founded in 2026. The team combines first-hand trekking and climbing experience with in-depth research and professional health and nutrition review to help climbers choose objectives, prepare properly, and stay safe.
Health, altitude, and nutrition content is reviewed by Taylor Ludlow (Registered Nurse) and Brigg Hoopes (Nutritionist).
What We Don't Know Yet
Mountain information changes quickly. This box explains the limits of what this page can responsibly promise.
- Permit availability, reservation windows, quotas, and official fee rules may change after this page is updated.
- Route conditions, snowpack, closures, and weather can change quickly after this page is updated.
- Permit rules, fees, quotas, and reservation windows may change between review cycles.
- Operator availability, pricing, guide ratios, and cancellation terms can change by season.
- Your fitness, altitude response, risk tolerance, and experience level may change what is safe or realistic.
Verify current conditions with official land managers, guide services, local forecasts, and current route reports before booking or climbing.
Part of this Global Summit Guide cluster
Explore the complete Pick Your Mountain guide for more context, routes, planning links, and related resources.
Mountaineering, rock and ice climbing, glacier travel, and high-altitude activity are inherently dangerous and can result in serious injury or death. The information on Global Summit Guide is provided for general informational and educational purposes only and is not a substitute for professional instruction, qualified guiding, proper equipment, or your own judgment and experience.
Route conditions, weather, snowpack, permits, regulations, and hazards change constantly and may differ from what is described here. Details may be incomplete, out of date, or contain errors. Always verify current information with local authorities, certified guides, and official sources before making any decision in the mountains.
Nothing on this site is medical, legal, or financial advice. Our fitness, acclimatization, altitude, and nutrition content is general in nature; consult a qualified physician before beginning any strenuous exercise program or exposing yourself to high altitude.
You are solely responsible for your own safety and decisions. To the fullest extent permitted by law, Global Summit Guide and its team accept no liability for any loss, injury, damage, or expense arising from use of, or reliance on, this information. By using this site you acknowledge these risks and accept these terms.
Some links on this site may be affiliate links. If you buy through them we may earn a small commission at no extra cost to you; this never affects our recommendations.
Global Summit Guide recommendation path
Next Best Mountain to Research
Use these recommendations to continue the right planning path instead of stopping on one page.
Use current permit, weather, route, and operator information before booking or climbing.