
Last updated September 17, 2026

Crevasse Rescue & Advanced Glacier Safety: Systems, Hauling and Practice
Crevasse rescue is not one memorized pulley diagram. It is a sequence of decisions: stop the fall, stabilize the load, protect the rescuers, assess the fallen climber, choose the simplest workable extraction, manage the lip and treat cold or injury. The exact technique changes with team size, terrain, anchor material, victim condition and the equipment already on the rope.
The Best Crevasse Rescue System Is the One Your Team Can Execute Correctly in the Actual Situation.
Current technical guidance does not reduce crevasse rescue to one universal Z-pulley. Petzl describes several hauling options with different mechanical advantages and different use cases. The Mountaineers similarly teaches multiple extraction methods. The choice depends on whether the victim can help, how much rope is available, how badly the lip is entrenched, team size, rescuer strength, anchor quality and whether the fallen climber is injured.
The common structure is more durable than any one diagram: arrest → anchor/stabilize → communicate and assess → protected edge access → self-assisted exit or haul → lip management → post-extraction care.
The Six Decisions Behind a Crevasse Rescue
The exact knots and devices may differ. These six problems remain.
Arrest
Stop the fall without creating a second victim or losing the whole rope team.
Stabilize
Build and verify an anchor appropriate to the actual snow, ice or terrain.
Assess
Establish communication, determine injury/capability and identify the edge problem.
Protect
Any rescuer approaching the lip stays secured against a second crevasse fall.
Extract
Use self-rescue, direct assistance or a haul system matched to the situation.
Treat
Once out, manage hypothermia, trauma, wet clothing and the decision to evacuate.
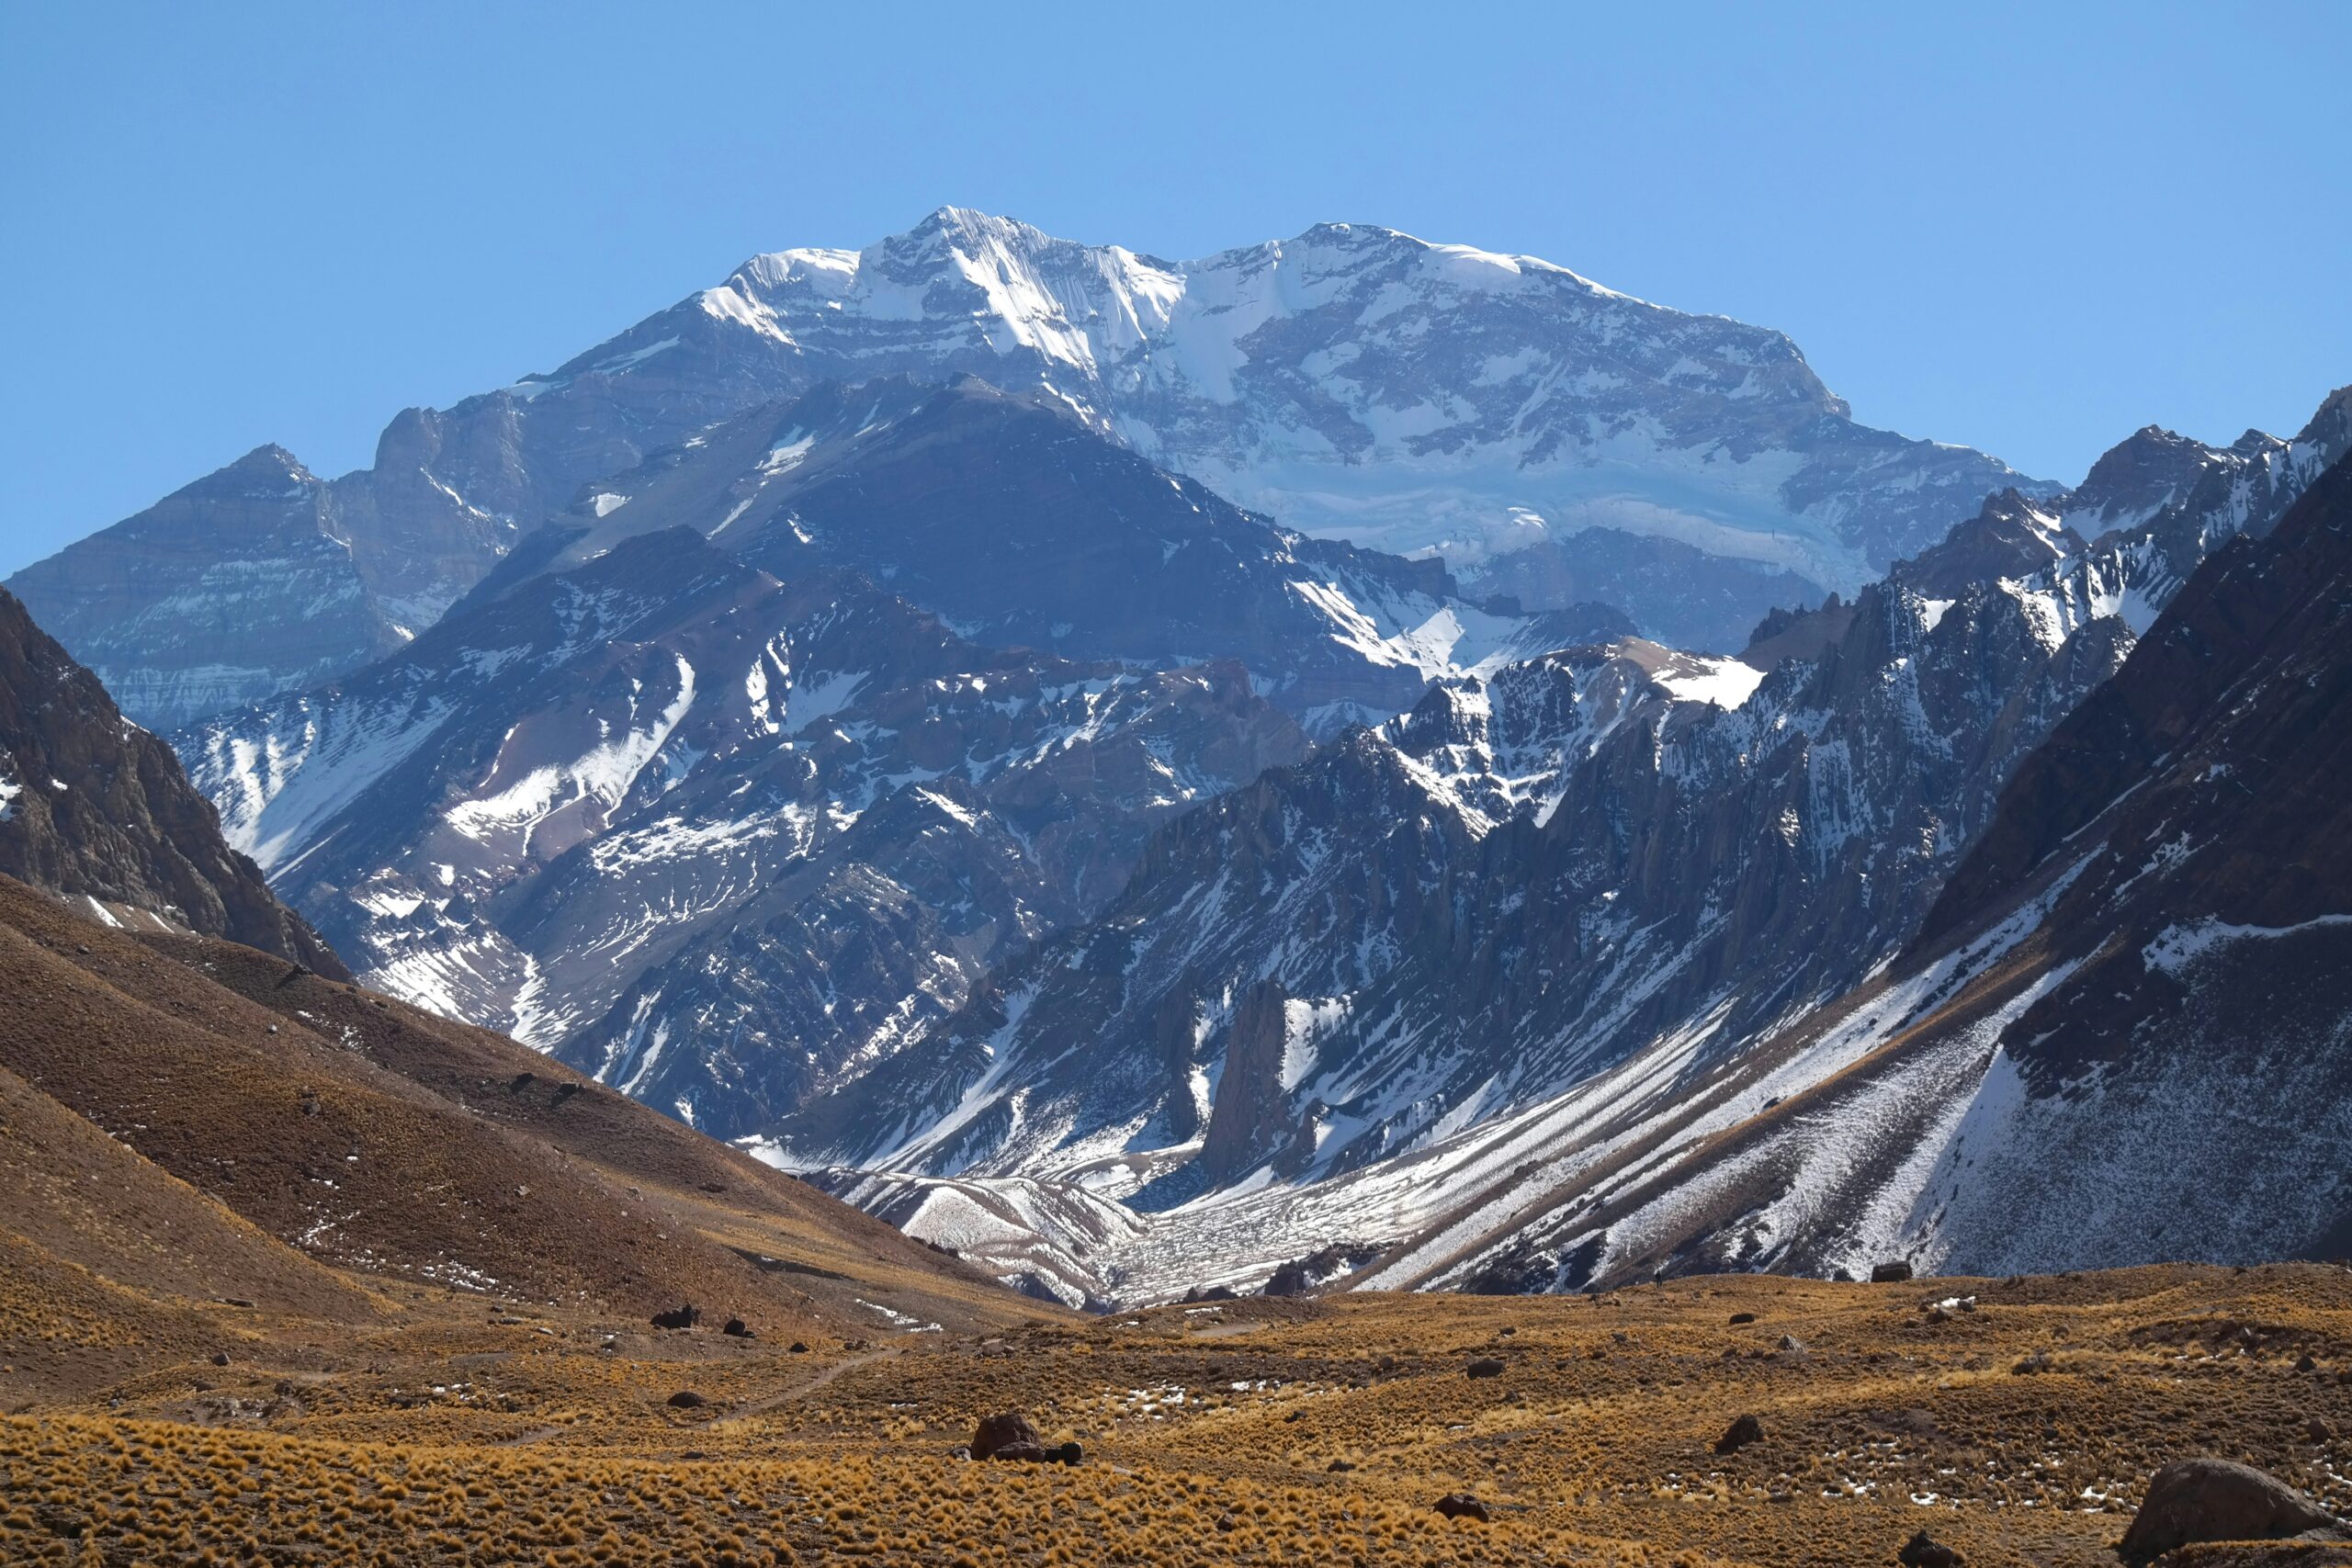
Rope Management and Route Choice Are Part of the Rescue System.
On a snow-covered glacier, the best rescue is the fall that never happens. Team spacing, a taut working rope, reserve rope for rescue, route finding, snow-bridge judgment and the ability to arrest a fall all come before pulleys.
Do Not Default Automatically to One Haul System.
Petzl currently presents several classic systems because the “best” haul changes with the victim, lip friction and available rescuers.
Use the Victim’s Capability Before Building Complexity.
If the fallen climber is uninjured, can contact the wall, can climb or ascend the rope and the lip is manageable, a simple assisted solution may be faster than building a large haul system. The team above still controls the rope and protects against a renewed fall.
The Familiar Z-Style System Is One Common Starting Point.
Petzl describes a simple 3:1 as quick to install with minimal equipment and easy to convert to a more powerful system. In real snow, friction, rope entrenchment, carabiner losses and the crevasse lip reduce practical efficiency below the theoretical number.
More Mechanical Advantage Trades Speed for Complexity.
Petzl’s Double Mariner example is a higher-mechanical-advantage option for situations such as a victim who cannot help, a heavy victim, a lightweight rescuer or significant edge friction. It requires more rope movement, equipment awareness and practice.
Sometimes the Victim Can Share the Work.
A loop-haul can be useful when the fallen climber is conscious and able to participate but lacks useful wall contact. It requires enough free rope and clear communication. It is not automatically available in every tie-in arrangement.
Self-Rescue Is an Option, Not a Timer.
The older version of this page imposed a universal 5–10 minute self-rescue window. Real outcomes depend on injury, temperature, depth, hanging position, equipment and the lip.
Active, Uninjured Climber
A climber who is conscious, uninjured and able to move may ascend the rope, climb the wall or assist a haul. Their ability can dramatically simplify extraction.
The Lip Is the Crux
A climber can ascend most of the rope yet still be unable to transition over an overhanging or undercut lip. The team above may need to change the rope path, assist the final transition or use a haul.
Injury, Cold or No Response
Do not rely on a fixed 30-second or 5-minute rule. Lack of communication, trauma, cold stress, entanglement or inability to help changes the rescue into a more demanding patient-extraction problem.
Two-Person Glacier Travel Demands Its Own Rescue Practice.
One rescuer above the crevasse has fewer hands for arrest, anchoring, edge access and hauling. A larger group can distribute those jobs—but only if the team is organized.
| Situation | Main advantage | Main problem | Practice priority |
|---|---|---|---|
| Two-person rope team | Simple travel structure | One rescuer may have to arrest, anchor, assess and haul alone | Build anchors while holding load; reserve-rope management; knotted-rope implications; high-MA options. |
| Three-person rope team | More arresting mass and a second rescuer above | Communication and role confusion can still waste time | Role assignment: load holder/anchor, edge assessor, haul operator. |
| Multiple rope teams | More people, rope and equipment | Uncoordinated rescuers can overload anchors or create rope chaos | One rescue leader, redundant anchors as needed, clean rope lanes and patient-care role. |
| Sleds / heavy packs | Normal on expeditions | Extra load, entanglement and awkward fall dynamics | Practice with the actual sled, pack and harness system used on the objective. |
Anchor Choice Follows the Medium, Load and Direction of Pull.
Do not memorize one universal anchor distance or one universal object. Snow, ice and mixed terrain require different solutions.
Pickets / Buried Tools
Snow anchors depend on consolidation, placement orientation and pull direction. Petzl’s examples include an ice axe or ski buried in snow; NPS Denali commonly uses snow pickets. Exact construction should be learned and tested in the snow type you will actually encounter.
Ice Screws
Hard glacial ice may require ice screws rather than snow protection. Anchor quality depends on the ice itself, placement and load direction. Carrying an ice screw is useful only if the team can place and evaluate it under stress.
Transfer Load Smoothly
Petzl warns against jerky load transfer because sudden loading can weaken an anchor. After transferring the victim’s weight, verify the anchor is holding before changing the rescuer’s position.

Crevasses, Snow Bridges and the Lip Are Terrain Problems Before They Are Rope Problems.
A perfect pulley system does not compensate for poor route choice, a second hidden crevasse beside the rescuer, an undercut lip or an anchor built in weak snow. Rescue begins with terrain assessment.
The Crevasse Lip Can Dominate the Rescue.
The rope may cut deeply into snow during the fall. That friction can help arrest the fall, but it can also make extraction dramatically harder.
Entrenchment Adds Friction
NPS Denali describes the lip as one of the major challenges in snowy crevasse rescue. A rope that has cut into the snow may require much more pulling force than the theoretical mechanical-advantage math suggests.
- Deep rope grooves increase drag.
- Overhanging lips complicate the victim’s final transition.
- Loose snow can collapse as rescuers work near the edge.
- Any rescuer approaching the edge needs independent protection.
Protected Edge Access and Rope-Path Management
Petzl treats edge access as its own rescue stage after the load has been transferred to an anchor. The rescuer approaches while secured, evaluates the victim and then decides whether the rope path or haul system needs to change.
- Approach the edge protected.
- Inspect victim position and rope entrenchment.
- Keep the rescue line controlled while the victim moves.
- Expect the lip transition to change the load.
You Cannot Certify a Snow Bridge Safe by Looking at It.
Surface clues and probing are useful, but they do not turn a hidden bridge into a known structure.
No Universal “Cross Fast” Rule
The older page instructed climbers to cross suspect bridges quickly because speed “reduces the load.” That is too absolute. Crossing strategy must be based on route assessment, rope setup, protection options, bridge geometry and team judgment.
Read the Glacier, Not One Footprint
Convex rolls, glacier bends, margins, visible sagging or depressions and known crevasse zones can all inform route choice. Previous tracks are evidence that someone crossed—not proof that the bridge remains strong.
Strength Can Be Unknowable
Denali planning guidance says even cautious, experienced climbers cannot determine the location or strength of all snow bridges. Rope-system discipline exists because uncertainty cannot be eliminated.
Crevasse Rescue Gear by Function
The exact hardware varies. Every item should solve a known function in the team’s practiced rescue system.
| Function | Common equipment | Why it matters | Practice question |
|---|---|---|---|
| Connect the team | Appropriate climbing rope, harnesses, tie-in system | Fall arrest and rescue both depend on how the team is connected. | How much rope remains available for rescue after spacing and coils? |
| Capture progress | Prusik/friction hitches, rope grabs, progress-capture pulley | Prevents losing gained rope during hauling or ascent. | Will the device/hitch work on your actual rope diameter when wet or icy? |
| Reduce friction | Pulley or efficient progress-capture device | Improves practical hauling efficiency. | Can every team member rig it correctly under load? |
| Anchor | Pickets, ice screws, buried tools/skis where appropriate | Transfers the victim load away from the arresting rescuer. | What anchor medium is likely on this objective? |
| Protect rescuers | Locking carabiners, slings, personal attachment system as trained | Edge work must not create another victim. | How does the rescuer remain connected while moving toward the lip? |
| Protect the patient | Helmet, gloves, insulation, first-aid/hypothermia kit | Extraction may be only the first problem. | Can you rewarm and stabilize someone after they are out? |
A Four-Step Crevasse Rescue Practice Progression
Practice should add complexity gradually so that the sequence stays reliable when cold, gloves, weight and terrain are introduced.
Dry Systems
Build anchors and hauling systems in a controlled environment. Every team member explains load direction, progress capture and how the system would fail.
Weighted Rescue
Add a real suspended load. Practice smooth load transfer, resets and the practical difference between 2:1, 3:1 and higher-MA systems.
Snow / Edge Scenario
Practice self-belay or protected edge access, realistic anchors, rope entrenchment and the lip transition under instructor supervision.
Objective-Specific Rehearsal
Use expedition gloves, actual packs or sleds, the exact rope and devices, and a team communication plan before the real glacier.
Five Complications That Turn a Drill Into an Emergency
The clean training scenario—conscious victim, good snow, open lip, warm hands—is only the starting point.
Unresponsive or Injured Victim
Self-rescue may be impossible. The team must protect rescuers approaching the edge, increase hauling capability, manage spinal or trauma concerns and prepare for hypothermia.
Wet + Suspended + Wind
A hanging climber can cool rapidly. Gloves, clothing, shock, cold and restricted movement can degrade the victim’s ability to help even when there is no major trauma.
Undercut / Overhanging Lip
The victim may be unable to reach the wall or mantle out. A system that works perfectly on a vertical training wall may fail at the lip problem.
Knots or Entrenchment
Knots can improve fall braking in certain two-person snow-glacier setups, but they complicate hauling. Deep lip entrenchment can dominate the extraction force.
Sled / Heavy Pack
The fallen climber may be pinned, tangled or loaded by expedition equipment. Practice the actual attachment and release strategy before the climb.
Second Crevasse at the Rescue Site
The surface rescuer is still on a glacier. Edge access, anchor building and team movement must remain protected from additional hidden crevasses.
Use Sources That Treat Crevasse Rescue as a Practiced System.
This page deliberately avoids universal timers, magic distances and one-size-fits-all haul instructions when current technical references describe scenario-dependent choices.
Primary technical references
Training and accident-context references
- The Mountaineers — Standard crevasse rescue techniques
- The Mountaineers — Basic Alpine course outcomes
- NPS Denali — Crevasse lip and rope friction
- NPS — Recent mountaineering accident summaries
Editorial boundary: Global Summit Guide has not independently certified the reader’s competence. Technique choice should be validated in hands-on training and adapted to current terrain, rope system and equipment.
Crevasse Rescue FAQ
These answers intentionally separate stable principles from the techniques that require supervised practice.
What is the basic sequence of crevasse rescue?
Arrest the fall, stabilize and anchor the load, communicate with and assess the fallen climber, approach the edge while protected, choose the simplest workable extraction, manage the lip and rope, then treat cold or injury after extraction. The exact system changes with team size, terrain and victim condition.
Is a 3:1 Z-pulley always the best system?
No. It is one useful system. Petzl currently presents a simple 3:1, higher-mechanical-advantage options and a 2:1 loop haul for different situations. Direct assistance or self-rescue may be simpler when the victim can help.
Can the fallen climber self-rescue?
Sometimes. An active, uninjured climber may ascend the rope or use the wall, but injury, cold, a difficult lip, entanglement or unconsciousness can eliminate that option.
What rescue gear should every glacier team carry?
The exact kit varies, but commonly includes a rope, harnesses, locking carabiners, rope grabs or friction hitches, pulleys/progress capture, snow or ice anchors, helmet and gloves. All equipment must be compatible with the team’s practiced system.
Why is two-person glacier travel more demanding?
The remaining climber may have to arrest the fall, build the anchor, assess the victim and operate the rescue alone. Two-person teams should practice their exact rope spacing, reserve-rope and hauling system in realistic conditions.
Can you tell if a snow bridge is safe?
Not reliably. Terrain clues and probing can inform route selection, but NPS warns that even experienced climbers cannot determine the location or strength of every bridge.
How often should I practice?
Treat crevasse rescue as a perishable skill. Refresh it before glacier objectives and whenever the rope system, devices, team size or expedition loads change.
Can this guide replace a course?
No. Current Petzl guidance explicitly says these techniques require specific training. Use this guide as a study and review framework before and after hands-on instruction.
Build the Complete Glacier Safety System
Crevasse rescue works only when it is connected to disciplined glacier travel, compatible equipment, training and objective-hazard judgment.
Do Not Memorize One Rescue. Practice a Team That Can Solve the Problem.
Know how to arrest. Know how to anchor. Know how to approach the edge safely. Practice more than one extraction option. Then rehearse the system with your real rope, gloves, packs and teammates before the glacier.
Was this helpful?
🏔Related safety data
🧭Explore & compare
Global Summit Guide is an independent mountaineering resource founded in 2026. The team combines first-hand trekking and climbing experience with in-depth research and professional health and nutrition review to help climbers choose objectives, prepare properly, and stay safe.
Health, altitude, and nutrition content is reviewed by Taylor Ludlow (Registered Nurse) and Brigg Hoopes (Nutritionist).
What We Don't Know Yet
Mountain information changes quickly. This box explains the limits of what this page can responsibly promise.
- Route conditions, trailhead access, crevasse exposure, stream crossings, and rescue access may vary from published planning guidance.
- Visa, passport, vaccination, border, insurance, and local transportation rules may change before your trip.
- Route conditions, snowpack, closures, and weather can change quickly after this page is updated.
- Permit rules, fees, quotas, and reservation windows may change between review cycles.
- Operator availability, pricing, guide ratios, and cancellation terms can change by season.
Verify current conditions with official land managers, guide services, local forecasts, and current route reports before booking or climbing.
Mountaineering, rock and ice climbing, glacier travel, and high-altitude activity are inherently dangerous and can result in serious injury or death. The information on Global Summit Guide is provided for general informational and educational purposes only and is not a substitute for professional instruction, qualified guiding, proper equipment, or your own judgment and experience.
Route conditions, weather, snowpack, permits, regulations, and hazards change constantly and may differ from what is described here. Details may be incomplete, out of date, or contain errors. Always verify current information with local authorities, certified guides, and official sources before making any decision in the mountains.
Nothing on this site is medical, legal, or financial advice. Our fitness, acclimatization, altitude, and nutrition content is general in nature; consult a qualified physician before beginning any strenuous exercise program or exposing yourself to high altitude.
You are solely responsible for your own safety and decisions. To the fullest extent permitted by law, Global Summit Guide and its team accept no liability for any loss, injury, damage, or expense arising from use of, or reliance on, this information. By using this site you acknowledge these risks and accept these terms.
Some links on this site may be affiliate links. If you buy through them we may earn a small commission at no extra cost to you; this never affects our recommendations.
Global Summit Guide recommendation path
Next Best Mountain to Research
Use these recommendations to continue the right planning path instead of stopping on one page.
Use current permit, weather, route, and operator information before booking or climbing.