
Written byGlobal Summit Guide Editorial Team Climbed
Kilimanjaro Lemosho Route: our 7-day trip report with Peak Planet
In July 2025 we climbed Kilimanjaro via the Lemosho route with Peak Planet, summiting Uhuru Peak at sunrise on July 25. This is the day-by-day account of how that climb actually unfolded — what worked, what we didn’t expect, what surprised us, and the small details (frozen water bottles, the food, the exact moment summit night gets hard) that the guidebooks tend to skip. If you’re planning a Kilimanjaro climb on Lemosho or considering Peak Planet as your operator, our hope is that this report gives you the real version, not the marketing one. For the full route comparison and planning context, see our Kilimanjaro climbing guide and the broader master mountaineering hub.
Why we chose Lemosho
Kilimanjaro has seven established routes, and the choice between them is the single biggest decision a climber makes after picking an operator. We spent weeks comparing options before landing on Lemosho. The decision came down to three factors: success rate, scenery, and acclimatization profile. Lemosho approaches from the west across the Shira Plateau, which means more days at moderate altitude before the summit push. Statistically, that translates to one of the highest success rates of any Kilimanjaro route — around 90% on the 8-day version, mid-80s on the 7-day. We’ve broken down all the route tradeoffs in our how long does it take to climb Kilimanjaro guide, but the short version: Lemosho’s longer approach is what makes it work.
The scenery argument is real too. Lemosho passes through five distinct ecosystems on the ascent: rainforest, heather, moorland, alpine desert, and arctic summit zone. We’d read trip reports describing the Shira Plateau as one of the most beautiful walks in African mountaineering, and that turned out to be accurate.
Peak Planet — what they got right
Peak Planet runs guided Kilimanjaro climbs with a focus on small group sizes, strong guide-to-climber ratios, and KPAP-verified porter wages. We climbed with them in July 2025 and they were genuinely excellent. The food was consistently good. The guides knew the mountain at the level you want — they read altitude symptoms in our group accurately, paced the climb with the right kind of “pole pole” patience, and made the summit night decisions confidently. Communication before the trip was clear, gear lists were comprehensive, and the team was visible and present at every camp.
We don’t earn anything from this recommendation — we paid the same price any other client pays. But after climbing with them and watching how they treated their porter teams, how their guides handled altitude problems in the group, and how the kitchen team produced quality meals at 4,600m, we’d recommend them without reservation to anyone considering Kilimanjaro.
Day-by-day: how the climb unfolded
The Peak Planet 7-day Lemosho itinerary follows the standard camp progression: Mti Mkubwa (Big Tree) → Shira 1 → Shira 2/Moir Hut → Barranco → Karanga or Barafu → Barafu summit night → Uhuru → Mweka. Here’s how each day actually felt.
Londorossi Gate to Mti Mkubwa Camp
The first day is more about logistics than altitude. We met the team at the hotel in Moshi, did the long drive around the western side of the mountain to Londorossi Gate (about 3 hours from town), and then sorted permits and porter loads for what felt like another hour. The actual hike from the trailhead to Mti Mkubwa Camp is short but immersive — dense rainforest with colobus monkeys, dripping moss, and the kind of humid green light you only get inside an equatorial forest.
By the time we rolled into camp, the porter team had already pitched our tents, laid out the mess tent, and started water boiling for tea. We’d been told this would happen but seeing it the first time still felt remarkable — that team carries everything in on foot, gets there ahead of you, and has camp standing when you arrive. Dinner was hearty: soup, a hot main course, fresh fruit. We slept well at 2,780m, which is barely altitude — for context on what altitude actually does to the body once you’re climbing higher, see our altitude sickness guide.
Mti Mkubwa to Shira 1 Camp
The day where the landscape transformed completely. We climbed steadily out of the rainforest into the heather and moorland zones, with the trees getting shorter and shorter until they disappeared entirely and we were walking across open ground covered in giant lobelia and senecio plants — the strange tree-ferns that look prehistoric. By midday we were on the Shira Plateau, which is genuinely one of the most beautiful walks any of us had ever done. Open sky in every direction, Kibo (the summit cone) visible for the first time across the plateau, and a sense of scale that no photograph captures.
This was also the first day where we started feeling altitude. Nothing dramatic — slight breathlessness on steeper sections, a mild headache that passed with hydration and a ginger tea — but enough to remember we were moving toward 4,000m fast. Shira 1 sits at 3,505m and we slept comparatively well there, with a “climb high, sleep low” acclimatization built into the route’s design. Our acclimatization approach, including the climb-high-sleep-low principle, is covered in detail in our altitude acclimatization guide.
Shira 1 to Shira 2 / Moir Hut
A long, gentle day across the Shira Plateau itself. The walking was easy — the trail rolls more than climbs — but the altitude started becoming a more consistent presence. By late morning most of us were on a slower cadence than we’d kept the previous days, breathing deliberately and drinking constantly. The guides set a pace that felt almost glacial at first (“pole pole” — slowly, slowly, in Swahili) and we resisted it for the first day before realizing it was the exact right speed. Climbers who push faster on these middle days are the ones who blow up on summit night.
We arrived at Shira 2 in the early afternoon and had an acclimatization walk up to about 4,200m before returning to camp for dinner. The group was tightening up — by Day 3 you know who’s strong, who’s struggling, who eats well, who doesn’t. We were eating well, which mattered more than we realized at the time.
Shira 2 to Barranco Camp via Lava Tower
The hardest acclimatization day on the Lemosho route, and intentionally so. We climbed through the alpine desert zone up to Lava Tower at 4,640m, ate lunch there in cold wind with the air noticeably thinner, and then descended a long, knee-pounding 700 meters down to Barranco Camp at 3,960m. Climbing high and sleeping low forces your body to start producing more red blood cells without sustained altitude exposure that would risk acute mountain sickness. Done correctly, it’s the day that makes the rest of the climb work.
It also felt rough. The combination of altitude at Lava Tower, the long descent on tired legs, and the cumulative fatigue of three previous days hit pretty much everyone at some point. But by the time we got to Barranco — sitting in a beautiful cirque under the Western Breach with the Barranco Wall rising directly behind camp — most of us felt better than we had at lunch. The tent and a hot dinner repaired a lot. For climbers who want to understand the physiology behind why this day works, our high-altitude training program covers acclimatization principles in detail.
Barranco to Karanga Camp via Barranco Wall
The Barranco Wall is famous and deserves it. From Barranco Camp the trail climbs straight up a 250-meter rock and dirt face that requires hands-on scrambling in places — nothing technical, but more vertical than anything we’d done so far. There’s a section called the Kissing Rock where you press your chest against a vertical face to shuffle around an exposed corner. The whole wall takes about 90 minutes from camp to top.
What makes the day tough isn’t the wall itself — it’s everything after. From the top of the wall, the trail rolls across a series of ridges and valleys with substantial up-and-down before reaching Karanga Camp. The net elevation gain is almost zero on paper, but the actual day involves probably 600-700m of cumulative climbing. We were tired by the time we got to Karanga, more tired than we’d been on Day 4. Karanga is also where appetites started visibly dropping in the group — a few people ate light at dinner, which is a warning sign at this altitude. Frostbite risk also starts becoming real here as temperatures drop overnight; our frostbite prevention guide covers the warning signs that matter most.
Karanga to Barafu Camp · Rest before summit night
Short day, deliberately. The hike from Karanga to Barafu Camp climbs through the alpine desert across exposed scree slopes, with views of the summit cone looming closer with every hour. Barafu means “ice” in Swahili, and the camp sits on a rocky shoulder at 4,673m where the wind never really stops. We rolled in around 1pm, ate lunch, and were told to sleep until dinner.
That’s the recipe for summit night: arrive at Barafu with as much daylight rest as you can bank, eat a substantial dinner around 5–6pm, sleep again until 10:30pm, then wake to start the climb at 11pm or midnight. We managed maybe two hours of patchy sleep total across the afternoon and early evening. The wind buffeted the tent the whole time. Nobody slept well.
Summit night · Barafu to Uhuru Peak to Mweka
We left Barafu just after 11pm on July 24 in a line of headlamps moving slowly upward through the dark. The temperature dropped fast above camp — we’d started the climb in three layers and were in five by 5,000m. The route from Barafu to Stella Point follows scree slopes that switchback up the southern flank of Kibo for about 1,000 vertical meters. There’s nothing technical about it. What makes it hard is the combination of altitude, cold, sleep deprivation, and the duration: six to eight hours of unbroken upward movement in the coldest hours of the night.
Around 5,500m the wind picked up. The cold became something we were managing actively rather than passively — wiggling toes on every break, keeping water bottles inside our parkas, switching gloves before fingers numbed. By the time we reached Stella Point at 5,756m, the sun was just starting to lighten the eastern horizon over the curve of Mawenzi peak.
“At Uhuru Peak just after sunrise on July 25, 2025, the first thing we did was reach for water — and discovered that both of our insulated Nalgene bottles had frozen completely solid. We’d put them away two hours earlier still liquid. The cold at the summit was different from anything below — not just numbers on a thermometer, but a specific, hostile quiet that made you understand immediately why Kilimanjaro guides obsess about summit night gear.”
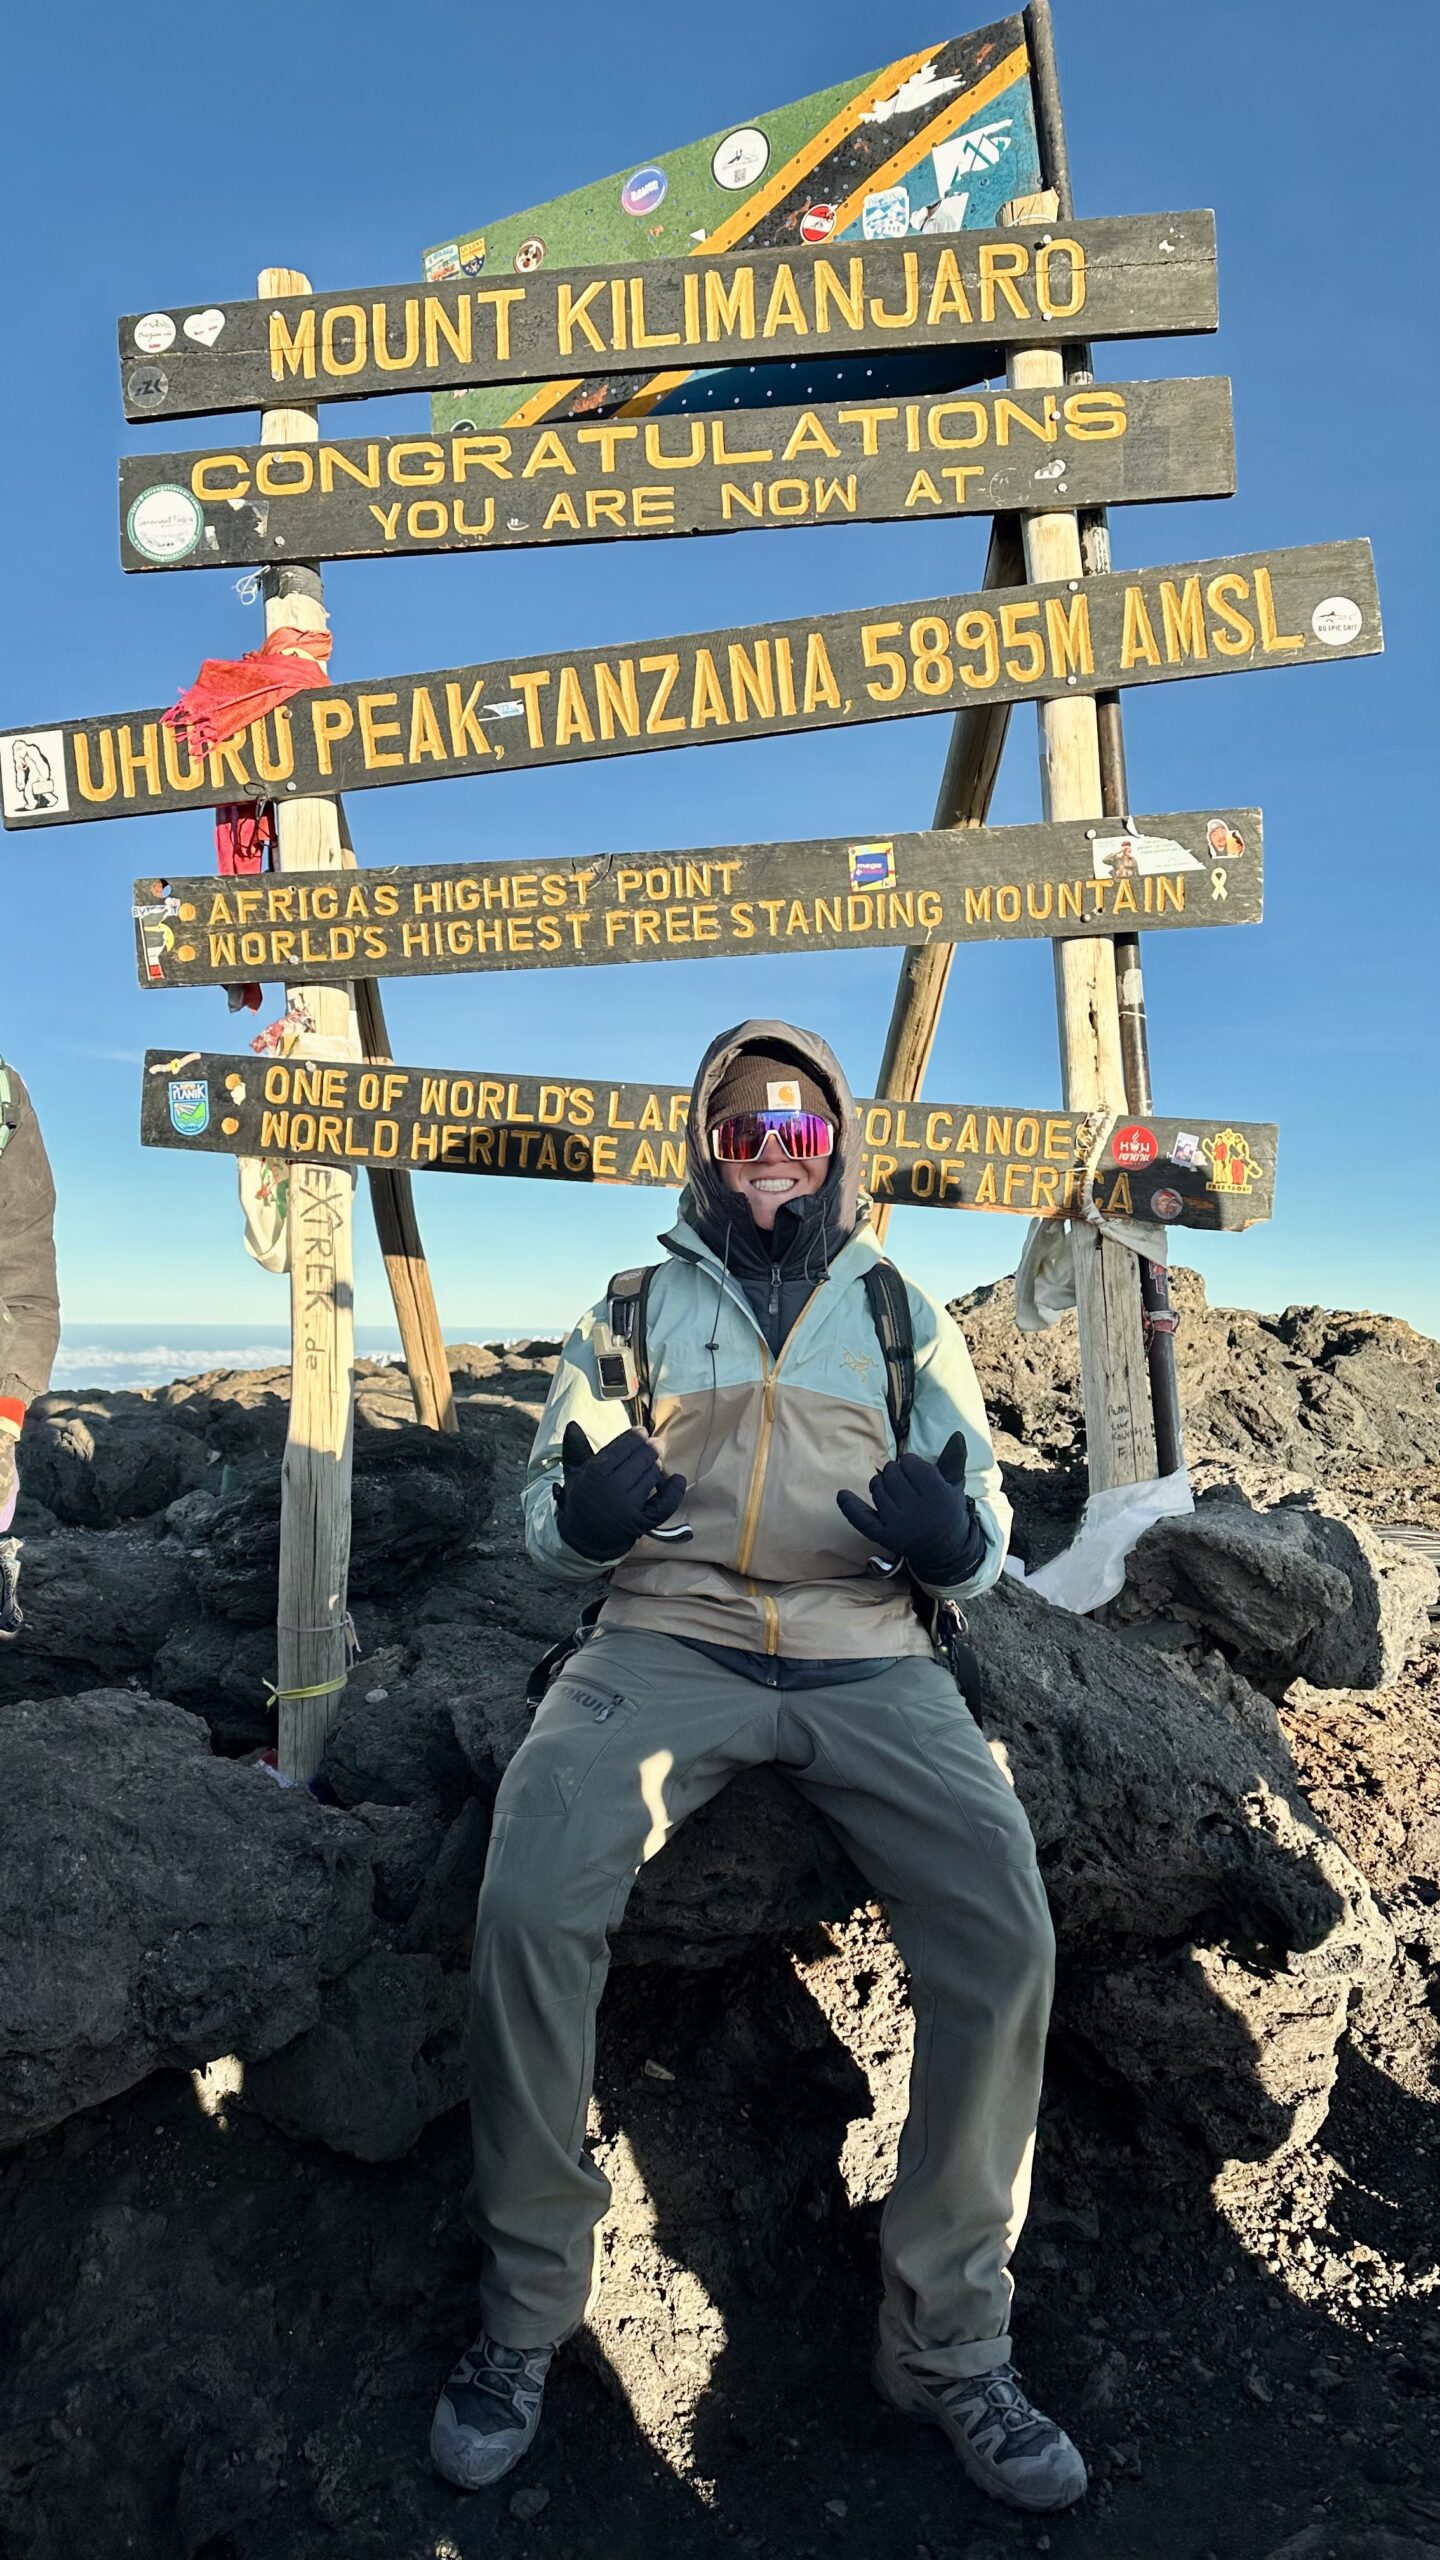
From Stella Point, the trail rolls along the crater rim for about 45 minutes to Uhuru Peak — Kilimanjaro’s true summit at 5,895m, the highest point in Africa. We summited in clear conditions just after sunrise, with views all the way down to the savannah and across to Mt. Meru in the distance. The summit signs were exactly as photographed by every Kilimanjaro climber before us. We took the same photos. We hugged the guides who got us there. The sense of standing on the highest point in Africa is hard to put into words, but for the broader 7-Summits context Kilimanjaro fits into, our Seven Summits guide covers how each continental high-point relates to the others.
The descent is its own challenge. From Uhuru you retrace the route to Stella Point, then descend the scree slopes back to Barafu — 1,200 vertical meters down on tired knees. We arrived at Barafu around 10:30am, ate a late breakfast, packed up, and continued descending another 1,500m to Mweka Camp at 3,100m for the night. By the time we collapsed into our tents at Mweka, we’d been moving for roughly 14 hours and descended close to 2,800 vertical meters. Sleep came easily.
Our biggest practical lesson from the climb: even insulated Nalgenes inside packs will freeze on summit night. Hot water from camp before the 11pm start, bottle-cap-down storage so the cap stays liquid, and a wool sock around each bottle is the standard summit-night protocol. Hydration bladders freeze in the hose within 20 minutes — bottles only. We’ll be more aggressive with hot fills next time.
What worked, what we’d do differently
Looking back across the seven days, a handful of decisions and details stand out. Some we got right by luck or guidance; some we’d change for next time. The full breakdown of expedition prep we used is in our master mountaineering guide.
Pole pole pacing from Day 1
Resisting the urge to push faster on early days kept us all eating, sleeping, and acclimatizing well. Climbers who pushed pace on Days 2–4 were the ones who struggled later. Our altitude breathing techniques guide covers why slow cadence works.
Eating beyond appetite
Above 4,000m, appetite drops hard. We made it a rule to finish the protein and starch on every plate even when we weren’t hungry. Energy on summit night came directly from the calories banked at Karanga and Barafu.
Hydration discipline
Three to four liters per day, every day. Headaches that started on Day 2 disappeared after we got serious about fluid intake. Tea at every meal helped enormously.
Trusting Peak Planet’s guides
The guides paced summit night, called turn-around points for one climber who needed to descend, and read the group’s altitude symptoms accurately. Their judgment carried us when ours was compromised by exhaustion.
Bring expedition mittens, not just gloves
Our heavyweight gloves were sufficient down to about −10°C. Above 5,500m we wished for mittens with hand warmers. Layered gloves are a compromise; mittens are the right answer for Kilimanjaro summit night.
Hot water in thermoses for summit
We carried Nalgenes filled with hot water and they still froze. Next time we’d use a vacuum-insulated thermos for at least one of the summit-night liquids — the kind that keeps water hot for 12+ hours.
One more day of acclimatization
The 7-day Lemosho works, but the 8-day version with a Karanga rest day produces meaningfully better summit success and a less brutal summit night. If we did Kilimanjaro again, we’d take the extra day.
More rest at Barafu
The wind made sleep at Barafu nearly impossible. Earplugs and a real eye mask would help. Even an extra hour of horizontal time before summit night would have made the climb easier.
The food, the team, the parts you don’t see in trip reports
Most Kilimanjaro trip reports focus on the trail, the summit, and the gear. The thing that quietly defined our climb was the team that made it possible — the porters, cooks, and guides who turn a wilderness into a livable expedition.
The food on Peak Planet’s climb was genuinely good. Hot soups for lunch every day, even at 4,600m. Hearty breakfasts of porridge, eggs, sausage, fresh fruit, and tea. Dinners that included a real protein (chicken, beef, or fish), a starch (rice, pasta, ugali), and vegetables. Birthday cake — actual cake — produced from a kitchen tent at 3,900m on a teammate’s birthday. We have no idea how the cook team baked a cake at altitude, and we never asked because the answer would somehow have made it less magical.
The porter team carried our duffel bags, the tents, the kitchen equipment, the food, the water — everything. They moved faster than we did, set camp before we arrived, and then carried it all again the next morning. Peak Planet runs KPAP-verified porter wages, which means the team is being paid the standard the Kilimanjaro Porters Assistance Project considers ethical. This matters. The Kilimanjaro porter system has a complicated history we’ll cover in detail in a future story-cluster post, but for the climber considering an operator: ask whether the company is KPAP-registered before you book.
What this climb cost and what we’d budget for next time
We’ve broken down Kilimanjaro costs in detail in our dedicated Kilimanjaro cost guide, but here’s the rough shape of what a Peak Planet 7-day Lemosho climb runs in 2025-2026 dollars: $2,500-3,500 per climber for the climb itself (depending on group size), plus $300-500 in mandatory tipping for guides and porters, plus international flights and Tanzania visa, plus 1-2 nights in Moshi or Arusha before and after, plus gear (rented or owned). Total trip cost from a North American departure typically lands in the $4,500-6,500 range.
The hidden costs — the ones we’d flag for first-time Kilimanjaro climbers — are the gear category and the post-trip fatigue. Quality gloves, a real summit parka, properly broken-in boots, and a good headlamp are not optional. Renting some items in Moshi works for some pieces (down jackets, gaiters) but not for boots and gloves. We covered the full kit in our mountain climbing gear list, the boot-specific tradeoffs in our mountaineering boots guide, and the layering strategy in our layering systems guide. For climbers thinking about Kilimanjaro as their first major peak in a longer mountaineering journey, our master mountaineering hub indexes everything from beginner trekking peaks through 8,000m expeditions.
Continue reading: our full Kilimanjaro coverage
This trip report is one piece of our broader Kilimanjaro content. If you’re planning a climb, these are the guides we’d recommend reading next:
Every guide, one navigation point
This Lemosho trip report is part of a comprehensive mountaineering reference covering gear, training, altitude, routes, peak-specific planning, and field reports across all 7-Summits and beyond. Our master hub indexes every guide in one place.
Browse the Complete Guide →Frequently asked questions about climbing Kilimanjaro Lemosho
How long is the Lemosho route on Kilimanjaro?
The Lemosho route runs 70 kilometers (43 miles) round-trip from the Londorossi Gate trailhead at 2,360m to Uhuru Peak at 5,895m and back down to Mweka Gate at 1,640m. Most operators run Lemosho as either a 7-day or 8-day itinerary. The 8-day version adds an acclimatization day at Karanga Camp and produces meaningfully higher summit success rates. Our trip ran the 7-day Peak Planet itinerary.
What is the success rate on the Lemosho route?
Lemosho is one of Kilimanjaro’s highest-success-rate routes because of its long approach and natural acclimatization profile. Operators report 90-95% success rates on the 8-day version and 85-90% on the 7-day version, compared with 60-65% on the 5-day Marangu route. The route’s western approach across the Shira Plateau gives climbers two extra days above 3,500m before the summit push.
How cold is Kilimanjaro on summit night?
Kilimanjaro summit night temperatures typically run between -7°C and -20°C (20°F to -4°F) at Uhuru Peak depending on the season, with wind chill pushing the felt temperature significantly lower. Our July 2025 summit had cold enough conditions that water bottles froze solid at the top despite being inside packs. Insulated bottles or hot water in thermoses are essential. Hydration bladders freeze in the hose almost immediately on summit night.
Why did our water bottles freeze on Kilimanjaro?
Water bottles freeze on Kilimanjaro summit night because temperatures at Uhuru Peak routinely drop to -10°C to -20°C and the summit push lasts 6-8 hours. Even insulated Nalgenes inside backpacks can freeze in this combination of extreme cold and prolonged exposure. The standard solution is filling bottles with hot water before the 11pm-midnight start, carrying them inside a parka, and storing them upside-down so the cap stays liquid even as the bottom begins to ice.
Is Peak Planet a good Kilimanjaro operator?
Peak Planet is a well-regarded mid-tier Kilimanjaro operator with consistent reviews for guide quality, food, and porter treatment. Our July 2025 climb with them was excellent — knowledgeable guides, generous portions of locally-cooked food, and clear safety protocols throughout. They run KPAP-verified porter wages, which matters ethically. Pricing sits in the $2,500-3,500 range per climber depending on group size and itinerary length.
What should you eat on Kilimanjaro?
Kilimanjaro climbing diets emphasize easily-digested carbohydrates, mild flavors that work for upset altitude stomachs, and high caloric density. Quality operators serve cooked meals in mess tents at every camp — typically pasta, rice, soups, stews, eggs at breakfast, and copious tea. As altitude increases above 4,000m, appetites suppress significantly — climbers should eat what they can even when not hungry to maintain energy reserves for summit night.
What’s the best month to climb Kilimanjaro?
July through October is the most popular Kilimanjaro climbing window because it falls in Tanzania’s dry season with stable weather, clear summit views, and minimal trail rain. January and February offer warmer temperatures and less crowded trails. March-May (long rains) and November (short rains) have meaningfully wetter conditions and lower success rates. Our July climb had ideal conditions throughout.
What gear is essential for Kilimanjaro summit night?
Kilimanjaro summit night essentials include a heavyweight down or synthetic parka, insulated mountaineering pants, four-layer top system, balaclava, expedition-weight gloves with liner gloves (mittens are better), double-layer socks, a sub-zero rated headlamp, and insulated water bottles or thermos. Hand and toe warmers are practical insurance. The summit push leaves Barafu Camp around 11pm-midnight and reaches Uhuru just after sunrise, meaning you climb in the coldest hours of the night for 6-8 hours straight.