
Last updated September 14, 2026
Grand Teton Gear List: What to Carry by Route & Conditions
Grand Teton gear should be built from the route, current snow and weather, and whether you are climbing car-to-car or camping at the Lower Saddle. The right list is not “everything alpine”—it is the lightest system that still protects the climb, the descent and a changing Teton forecast.
Updated August 9, 2026 · Current NPS climbing guidance checked · Gear child pillar
The Grand Teton baseline is rope + helmet + harness + rappel system + route-specific protection + weather layers.
For Owen-Spalding, many independent teams use a compact alpine-rock rack and a 30–50m single rope. Exum routes generally justify a broader rack, more runners and rock shoes. Overnight teams add a Lower Saddle sleep/cook/storage system. Snow gear is determined by current conditions—not the calendar alone.
- Always plan around: the descent.
- Helmet: treat as essential safety equipment.
- Rope: choose for route + rappel plan.
- Protection: scale with route and leader competence.
- Snow: axe/crampons only when terrain/conditions require them.
- Weather: carry insulation + rain/wind protection even in summer.
Grand Teton Gear by Route
The route matrix is the most important part of the page: Owen-Spalding, Upper Exum and specialist lines should not share one undifferentiated rack.
| Route | Grade context | Rack | Footwear | Rope system | Gear verdict |
|---|---|---|---|---|---|
| Owen-Spalding | 5.4 alpine | Small/efficient alpine rack | Approach shoes can work in dry conditions; rock shoes add margin | 30–50m single commonly used | Standard summit route; minimize weight but do not strip away descent redundancy. |
| Upper Exum Ridge | ~5.5–5.7 alpine rock | Broader rack and more runners | Rock shoes strongly preferred for sustained technical climbing | Longer single rope commonly chosen | More continuous climbing; gear organization and rope drag matter more. |
| Lower + Upper Exum | ~5.7 / longer Grade IV context | Full alpine-rock rack | Rock shoes strongly preferred | Longer rope / descent strategy must be route-specific | Bigger day; do not assume the Upper Exum kit automatically covers the whole objective. |
| North Face / harder lines | 5.8+ / specialist terrain | Route-specific full alpine rack; mixed gear may be needed by conditions | Technical rock shoes | Route-specific rope system | Not a generic gear-list objective; use current route beta and experienced partners/guides. |
Do not copy a rack without understanding the route.
Protection sizes, rope length and rappel strategy are climber- and route-dependent. Use the Grand Teton Routes guide, current guidebook/topo information and competent route-specific judgment to finalize the technical system.
The Core Grand Teton Gear Systems
This list focuses on what each system must accomplish instead of pretending one brand or model is universally correct.
Helmet
Essential safety equipmentRockfall and dropped-object exposure make a climbing helmet standard equipment on the upper mountain. This is a safety recommendation, not a claim that NPS legally mandates helmets.
Harness
EssentialChoose a harness that works with the layers you will actually wear and has enough gear-loop capacity for the route.
Dynamic rope
Route-specific essentialLength and diameter depend on route, team style, rappel plan and current anchors. A 30–50m single is common on the standard routes; harder lines may demand a different system.
Belay / rappel device
Essential for roped systemsIt must match the rope diameter and the team’s practiced rappel/belay method. Carry and know an autoblock/prusik backup if that is part of your system.
Locking carabiners
EssentialNeeded for belay attachment, rappel systems and anchor management. Exact count should match the team’s anchor and transition plan.
Cams + nuts
Route-specificOwen-Spalding can be climbed with a compact rack; Exum routes generally justify a broader rack. Exact sizes are leader- and route-dependent.
Slings / alpine draws
Essential on protected routesUseful for extending placements, reducing rope drag, anchors and replacing questionable fixed material when appropriate.
Headlamp
EssentialA delayed descent in darkness is a realistic Grand Teton scenario. Carry a real headlamp with reserve power.
Navigation
EssentialCarry an offline map/track plus a non-phone backup appropriate to your competence. Do not make cell service part of the rescue plan.
Emergency communication
Strongly recommendedA satellite messenger can materially improve emergency communication where cell coverage is unreliable; it does not replace self-rescue competence.
Rope, Belay & Rappel System
A lighter rope saves energy on thousands of feet of approach, but a rope that does not fit the team’s actual rappel plan is false efficiency.
30m vs 50m
A compact 30m single can be attractive for efficient Owen-Spalding teams using short pitches and an established descent strategy. A 50m single provides more flexibility for pitch length and route variation and is common for teams moving between Owen-Spalding and Upper Exum-style objectives.
Diameter
The current GSG planning baseline has used roughly 8.5–9.5mm single ropes. The important requirement is not the number alone: rope rating, condition, handling, belay-device compatibility and leader experience matter.
Descent backup
Carry enough locking carabiners, cord/slings and the practiced friction-hitch or backup system your team uses. Inspect fixed material rather than assuming it is trustworthy because another party used it.
Do not use a tag line casually.
Tag lines and skinny retrieval cords can save weight and expand rappel options, but they also add complexity, snag potential and retrieval problems. Use them only if the team already has that system dialed.
Rack, Slings & Anchor Material
The current page’s small-rack vs full-rack distinction is useful; the 6.5 version makes the uncertainty more explicit.
Compact Rack
A common planning starting point is a small set of cams and nuts with several alpine draws and slings. Exact sizes depend on what the leader expects to protect and how the team plans to move.
- Small/medium cams
- Selected nuts
- Alpine draws
- Anchor/rappel slings
Broader Alpine Rack
Longer and more sustained climbing generally rewards a broader selection plus more runners to manage rope drag.
- Broader cam range
- Fuller nut selection
- More alpine draws
- Rock shoes strongly preferred
Route-Specific Rack
Lower Exum, North Face and specialist routes should be planned from current route beta—not from a generic Grand Teton checklist.
- Commitment-specific protection
- Route-specific rope system
- Possible mixed/snow equipment
- Emergency/bivy margin
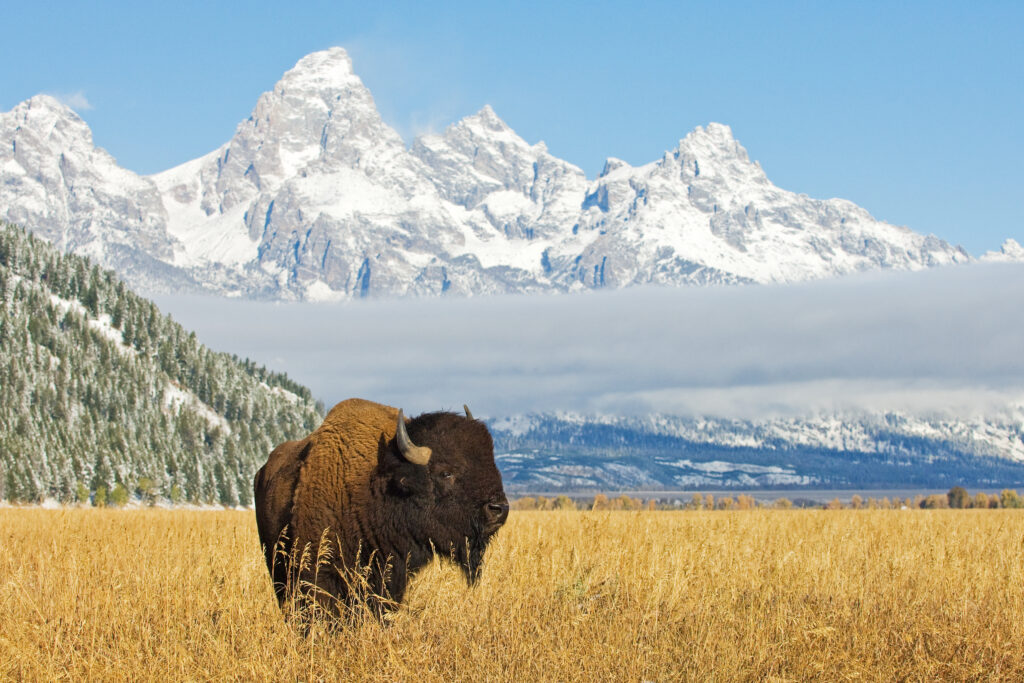
Dry granite can become a cold-weather climb in one storm cycle.
NPS warns that mountain conditions can differ dramatically from the valley, with lingering snow, sudden lightning, rain and hail. Clothing and traction decisions should be based on the upper mountain—not the Jackson forecast alone.
Approach Shoes vs Rock Shoes
Footwear choice is one of the easiest ways to reduce unnecessary weight without compromising the route—but only if the climber is genuinely comfortable in the chosen shoe.
Owen-Spalding: sticky-rubber approach shoes are commonly used in dry conditions, especially by climbers who are comfortable at the grade. Rock shoes add precision and can provide psychological margin on exposed cruxes.
Upper / Lower Exum: technical rock shoes are strongly preferred for sustained climbing and smaller footholds. Carrying rock shoes while approaching in supportive sticky-rubber shoes is the normal two-shoe logic.
Snowy approach: if current conditions include firm steep snow, footwear must also be compatible with whatever traction system the terrain requires. Do not select lightweight footwear that cannot safely work with the chosen crampon system.
Clothing & Weather Protection
NPS specifically tells climbers to carry additional layers and be prepared for rapidly changing mountain weather.
Active layers
- Synthetic or wool base layer
- Stretch climbing pants
- Light fleece or active insulation as conditions require
- Sun hat / sunglasses / sunscreen
Storm layers
- Waterproof/windproof shell jacket
- Light shell pants when forecast/season justify them
- Warm hat
- Light gloves + warmer backup
Emergency warmth
- Packable insulated jacket
- Dry backup layer if conditions are wet
- Emergency bivy/blanket appropriate to team plan
- Spare power for lighting/communication
Avoid rigid temperature claims.
Lower Saddle and summit temperatures vary with the actual weather pattern. Static “typical lows” can be useful context, but the climb should be packed from the real forecast plus an emergency margin.
Lower Saddle Camp Kit
An overnight plan changes the gear list more than almost any route choice because shelter, sleep, food and storage move up the canyon with you.
Shelter + sleep
Use a tent/bivy, sleeping bag and pad that match the forecast, wind exposure and your personal comfort. GSG’s existing conservative planning baseline has used a roughly 15°F-class bag and insulated pad for summer Lower Saddle planning, but the actual forecast should govern.
Food + water
Carry a treatment method, enough capacity for the approach and summit day, and a stove/fuel setup if your plan depends on hot food or melting snow. Do not assume an untreated alpine water source is automatically safe.
Food storage
Follow current park food-storage rules and use the designated storage system for your permitted site. Confirm the exact requirement with the current permit information rather than relying on an old gear list.
Leave-behind strategy
Camp creates a second packing problem: what stays at the saddle while you climb? Keep summit-day essentials with you and avoid leaving food or unsecured equipment exposed.
Grand Teton Summit-Day Pack
The page’s original 25–35L concept is useful as a planning range; the deeper question is what earns a place inside it.
On Harness / In Pack
- Rope
- Route-specific rack
- Belay/rappel device
- Lockers + slings
- Helmet + harness
Keep the Engine Working
- Insulation
- Shell
- Warm hat + gloves
- Water
- High-density food
If the Day Goes Long
- Headlamp + reserve power
- Navigation
- First aid / repair tape
- Emergency communication
- Minimal emergency shelter
The right pack is route-specific, not ultralight for its own sake.
Speed matters because weather changes quickly, but removing the headlamp, shell, descent material or communication device to save a few ounces is not the kind of efficiency this page recommends.
Crampons, Ice Axe & Early-Season Snow
NPS says mountain snow often remains until mid-July and warns that a fall on steep snow combined with failure to self-arrest is a major cause of injury and death in the Tetons.
Dry summer: many standard-route teams climb without crampons or an ice axe once the approach and route are genuinely dry.
Firm snow on the approach: evaluate the slope angle, runout, firmness and your self-arrest competence. Crampons improve traction; the axe adds the ability to self-belay and arrest when used correctly.
After a late storm: snow on rock can create verglas and can be more important than the quantity of snow on the trail. A rack designed for dry granite does not solve icy rock.
Check the current NPS backcountry conditions, then contact climbing rangers when upper-route conditions are uncertain.
Guided vs Independent Gear
Gear ownership changes substantially when a professional guide service supplies the group technical system.
| System | Guided climb | Independent climb | What to verify |
|---|---|---|---|
| Rope | Often group-provided | Team provides | Exact guide-service inclusion and route system |
| Rack / protection | Often guide-provided | Leader/team provides | Do not purchase until route and service are confirmed |
| Harness / helmet | May be personal or rental | Team provides | Fit and rental availability |
| Belay / rappel hardware | Often part of guide system | Team provides | Client personal items may still be required |
| Footwear | Usually client-specific | Team provides | Approach vs rock-shoe requirement |
| Clothing / personal pack | Client responsibility | Team provides | Use the service’s current packing list |
| Overnight sleep system | Program-dependent | Team provides | Hut/camp arrangement and inclusions |
| Emergency communication | Guide typically has professional system | Team should plan its own | Coverage, backup and emergency plan |
Use the Grand Teton Guide Companies page for current provider comparisons. Never assume a guided package includes a specific item without checking the operator’s current list.
Rent vs Buy: A Better Cost Strategy
The original page used broad planning bands of roughly $200–$400 for rental-heavy setups and $800–$3,500+ to build more complete systems. Treat those as budgeting context—not live store prices.
Rent first if Grand Teton is your first technical alpine-rock objective, if you are guided, or if you have not decided whether alpine rock will become a recurring part of your climbing.
Buy personal-fit gear first: footwear, harness, helmet, clothing, headlamp and pack are the items where familiarity and fit have the most day-to-day value.
Delay the full rack until you know which routes and climbing style you will pursue. Protection is expensive and route-dependent; buying “the Grand Teton rack” before learning placements often produces either too much gear or the wrong gear.
Do not buy used life-safety equipment blindly.
Used soft goods and ropes can have unknown fall, chemical, UV or storage history. If the history cannot be verified, replace uncertainty rather than saving money on the wrong component.
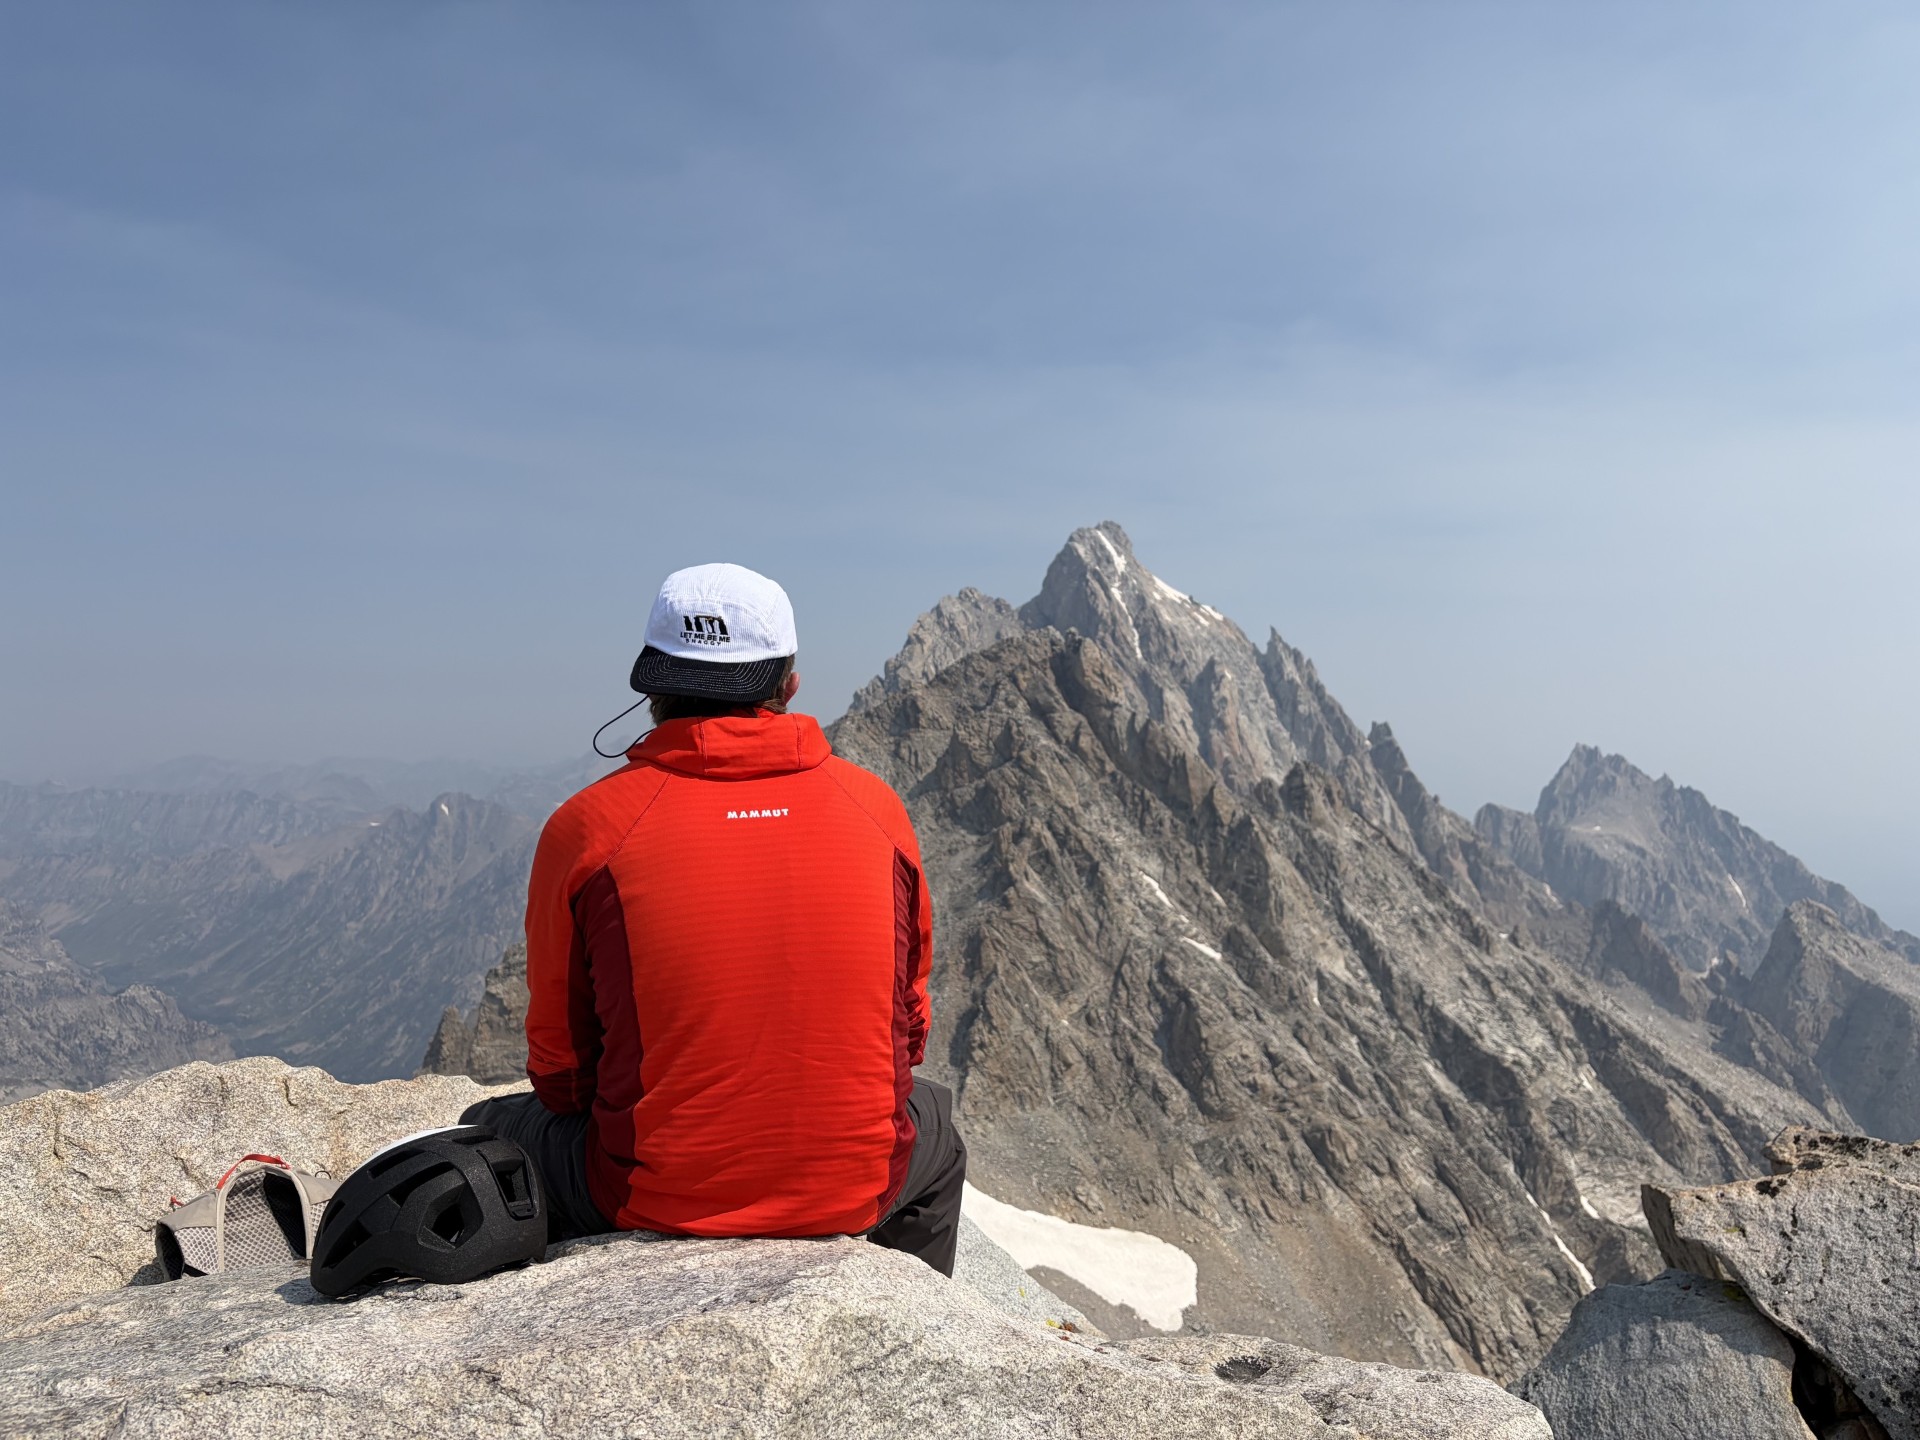
Every extra pound is carried through thousands of vertical feet.
The recent Middle + South Teton field day—15.2 miles and 7,546 feet of recorded gain—reinforces why equipment discipline matters in the range. This was not a Grand Teton climb; it is used here only as first-hand context for big-vertical pacing and pack efficiency.
8 Grand Teton Gear Mistakes to Avoid
The wrong kit can be too little, too much, or simply mismatched to the route and conditions.
Packing for the grade, not the mountain
A 5.4 label can tempt climbers to under-pack. The Grand still includes a long approach, altitude, exposed terrain, weather and a technical descent.
Treating the summit as the finish
A heavy rack may slow the ascent; an overly stripped kit may compromise the descent. Pack around the complete round trip.
Using microspikes as an ice-axe substitute
Microspikes can help on lower-angle firm snow, but they do not provide self-arrest and are not a substitute for crampons + ice axe where steep snow conditions demand them.
Buying a full rack before choosing the route
Route choice should determine the protection system. Do not buy or carry gear just because a generic checklist includes it.
Carrying a 60m rope by default
More rope can mean more options—but also more weight. Choose length from the actual climb and rappel plan.
One person knows the system
Independent teams should not have a single point of knowledge for rappels, navigation, emergency communication or anchor evaluation.
Cotton / weak weather layers
NPS warns conditions change rapidly. Carry insulation and weather protection that still works when the upper mountain gets cold, wet or windy.
No gear decision after a storm
Snow or verglas can transform the same route. Re-evaluate footwear, traction, axe/crampon needs and turnaround thresholds after weather changes.
Grand Teton Planning Cluster
This child page owns equipment decisions. The parent and sibling pages own route choice, permits, weather, readiness and guides.
Grand Teton Climbing Guide
Choose the mountain strategy and move into the correct planning child.
Open parent →Route childGrand Teton Routes
Owen-Spalding, Exum and specialist route comparisons.
Compare routes →Conditions childWeather & Best Season
Use conditions and forecast to decide which gear actually belongs in the pack.
Plan conditions →Readiness childDifficulty & Safety
Equipment cannot replace technical competence, fitness or judgment.
Assess readiness →Logistics childPermits & Logistics
Overnight strategy determines whether the full Lower Saddle camp kit is needed.
Plan logistics →Altitude childAcclimatization
Reduce avoidable fatigue before carrying technical equipment high into the range.
Plan altitude →Guide childGuide Companies
Check which technical systems the guide provides before renting or buying gear.
Compare guides →Sitewide gearGear & Safety Hub
Broader mountaineering equipment, safety systems and decision frameworks.
Open gear hub →Grand Teton Gear FAQ
These answers focus on equipment decisions and avoid duplicating the route and safety child pages.
What gear do I need to climb Grand Teton?
At minimum, a technical Grand Teton climb typically requires a helmet, harness, dynamic rope, belay/rappel system, locking carabiners, route-appropriate protection and slings, approach or rock footwear, weather layers, headlamp, navigation, water/food and emergency essentials. Overnight teams also need a Lower Saddle camp system.
How long should the rope be for Grand Teton?
There is no single correct length for every route. A 30–50m single rope is common for Owen-Spalding and Upper Exum teams, while longer or double/half-rope systems may make sense on more technical objectives. Match the rope to the climb and rappel plan.
Do I need a helmet on Grand Teton?
A climbing helmet should be treated as essential safety equipment because of rockfall and dropped-object exposure. NPS emphasizes proper safety equipment but does not publish a rule saying a helmet is legally required.
Do I need crampons and an ice axe?
Sometimes. NPS notes that snow can remain in the mountains until mid-July and identifies failure to self-arrest on steep snow as a major cause of injury and death. If steep firm snow is present, use the equipment and skills appropriate to those conditions; microspikes are not a substitute for an axe and crampons.
Can I climb Owen-Spalding in approach shoes?
Many experienced climbers use sticky-rubber approach shoes on dry Owen-Spalding terrain. Rock shoes may provide more precision and security. Footwear should match the climber, conditions and route.
Do I need rock shoes for Exum Ridge?
Rock shoes are strongly preferred by many teams for the sustained technical climbing on the Exum routes. Some highly experienced climbers may use other footwear, so this page avoids calling one shoe legally or universally required.
What sleeping bag should I take to the Lower Saddle?
Use a bag and pad system appropriate to the actual forecast, your shelter and your personal cold tolerance. The existing GSG planning baseline has used roughly a 15°F-class bag for conservative summer planning, but current forecast and conditions should override a static number.
How much does Grand Teton climbing gear cost?
The current GSG page has used broad planning bands of roughly $200–$400 for a rental-heavy setup and about $800–$3,500+ to build a larger personal system. These are planning estimates, not live retail quotes.
What technical gear is normally provided on a guided climb?
Guide services often provide group technical gear such as rope and protection, while clients bring personal clothing, footwear and overnight items. Exact inclusions vary by company and program; use the guide-company page and the operator’s current packing list.
What should I add after a summer storm?
Recheck upper-mountain snow, verglas, rockfall and forecast conditions before changing the kit. Depending on conditions, that can mean warmer insulation, waterproof pants, gaiters, different footwear, crampons and an ice axe—or simply postponing the climb.
How This Gear List Is Maintained
Gear guidance is updated when official conditions, route information or the underlying GSG Grand Teton cluster materially changes.
Primary sources checked
- NPS Climbing & Mountaineering — current safety guidance, snow/weather warnings and ranger contacts.
- NPS Backcountry & Trail Conditions — current snow, access and backcountry condition context.
- NPS Backcountry Camping Permits — current overnight permit rules and fees.
- GSG Grand Teton Routes — route ownership and grade context.
- GSG Grand Teton parent pillar — overall planning architecture.
What this page deliberately does not claim
- That one rope length or rack is correct for every team.
- That a helmet is legally mandated by NPS.
- That rock shoes are universally required by law or grade.
- That microspikes replace crampons and an ice axe on steep firm snow.
- That fixed anchors are guaranteed safe.
- That static sleeping-bag or temperature numbers override the forecast.
- That listed cost ranges are live retail quotes.
Final gear rule
Rebuild the list after you choose the route, after you see the current upper-mountain conditions, and again after the final forecast. Grand Teton rewards systems that are practiced, route-specific and complete enough for the descent.
Carry What the Route, Weather & Descent Actually Require.
Start with the route. Check current conditions. Decide one-day vs overnight. Then build the technical, clothing and emergency systems around that specific climb.
Required, Conditional or Optional? Let the Route and Conditions Decide.
The Grand Teton packing mistake is usually not forgetting an obscure piece of equipment. It is carrying the right item for the wrong route—or leaving behind something that today’s snow, descent or overnight plan makes necessary. Use the trigger column below before finalizing the pack.
Rope, rappel system, helmet, harness and a compact route-appropriate rack; add snow tools only when current terrain requires them.
More sustained climbing favors a broader rack, more runners and rock shoes, with the Lower Exum adding time and commitment.
Add shelter, sleep, food, water-treatment and current NPS food-storage requirements only when the itinerary includes an overnight.
Grand Teton Gear Decision Matrix
“Required” below means a normal planning baseline for the stated independent technical system—not a claim that every item is legally mandated by Grand Teton National Park. Guided climbers should use their operator’s current equipment list.
| Item | Status | Owen-Spalding | Upper / Lower Exum | Decision Trigger | Before Packing |
|---|---|---|---|---|---|
| Climbing helmet | Baseline | Carry for the upper mountain. | Carry for the upper mountain. | Technical climbing, other parties and rockfall exposure. | Check fit with hat/hood and inspect shell, foam and retention system. |
| Harness | Baseline | Part of the normal roped climbing and rappel system. | Part of the normal roped climbing system. | Your route plan includes belaying, protection or rappelling. | Fit it over the clothing you may actually wear high on the mountain. |
| Dynamic climbing rope | Route-specific | 30–50 m singles are common planning choices; match the descent plan. | Longer single-rope systems are commonly favored for sustained climbing. | Pitch length, leader strategy, rappel plan and current anchor information. | Verify rope rating, condition, diameter and device compatibility. |
| Belay / rappel device | Baseline | Required by the team’s practiced rope/descent system. | Required by the team’s practiced rope/descent system. | You are using a rope for belaying or rappelling. | Confirm the device is approved for the exact rope diameter. |
| Locking carabiners + rappel backup | Baseline | Build around the team’s practiced rappel system. | Build around the team’s practiced belay/rappel system. | The descent or anchor system uses them. | Every independent team member should understand the descent system. |
| Cams + nuts | Route-specific | Compact alpine rack is a common starting point. | Broader protection selection normally makes more sense. | Route choice, leader ability and desired protection density. | Do not copy a generic rack without studying the actual route. |
| Slings / alpine draws | Route-specific | Useful for placements, anchors and rope-drag management. | More runners become valuable on longer Exum terrain. | Protection spacing, wandering terrain and anchor strategy. | Inspect sewn material and understand how the team will extend placements. |
| Sticky approach shoes | Baseline | Can be sufficient for experienced climbers on dry rock. | Approach footwear for getting to the technical route. | Dry summer approach and personal climbing ability. | Confirm traction, fit and compatibility with any traction system you may carry. |
| Rock shoes | Conditional | Optional margin for many competent climbers. | Strongly favored for sustained Upper / Lower Exum climbing. | Technical continuity, foothold precision and your comfort climbing the grade in approach shoes. | Carry only if the performance gain justifies the extra pair. |
| Waterproof shell | Baseline | Carry even on a favorable summer forecast. | Carry even on a favorable summer forecast. | Teton weather can change rapidly above the valley. | Confirm the shell fits over insulation and remains functional in wind/rain. |
| Insulating layer | Baseline | Upper-mountain warmth and emergency margin. | Upper-mountain warmth and emergency margin. | Cold start, wind, delay, cloud or unexpected weather. | Pack for the summit forecast and a slower-than-planned descent. |
| Headlamp + reserve power | Baseline | Carry even if daylight return is expected. | Carry; longer climbing increases overrun potential. | Alpine start or any chance a delayed descent extends into darkness. | Start with a charged battery and functional backup power. |
| Navigation | Baseline | Especially important for descent route-finding. | Needed for approach, route transitions and descent. | Any independent climb. | Save route information offline and carry a backup appropriate to team skill. |
| Satellite communicator | Recommended | Useful emergency communication backup. | Useful emergency communication backup. | Independent team wants communication beyond unreliable cell coverage. | Activate subscription, charge device and practice sending a message before the trip. |
| Crampons | Conditional | Carry when firm snow/ice on the approach or upper route requires them. | Same condition-based decision. | Current upper-mountain snow firmness, slope angle and footwear compatibility. | Do not carry them merely because the calendar says June or July. |
| Ice axe | Conditional | Carry when steep snow terrain requires self-belay/self-arrest competence. | Same condition-based decision. | Current steep snow exposure and your ability to use the axe properly. | An ice axe is useful only when the climber has practiced the relevant snow skills. |
| Mountaineering boots | Conditional | Usually unnecessary for dry core-season rock climbing. | Usually unnecessary for dry core-season rock climbing. | Substantial early-season snow, cold or traction compatibility needs. | Exum notes boots are generally used when considerable early-season snow remains. |
| Gaiters | Conditional | Usually leave behind for a dry-rock summer ascent. | Usually leave behind for a dry-rock summer ascent. | Persistent snow, wet conditions or footwear system justifies them. | Do not add them automatically to a July/August rock kit. |
| Lower Saddle shelter / sleep system | Overnight only | Add only for a permitted overnight itinerary. | Add only for a permitted overnight itinerary. | Your climb includes backcountry camping or bivouac equipment. | Match tent/bivy, bag and pad to the actual forecast and permit plan. |
| Food-storage system | Overnight only | Follow current NPS backcountry food-storage rules. Lower Saddle has existing bear-resistant storage lockers; approved portable containers are another compliant option where applicable. | You are camping overnight with food or other odorous items. | Confirm current NPS rules when collecting the permit. | |
| Water treatment | Trip-specific | Useful whenever the plan depends on backcountry water. | Useful whenever the plan depends on backcountry water. | Your carried water is insufficient for the complete itinerary. | NPS says backcountry drinking water must be treated. |
| Trekking poles | Optional | Can reduce fatigue on the long approach/descent. | Same. | You personally benefit enough to justify carrying/stashing them. | Plan where they will go once technical climbing begins. |
Grand Teton Pre-Trip Gear Check
Run this after choosing the route and again after the final forecast. If one answer changes, the pack may need to change with it.
Lock the exact route
Owen-Spalding, Upper Exum and Lower + Upper Exum should not share one automatic rope, rack or footwear list.
Independent or guided?
Remove group gear the guide explicitly provides. Confirm personal footwear, clothing, pack and overnight responsibilities separately.
Test the rope system together
Rope, device, carabiners, friction backup and rappel method must work as one practiced system—not as separately purchased items.
Recheck snow and verglas
The final decision on crampons, axe, boots and gaiters comes from current upper-mountain conditions, not the trip month alone.
Fit every clothing layer together
Harness, shell, insulation, gloves and helmet must still function when worn in the combination required by poor weather.
Study the descent before the summit
Confirm rappel strategy, navigation, anchor judgment and the material needed if an established station is not usable as expected.
Resolve the overnight system
If camping, confirm the backcountry permit, shelter, sleep system, water treatment and current food-storage requirements.
Charge the failure-margin gear
Headlamp, phone, navigation and satellite communication should leave the trailhead charged, functional and accessible.
Walk in the loaded pack
Make sure harness, rope carry, helmet, footwear and summit-day essentials remain accessible without repacking the entire system.
Remove gear without a trigger
If there is no route, condition, overnight or emergency reason for an item, question why you are carrying it through thousands of feet of gain.
Current Gear-Decision Sources
This enhancement was rechecked September 14, 2026 against current National Park Service climbing/backcountry guidance and Exum Mountain Guides’ published Grand Teton equipment information.
NPS Climbing & Mountaineering → NPS Backcountry Permits → NPS Backcountry Rules → Exum Equipment Lists →Technical climbing equipment requires training and competent use. This matrix is a planning framework, not a substitute for current ranger information, route-specific beta, professional instruction or an operator’s current packing list.
Was this helpful?
🏔Related gear guides
🧭Explore & compare
Global Summit Guide is an independent mountaineering resource founded in 2026. The team combines first-hand trekking and climbing experience with in-depth research and professional health and nutrition review to help climbers choose objectives, prepare properly, and stay safe.
Health, altitude, and nutrition content is reviewed by Taylor Ludlow (Registered Nurse) and Brigg Hoopes (Nutritionist).
What We Don't Know Yet
Mountain information changes quickly. This box explains the limits of what this page can responsibly promise.
- Gear requirements can change by season, route variation, weather window, personal cold tolerance, and guide-service requirements.
- Visa, passport, vaccination, border, insurance, and local transportation rules may change before your trip.
- Route conditions, snowpack, closures, and weather can change quickly after this page is updated.
- Permit rules, fees, quotas, and reservation windows may change between review cycles.
- Operator availability, pricing, guide ratios, and cancellation terms can change by season.
Verify current conditions with official land managers, guide services, local forecasts, and current route reports before booking or climbing.
Mountaineering, rock and ice climbing, glacier travel, and high-altitude activity are inherently dangerous and can result in serious injury or death. The information on Global Summit Guide is provided for general informational and educational purposes only and is not a substitute for professional instruction, qualified guiding, proper equipment, or your own judgment and experience.
Route conditions, weather, snowpack, permits, regulations, and hazards change constantly and may differ from what is described here. Details may be incomplete, out of date, or contain errors. Always verify current information with local authorities, certified guides, and official sources before making any decision in the mountains.
Nothing on this site is medical, legal, or financial advice. Our fitness, acclimatization, altitude, and nutrition content is general in nature; consult a qualified physician before beginning any strenuous exercise program or exposing yourself to high altitude.
You are solely responsible for your own safety and decisions. To the fullest extent permitted by law, Global Summit Guide and its team accept no liability for any loss, injury, damage, or expense arising from use of, or reliance on, this information. By using this site you acknowledge these risks and accept these terms.
Some links on this site may be affiliate links. If you buy through them we may earn a small commission at no extra cost to you; this never affects our recommendations.
Global Summit Guide recommendation path
Next Best Mountain to Research
Use these recommendations to continue the right planning path instead of stopping on one page.
Use current permit, weather, route, and operator information before booking or climbing.