
Last updated September 30, 2026

Snowmass Mountain: East Slopes Route, Snowmass Lake & Climbing Guide
A remote Elk Mountains summit where the approach is almost an expedition of its own. Plan the creek crossing, Snowmass Lake permit, seasonal snowfield, exposed Class 3 summit ridge and a safe return through the same complex terrain.
How difficult is Snowmass Mountain?
Snowmass Mountain is an advanced Class 3 climb, not simply a long hike. From Snowmass Creek, the published standard East Slopes route is approximately 22 miles round trip with 5,800 feet of gain. The snow or talus ascent ends in exposed ridge scrambling on often-loose rock. The isolated setting adds substantial commitment.
For most parties, plan a permitted backpacking approach and summit from a Snowmass Lake camp. A strong climber who is comfortable on sustained Class 3 terrain, snow when present and complicated descents is better suited than someone whose previous experience is limited to trail-only fourteeners.
A two-stage mountain: long approach, serious summit day
What makes Snowmass different from Colorado’s more accessible 14ers is the combination of distance, wilderness logistics and exposed Class 3 terrain.
First decision: day trip or backpack?
The approach to Snowmass Lake is more than eight miles. A permitted camp splits the mileage but adds reservation and food-storage requirements. A single-day effort demands exceptional endurance and time management.
Second decision: snow or talus?
Snow can make the upper basin more efficient for trained climbers; when it melts, loose and unstable talus is exhausting. The technical system you need depends on the actual snowline and overnight freeze.
Third decision: when to turn around?
The upper ridge and the descent demand time. Set a hard turnaround threshold based on weather, route familiarity and the time required to reverse the same hazards.
The Snowmass Creek approach is not filler mileage
Budget the long approach and creek crossing as substantive parts of the objective. Confirm the road/trailhead condition before you drive; do not confuse Snowmass Creek with Maroon Lake access.
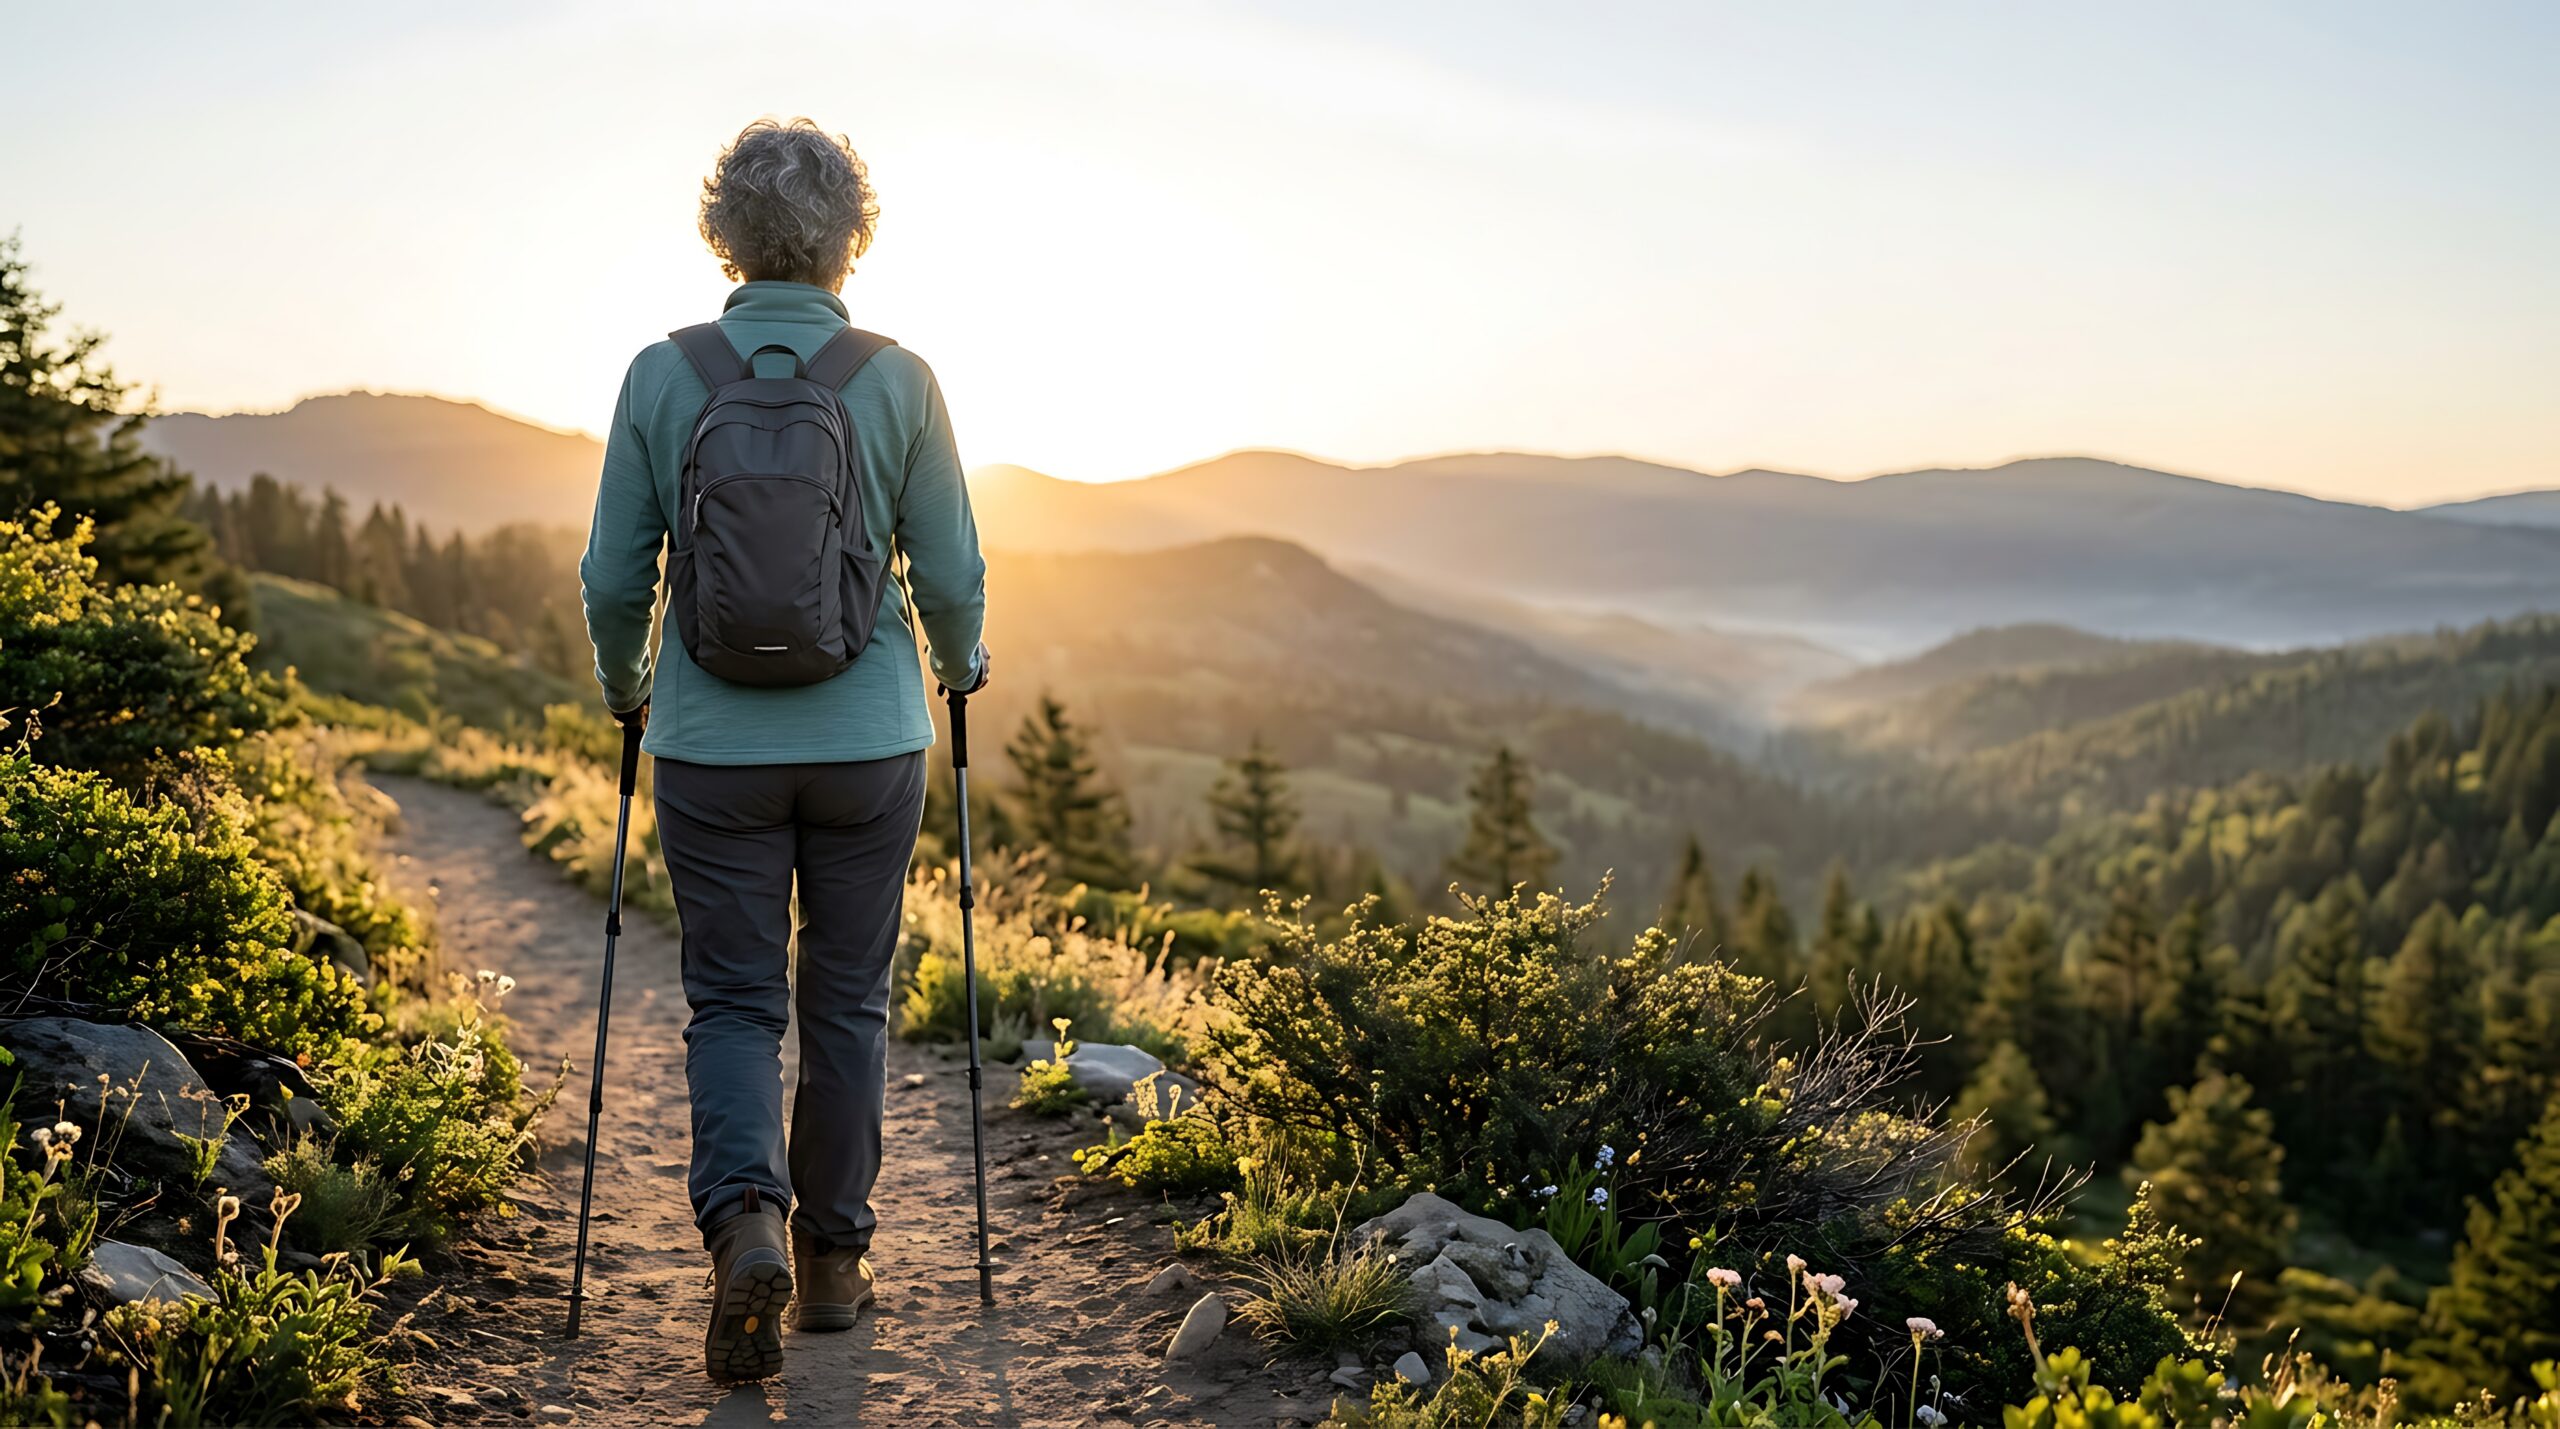
Start at Snowmass Creek Trailhead
14ers.com lists the standard trailhead at about 8,400 feet. From Glenwood Springs, follow CO 82 toward the town of Snowmass, then Snowmass Creek Road; the road eventually becomes dirt and finishes near the Snowmass Creek trailhead. Follow current road notices and navigate to the trailhead rather than relying on a guessed GPS shortcut.
Hike south on the Snowmass Creek trail. After roughly 2.5 miles, stay left toward the Maroon–Snowmass trail at the West Snowmass junction. Near the four-mile mark the mountain comes into view. Continue into the high basin, anticipating wet sections and slower travel with an overnight pack.
After more than six miles, the approach reaches the well-known logjam crossing near the northern end of a pond complex. Snowmelt and high water can make the crossing consequential; inspect conditions and do not force a dangerous crossing. Beyond it, the trail rises through forest toward Snowmass Lake, reached more than eight miles from the start.
East Slopes: from the lake to the summit
The following is a planning framework, not a substitute for route photos, current reports, a downloaded GPX and the judgment to turn around.
Leave Snowmass Lake deliberately
Cross to the south side of the outlet, move through a short forest section, and pick up the faint lakeshore trail toward the southwest end of the lake. Do not simply point uphill from your campsite.
Navigate the lakeside boulder fields
At the west end, move through boulders and willows toward the drainage below the snowmass. Track your return line while fresh; the descent through this area is often slower than expected.
Work around the loose lower gully
Around the lower upper-basin gully, the standard description avoids the steep loose pitch by crossing the stream and working through willows and ledges. Conditions dictate the safe variation; avoid sending rocks toward partners.
Select the snow or talus line
Above roughly 12,000 feet, evaluate snow cover, firmness, runout and rockfall. Competent snow travel may make this portion more efficient, but hard snow without appropriate skills and equipment is not a shortcut.
Gain the southeast ridge
Climb toward the ridge break near the broad bump southeast of the summit rather than aiming straight up the summit cliffs. The published ridge-crest access is approximately 13,700 feet; verify your line against route photos.
Finish the Class 3 ridge
The remaining roughly one-third mile traverses around and over ridge features, including sections on the west side and a final steep, loose pitch. Exposure is real. Keep spacing, test holds and avoid dislodging rocks.

Build your route around the descent, not around the summit photograph.
Scrambling with a tired partner, losing the line above cliffs or stepping onto softening afternoon snow can be more consequential than the ascent.
Reserve the actual night and zone you intend to use
This is a separate system from Maroon Bells Scenic Area parking and shuttle reservations.
Snowmass Lake is a permitted overnight zone.
For an overnight East Slopes climb, reserve the Snowmass Lake permit zone through Recreation.gov for each night you plan to camp there. The permit is tied to the zone and dates, and quantities are limited. Rangers do not issue these overnight permits as a walk-in alternative.
The current permit page advises printing your permit and carrying photo ID. It describes a maximum seven-night stay and limits individual permit purchases; review all terms at booking. If Snowmass Lake is full, do not assume you can camp just outside the official zone. Confirm zone boundaries and alternative camping legality with the Forest Service before selecting a different itinerary.
Food storage: Recreation.gov directs overnight visitors to bring a bear-resistant canister or an accepted Ursack option; follow the current Forest Service food-storage order for the exact accepted method. Keep food, scented items, garbage and cooking supplies secured.
Campfires: prohibited above 10,800 feet throughout the wilderness, including Snowmass Lake. Dogs must be leashed. Drones and motorized equipment are prohibited in designated wilderness.

If a lake permit is available
Plan an overnight approach, camp only in the authorized zone on the reserved night, start summit day before conditions deteriorate, and depart with adequate buffer.
If the lake zone is sold out
Study the official zone map and legal alternatives. An off-zone camp must comply with wilderness rules and may extend summit-day distance substantially.
If attempting a single-day trip
You avoid overnight-zone camping reservations but take on 22 miles, 5,800 feet of climbing and Class 3 terrain in one day. Most hikers should not treat this as their default.
Snow is the route’s advantage only when you know how to climb it
Late spring and early summer can offer continuous snow but bring avalanche, firm-snow and icy-runout risks. Later summer typically reduces steep-snow exposure while increasing talus and rockfall challenges.
| Conditions | Likely benefit | Principal trade-off | Decision standard |
|---|---|---|---|
| Continuous, supportable snow | May reduce tedious loose-rock travel | Self-arrest competence, axe/crampon fit and possible avalanche exposure | Travel only if the team has the skills and conditions support the chosen line |
| Mixed snow and rock | Shorter snow sections can offer intermittent efficiency | Transitions, hidden gaps, falling rock and complex route choice | Build extra time for changing equipment and re-evaluating the route |
| Mostly melted late-season talus | Less dependence on snow technique | Long, loose, strenuous rock travel and stonefall hazards | Assess endurance and safe group spacing rather than assuming “snow-free” is easy |
| Fresh snow / active storms | No meaningful advantage for a recreational summit | Covered holds, poor route visibility, slick rock and lightning | Turn around or reschedule rather than force a fixed objective date |

High exposure means storms become an exit problem—not just a comfort problem.
From the ridge, the fastest safe retreat may still require sustained Class 3 downclimbing before the team can leave the skyline.
Gear for a long wilderness approach and an exposed summit
The equipment list below describes functions; snow travel tools are conditions- and competency-dependent. Affiliate recommendations are secondary to sound route decisions.

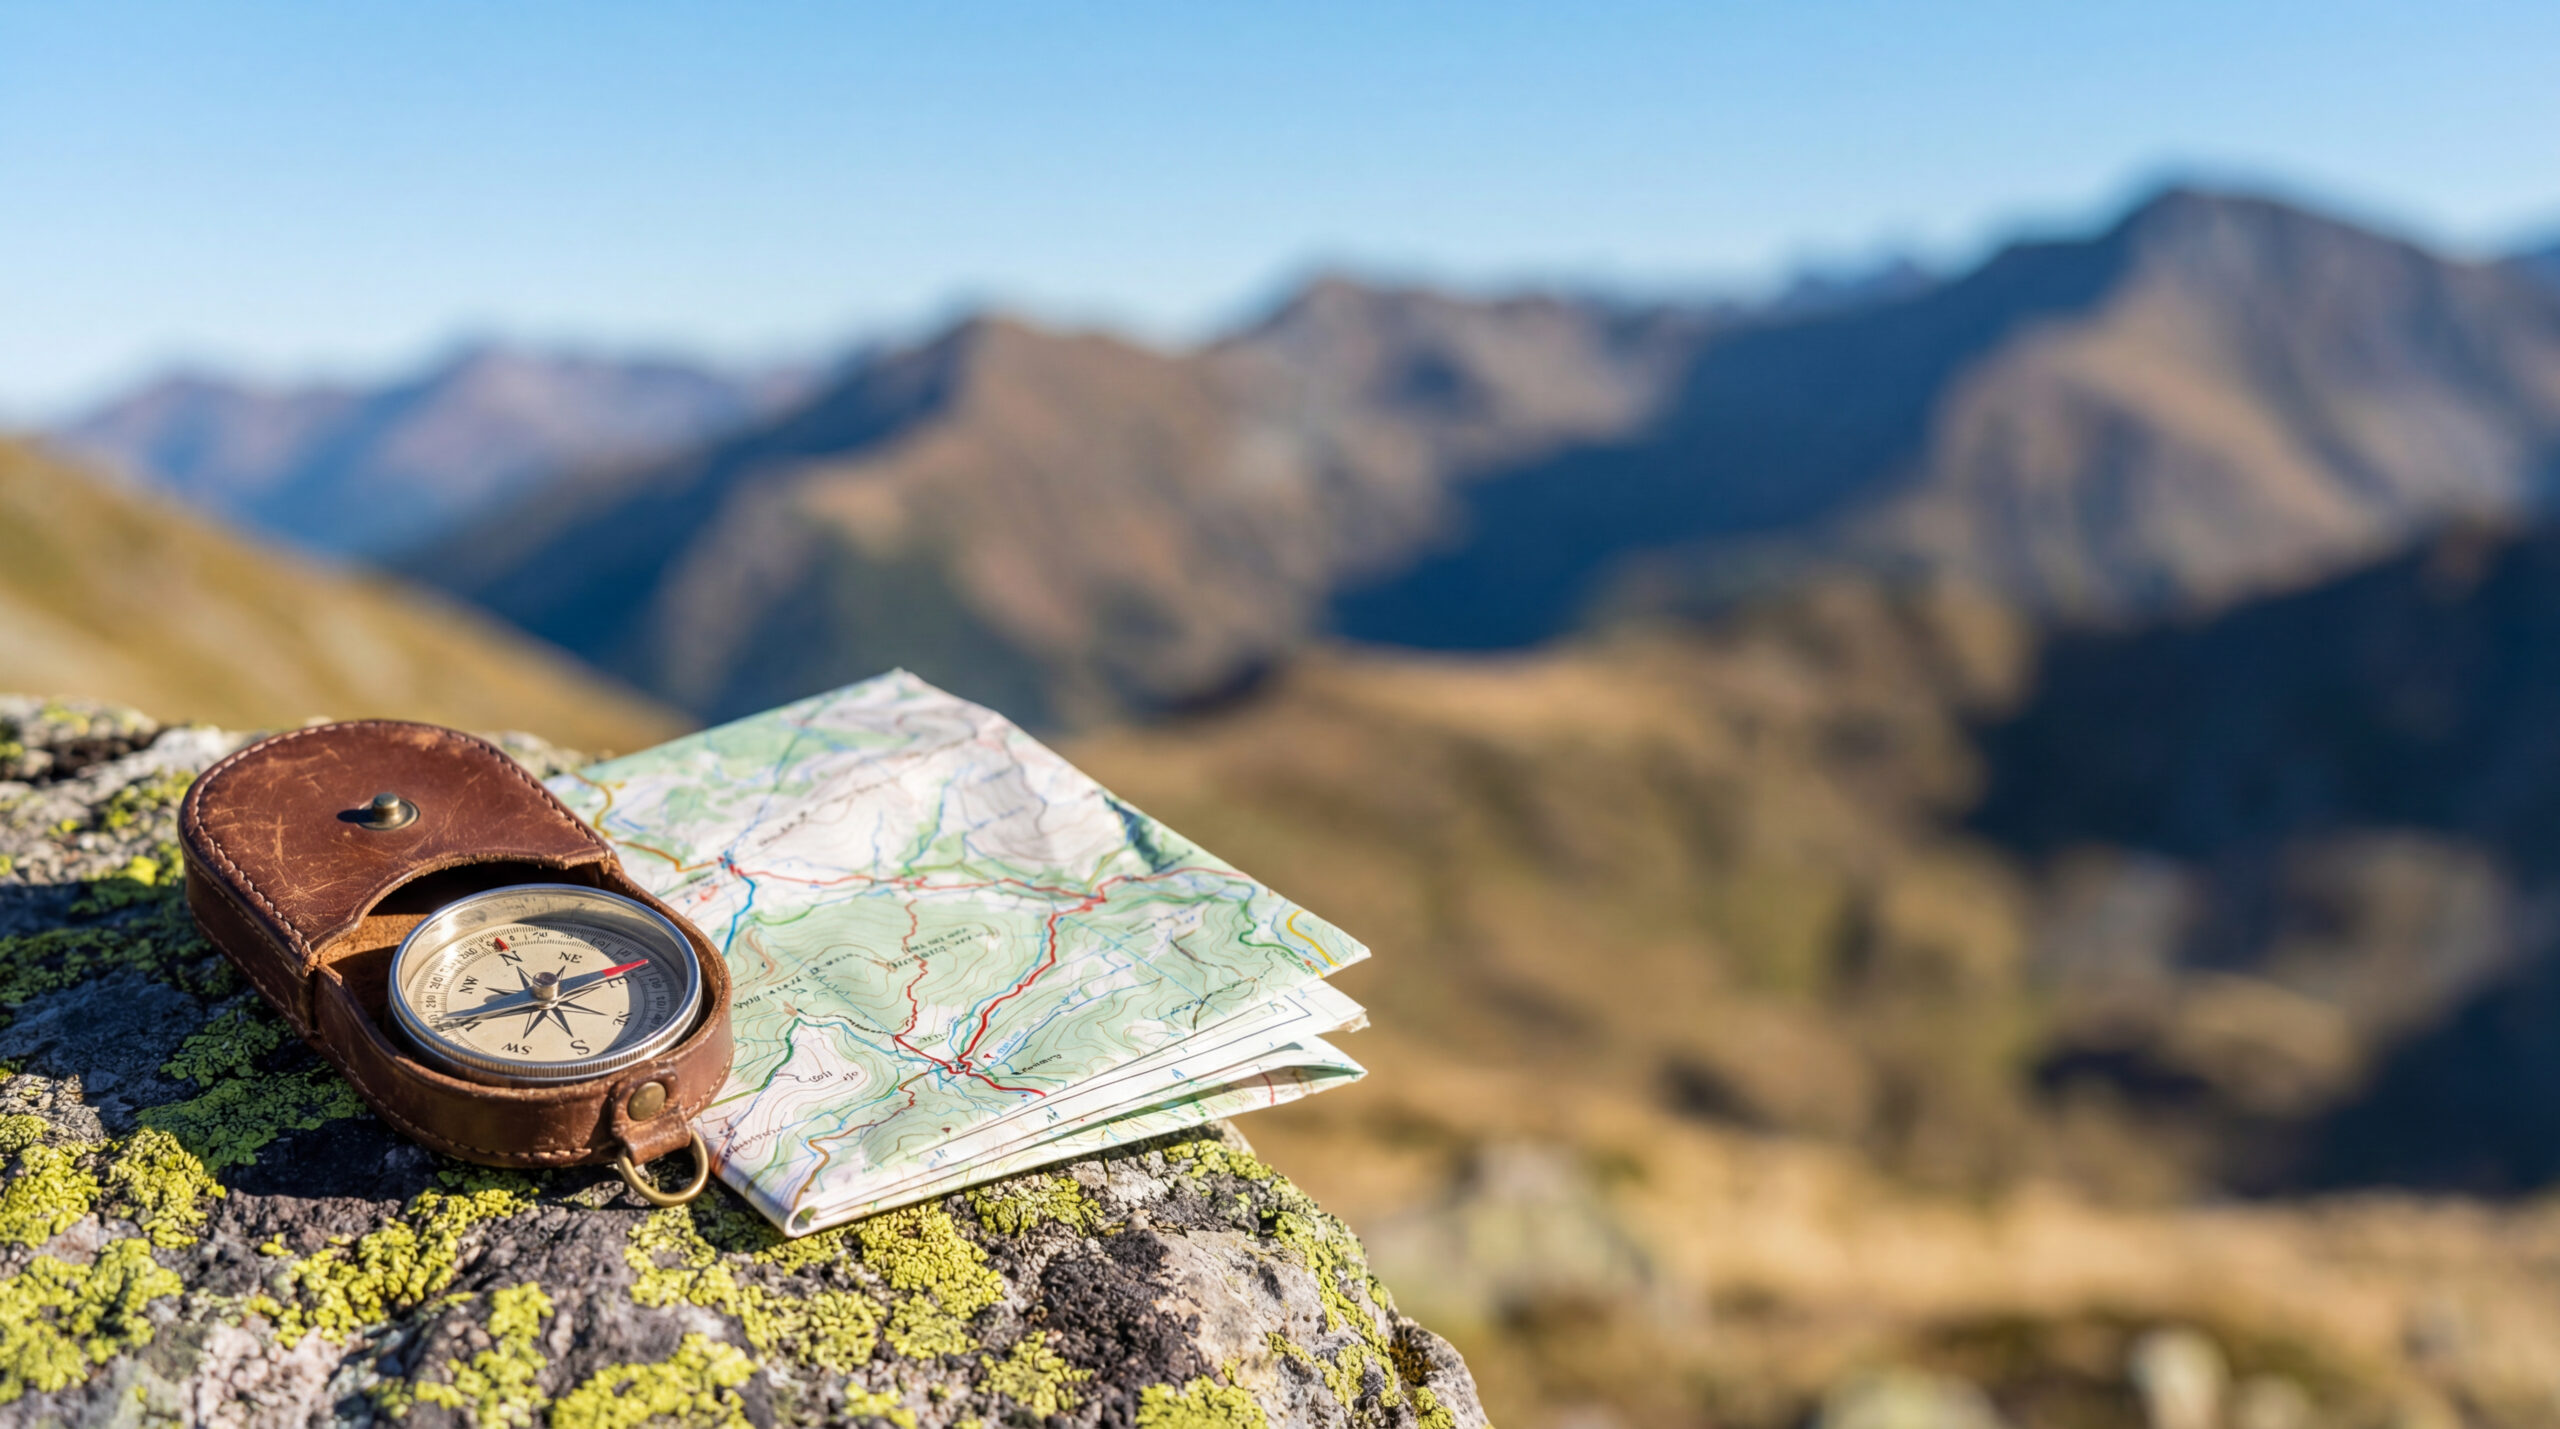

For the approach
Well-broken-in footwear, trekking poles, reliable rain protection, daylight/sun layers, a headlamp, water treatment and enough food for a longer return.
For the summit ridge
Durable gloves for abrasive rock, a helmet where rockfall is a concern, offline maps plus a paper backup, a real headlamp and an emergency communication plan.
For snow when present
Properly fitted crampons and an ice axe where conditions require them—paired with actual training in safe travel and self-arrest. Do not buy your way into capability.
Affiliate disclosure: Gear modules may contain affiliate product links. Global Summit Guide may earn a commission if you buy through them, at no additional cost to you. Recommendations do not replace conditions assessment.
Snowmass Approach Gear
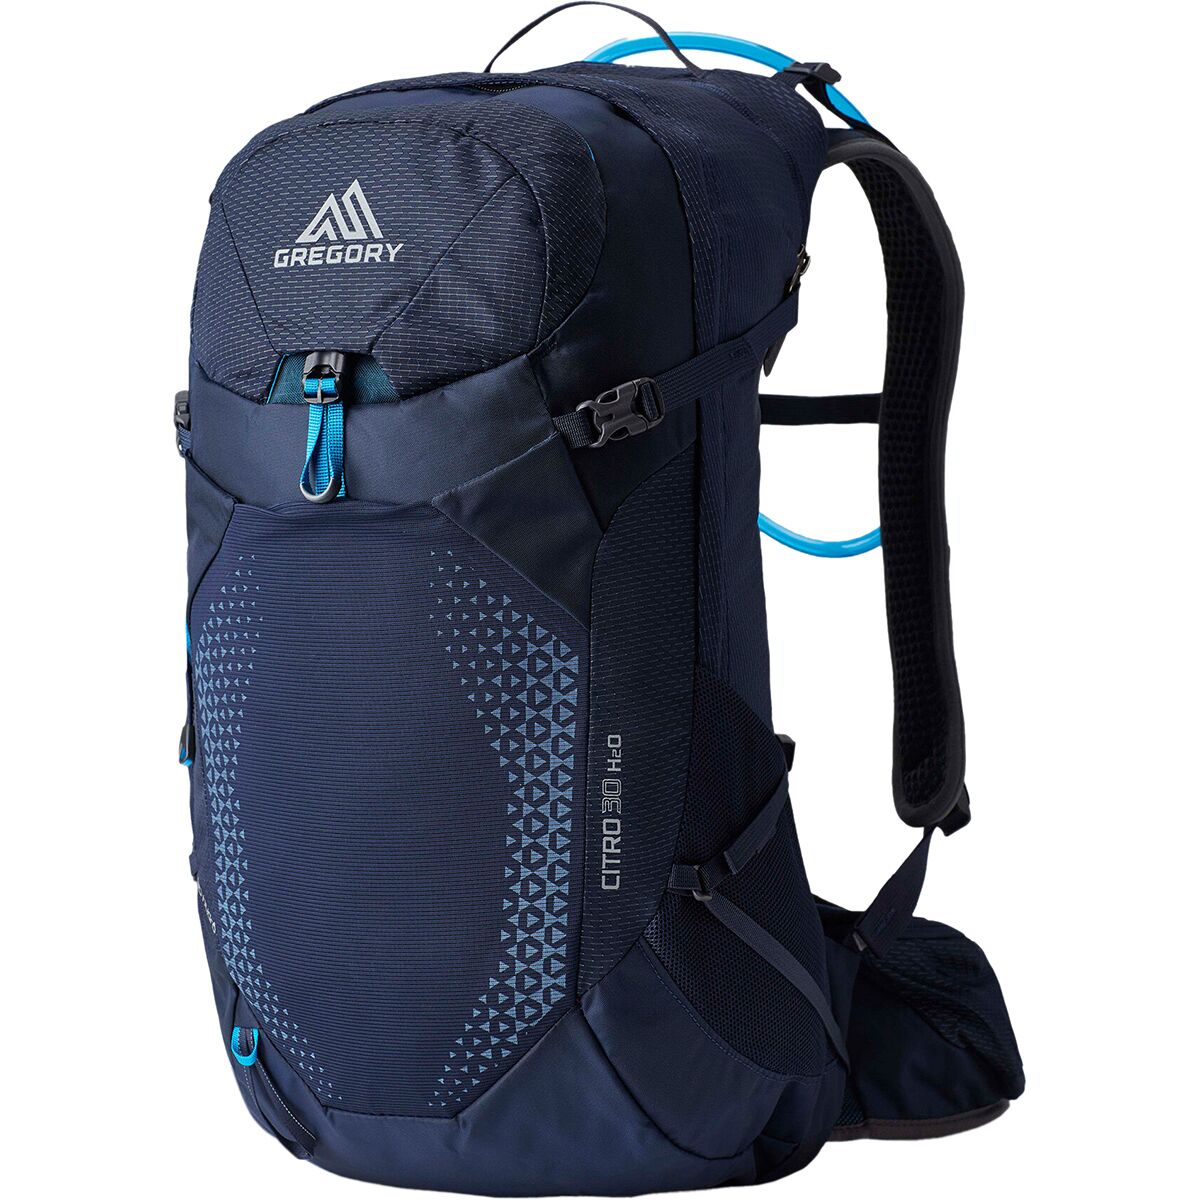
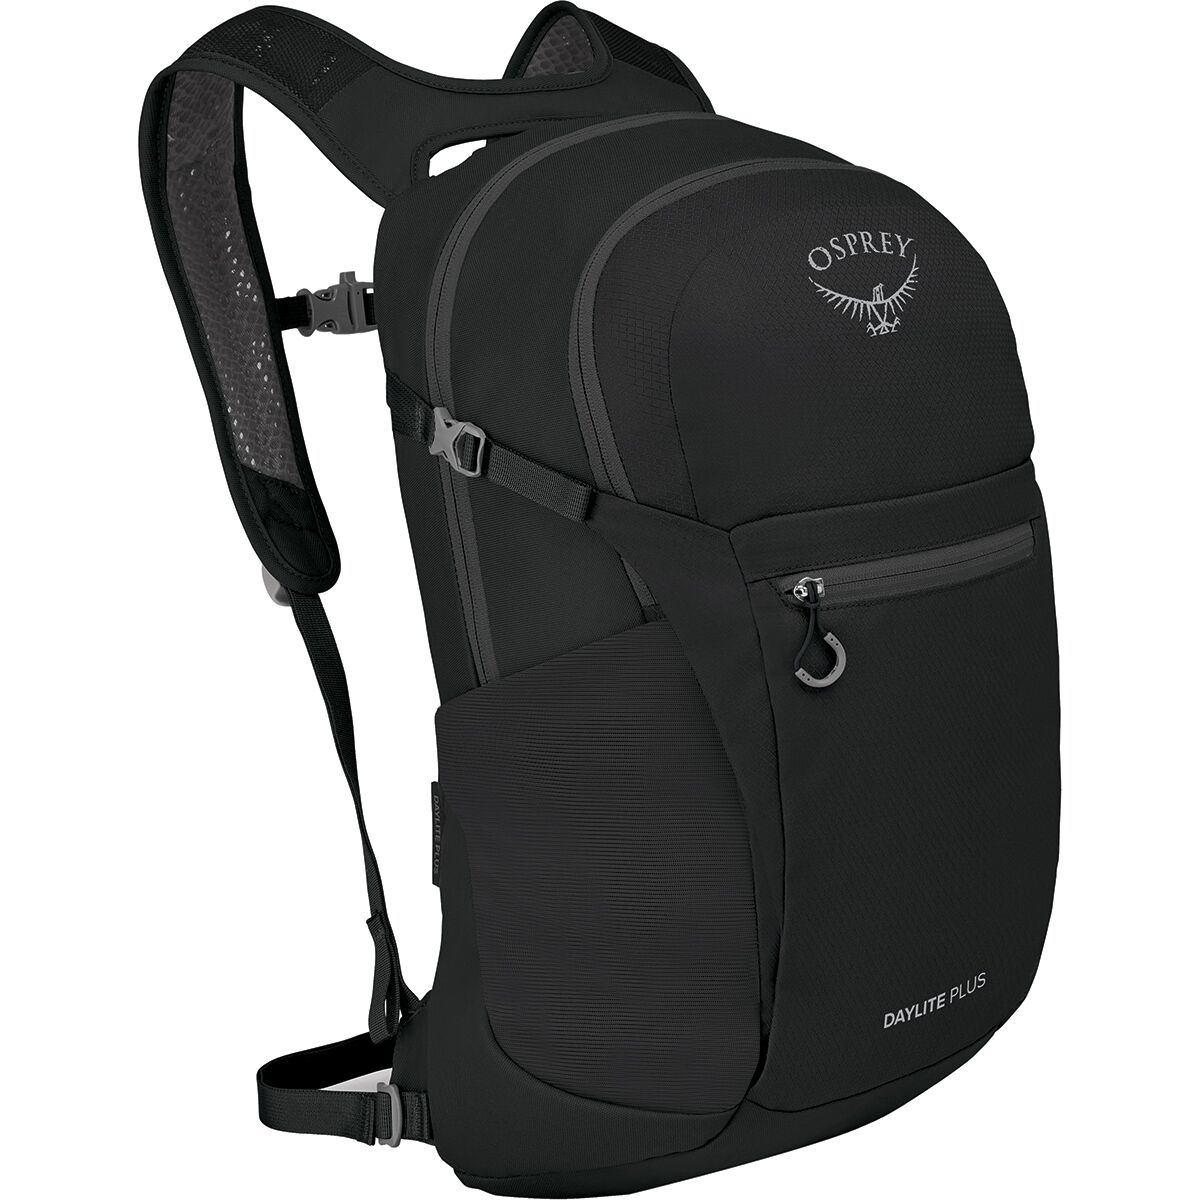
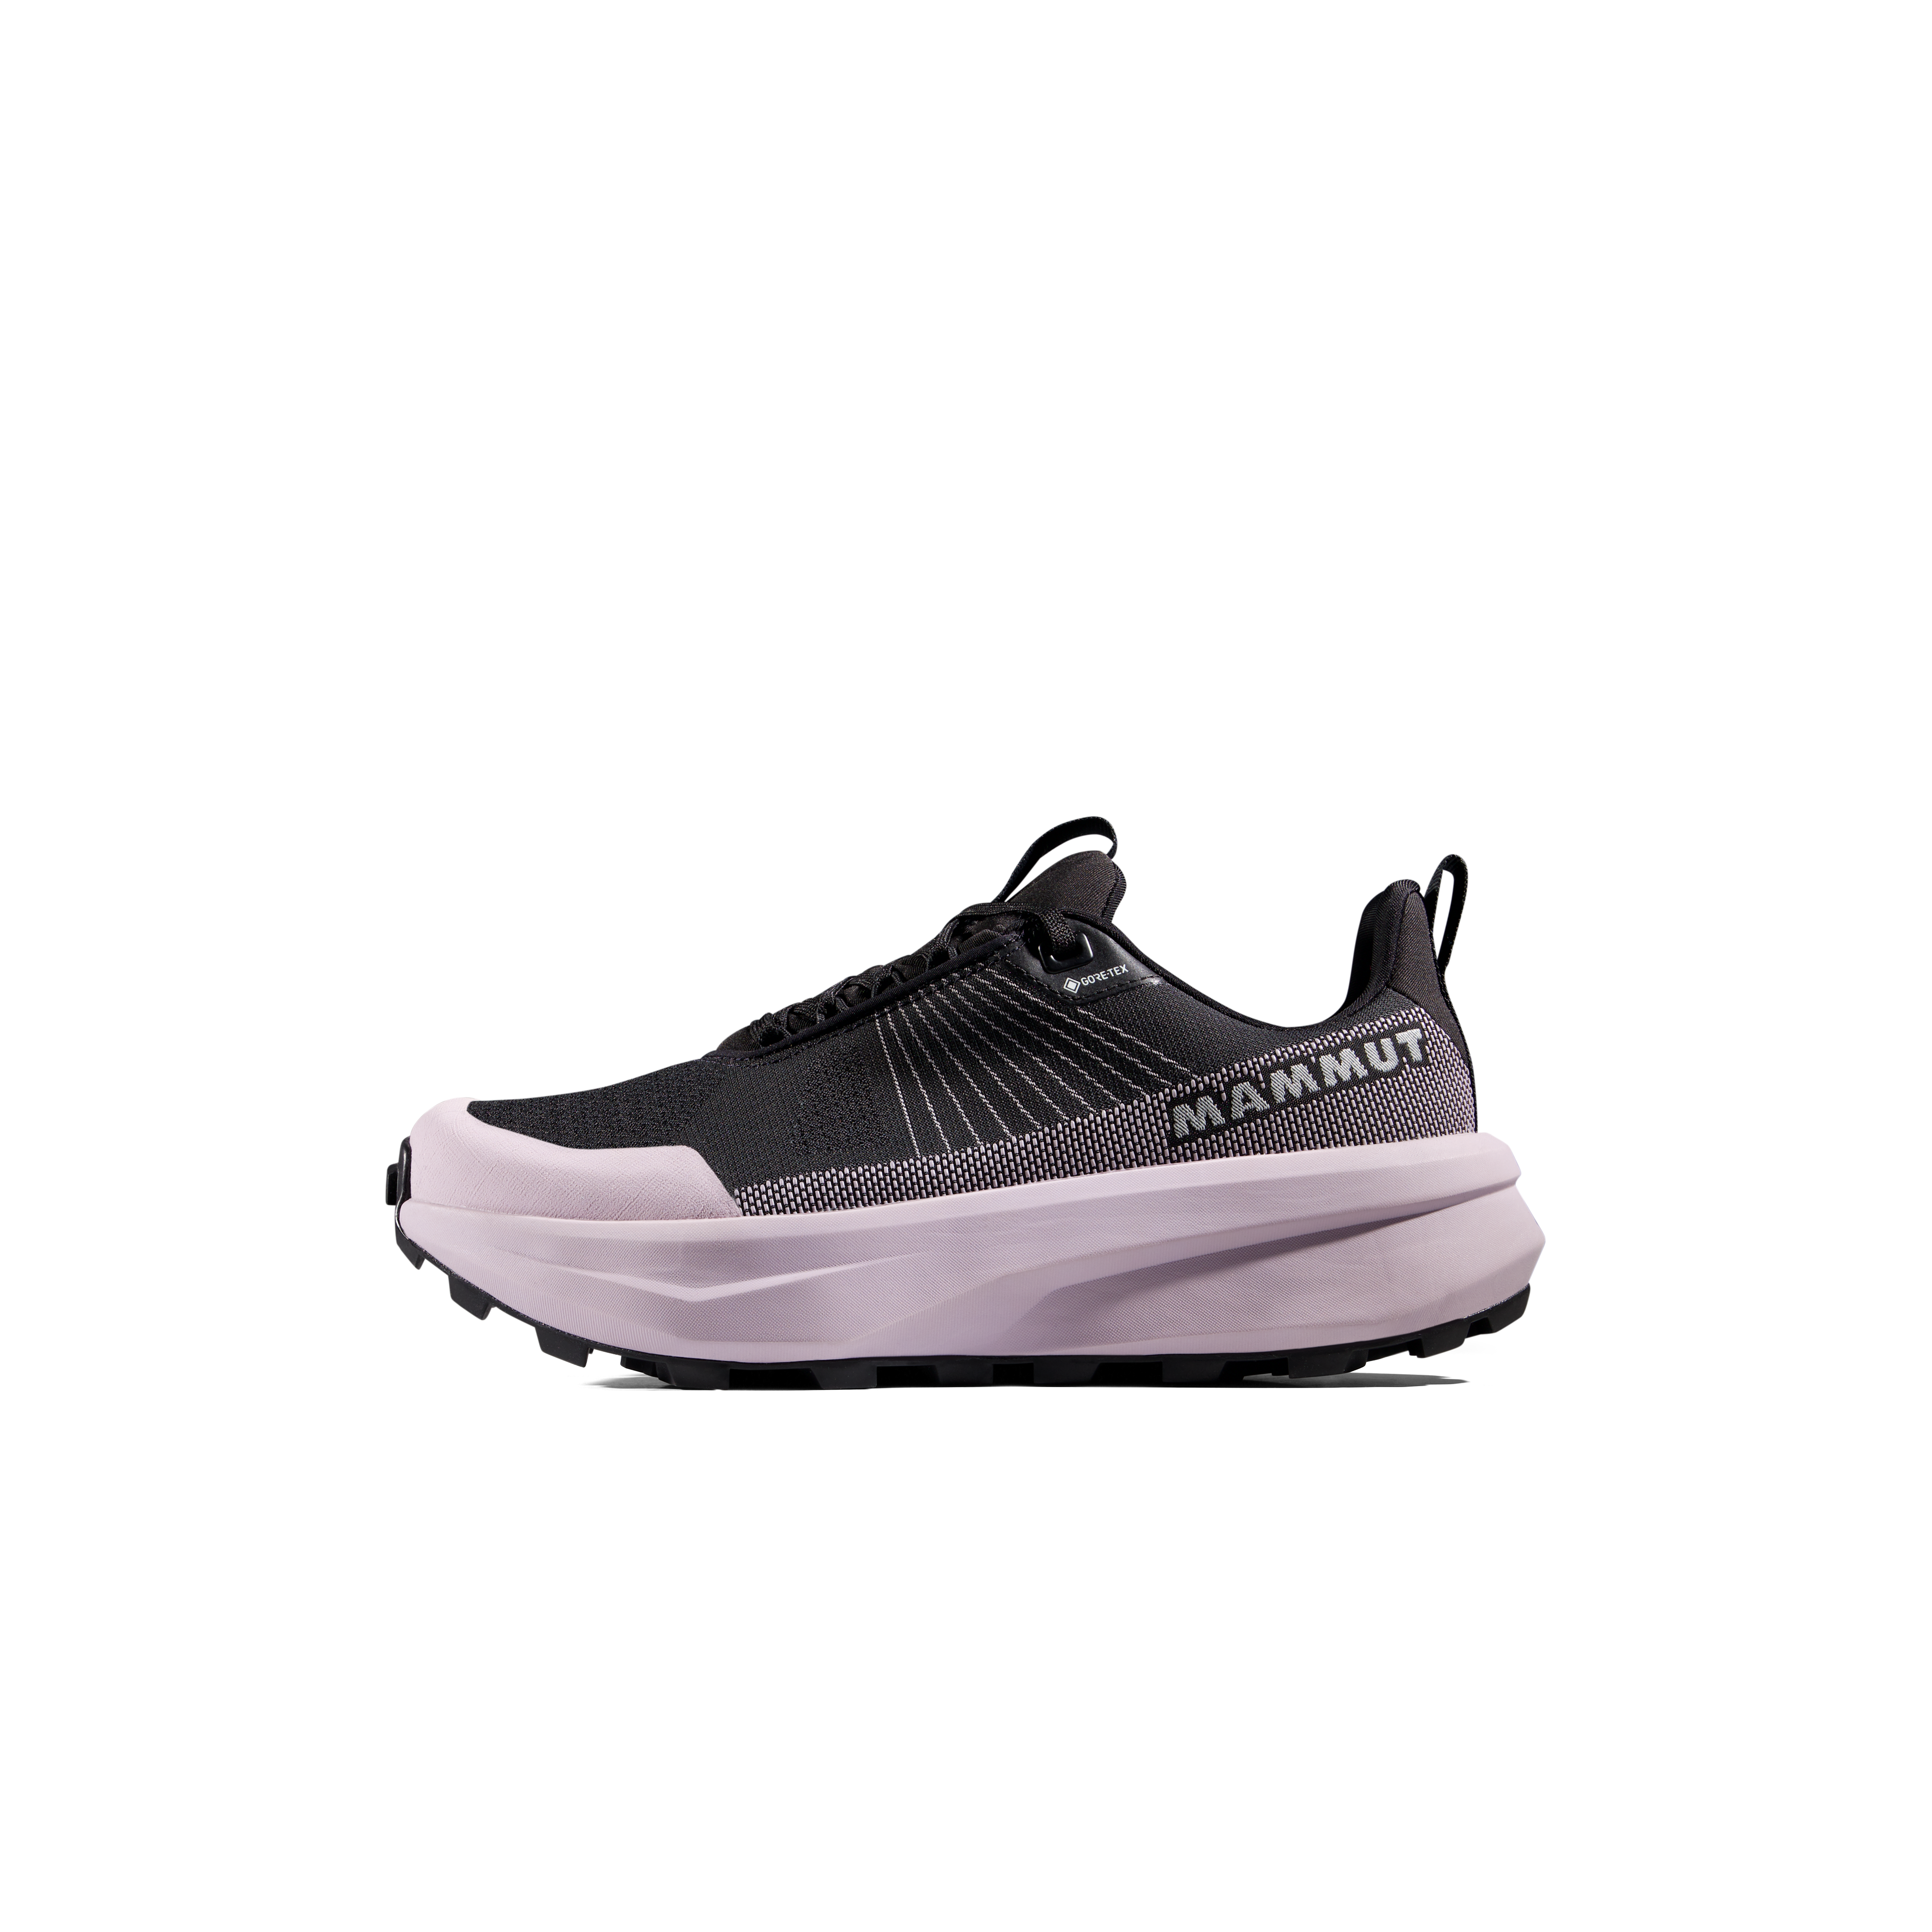
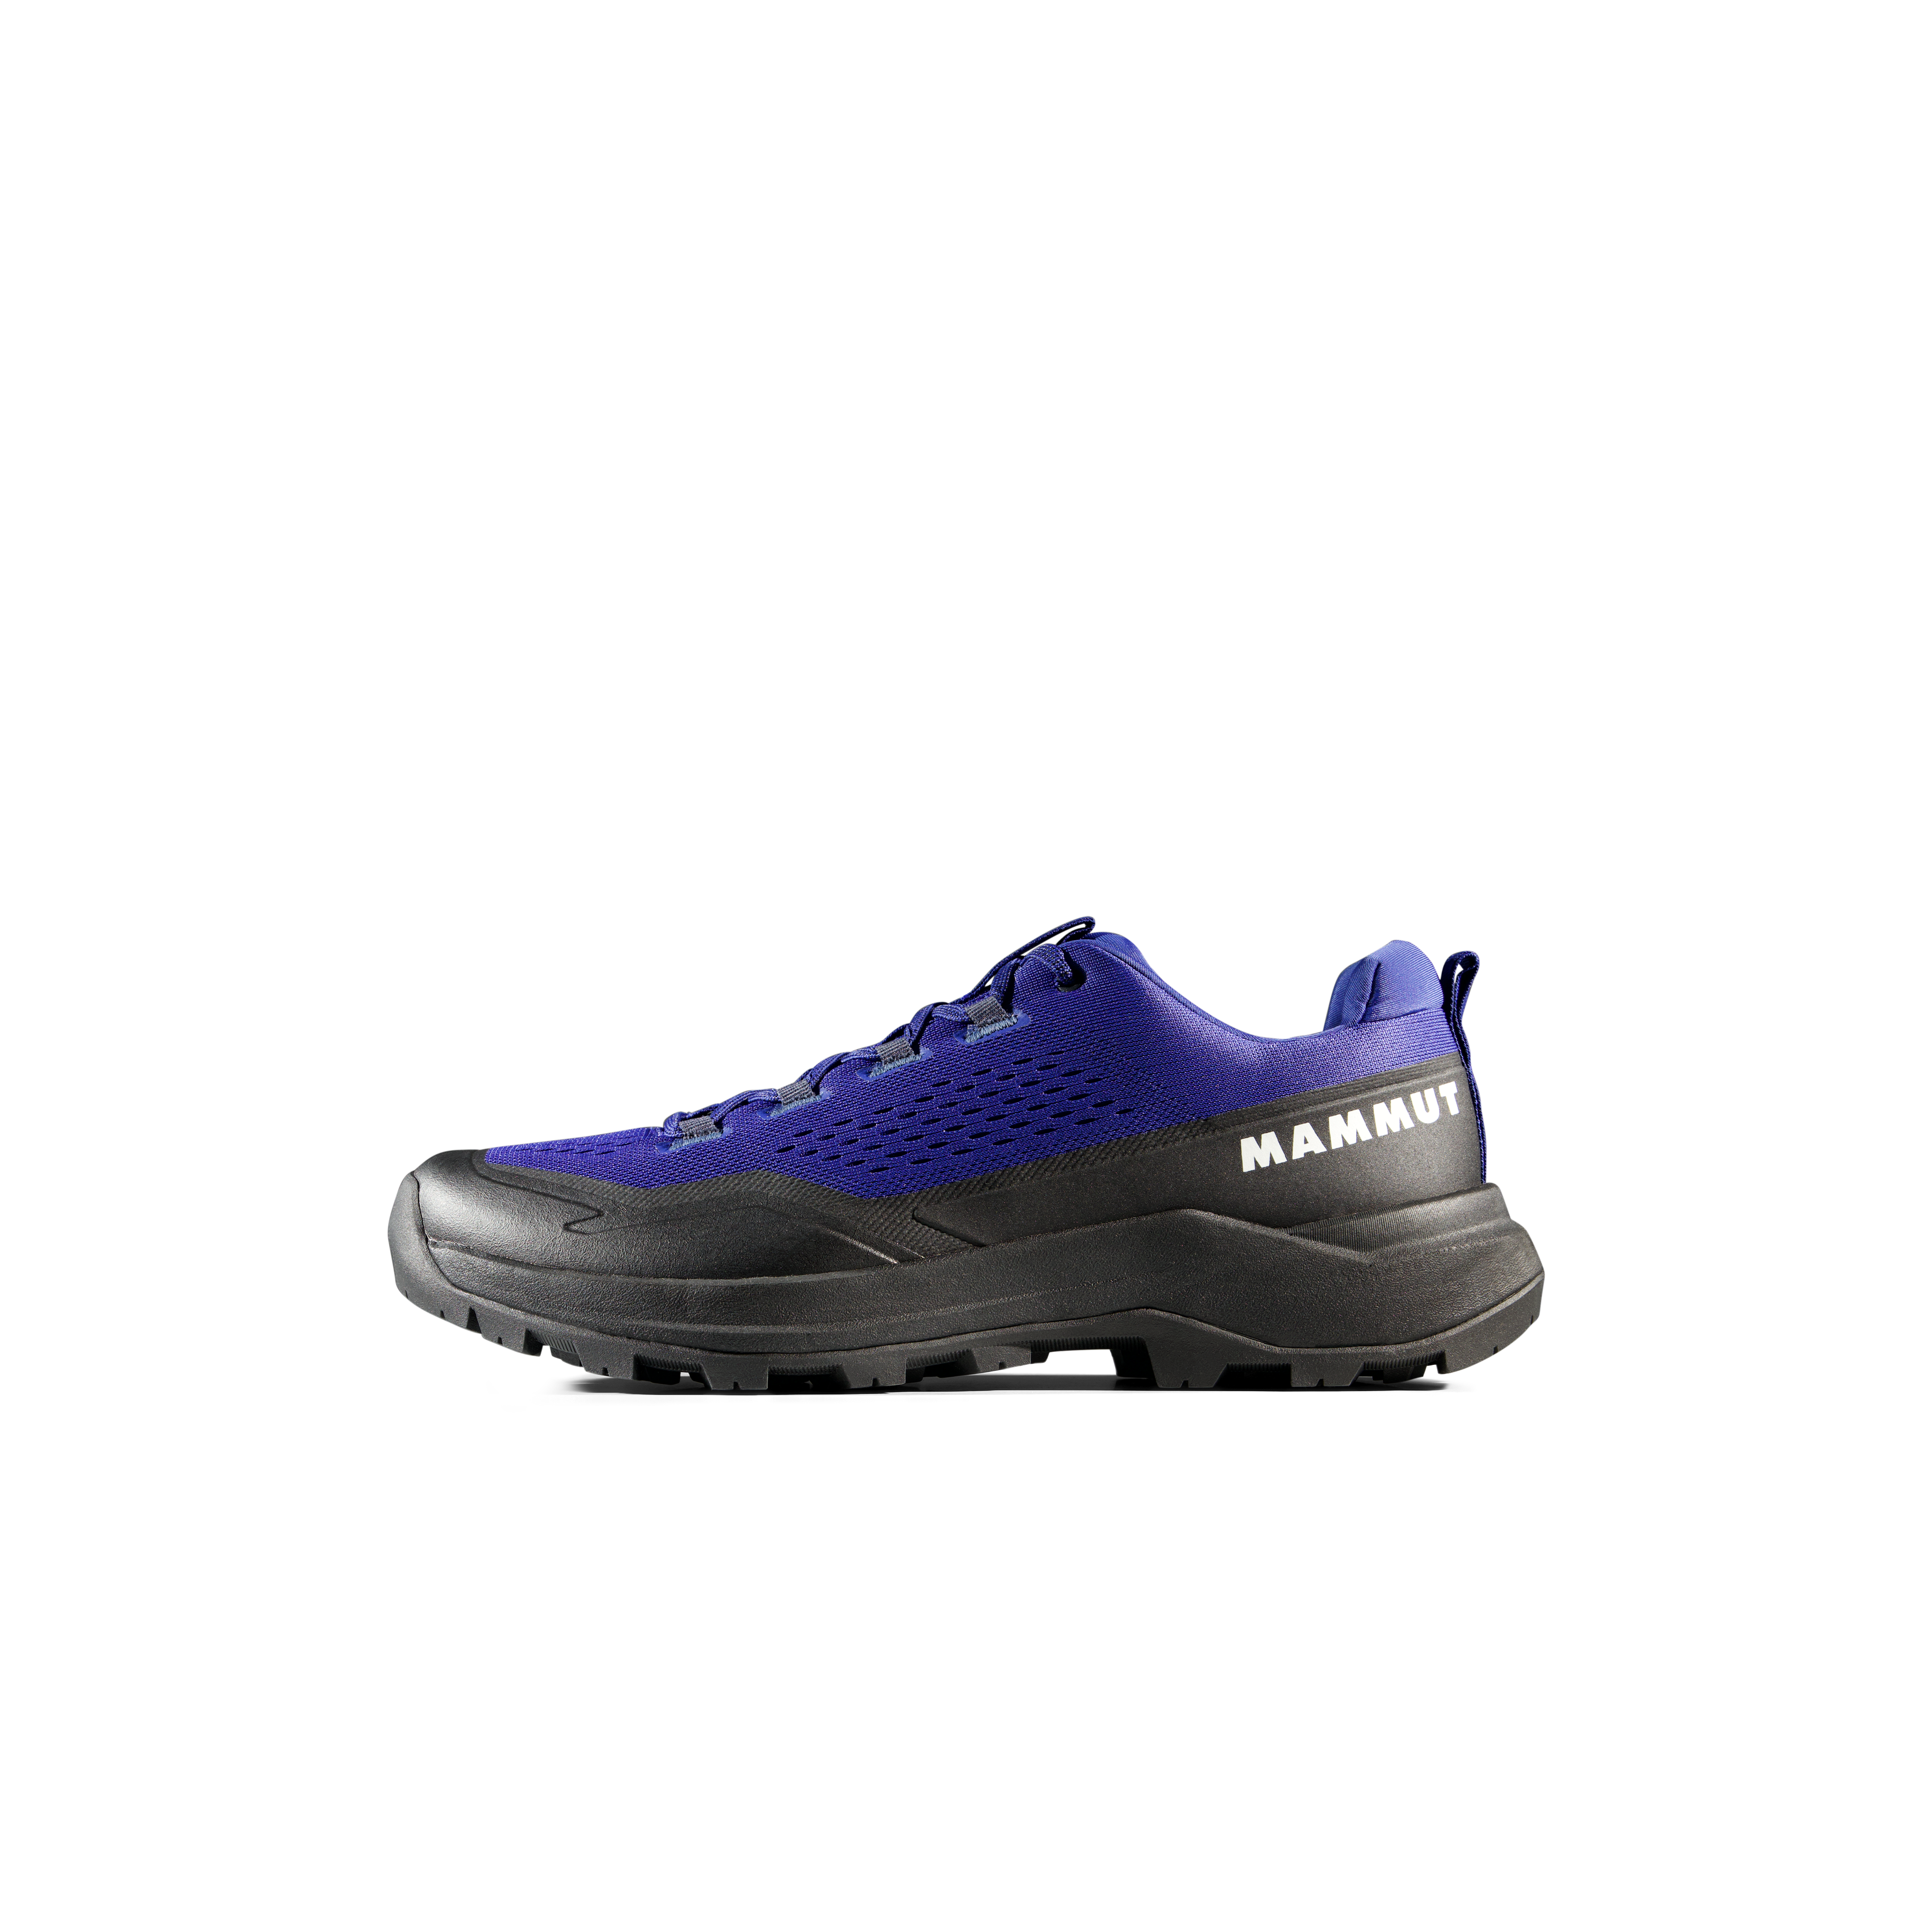
We may earn a commission if you buy through these links, at no extra cost to you. Affiliate disclosure
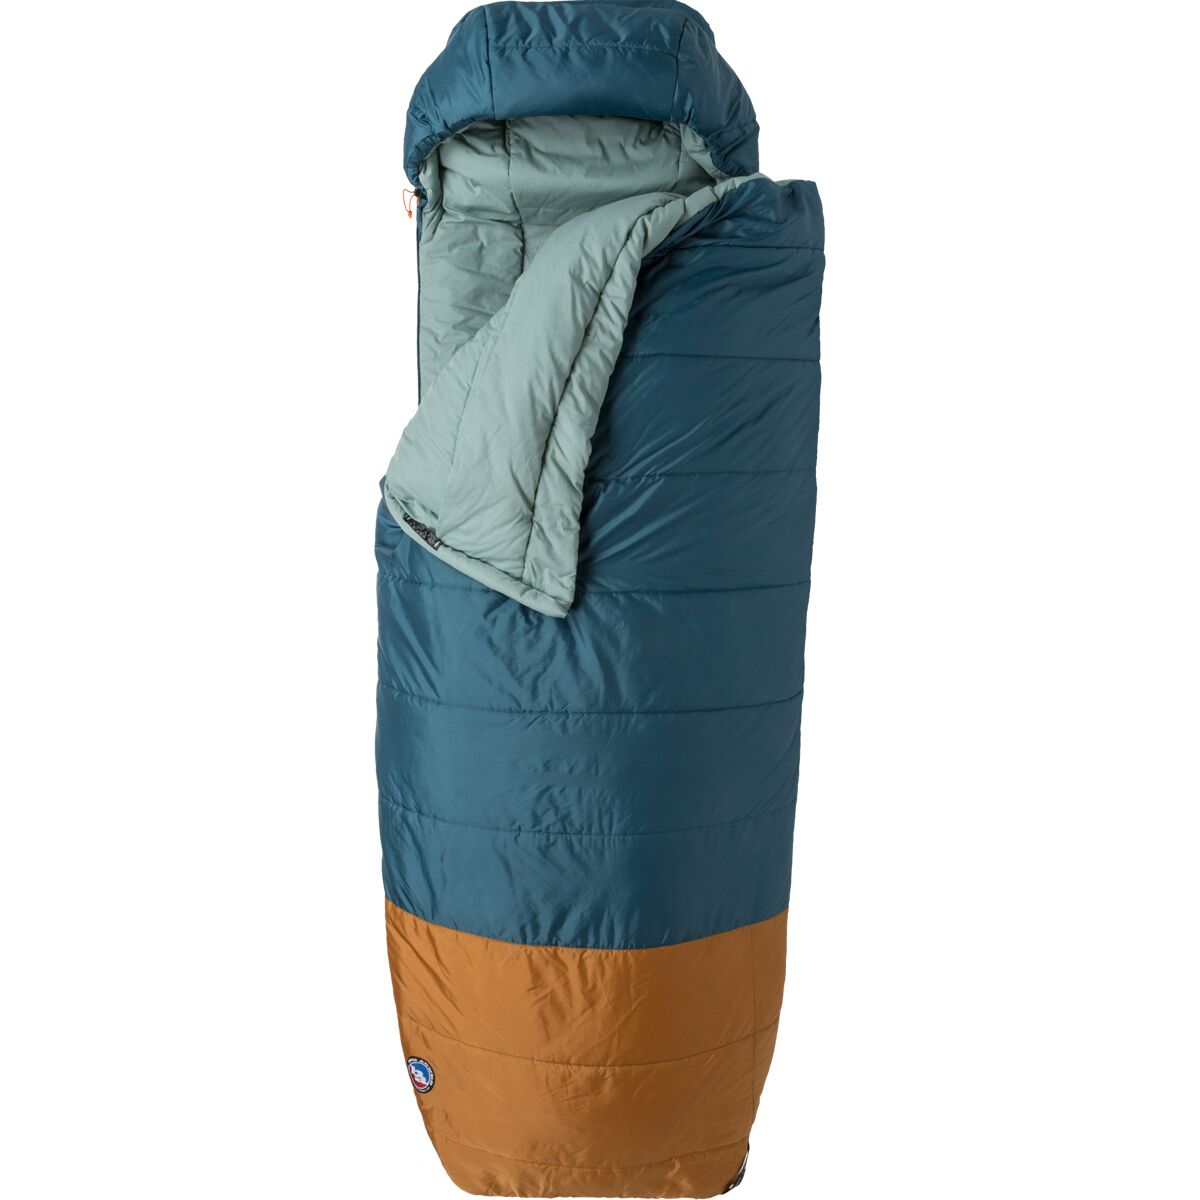
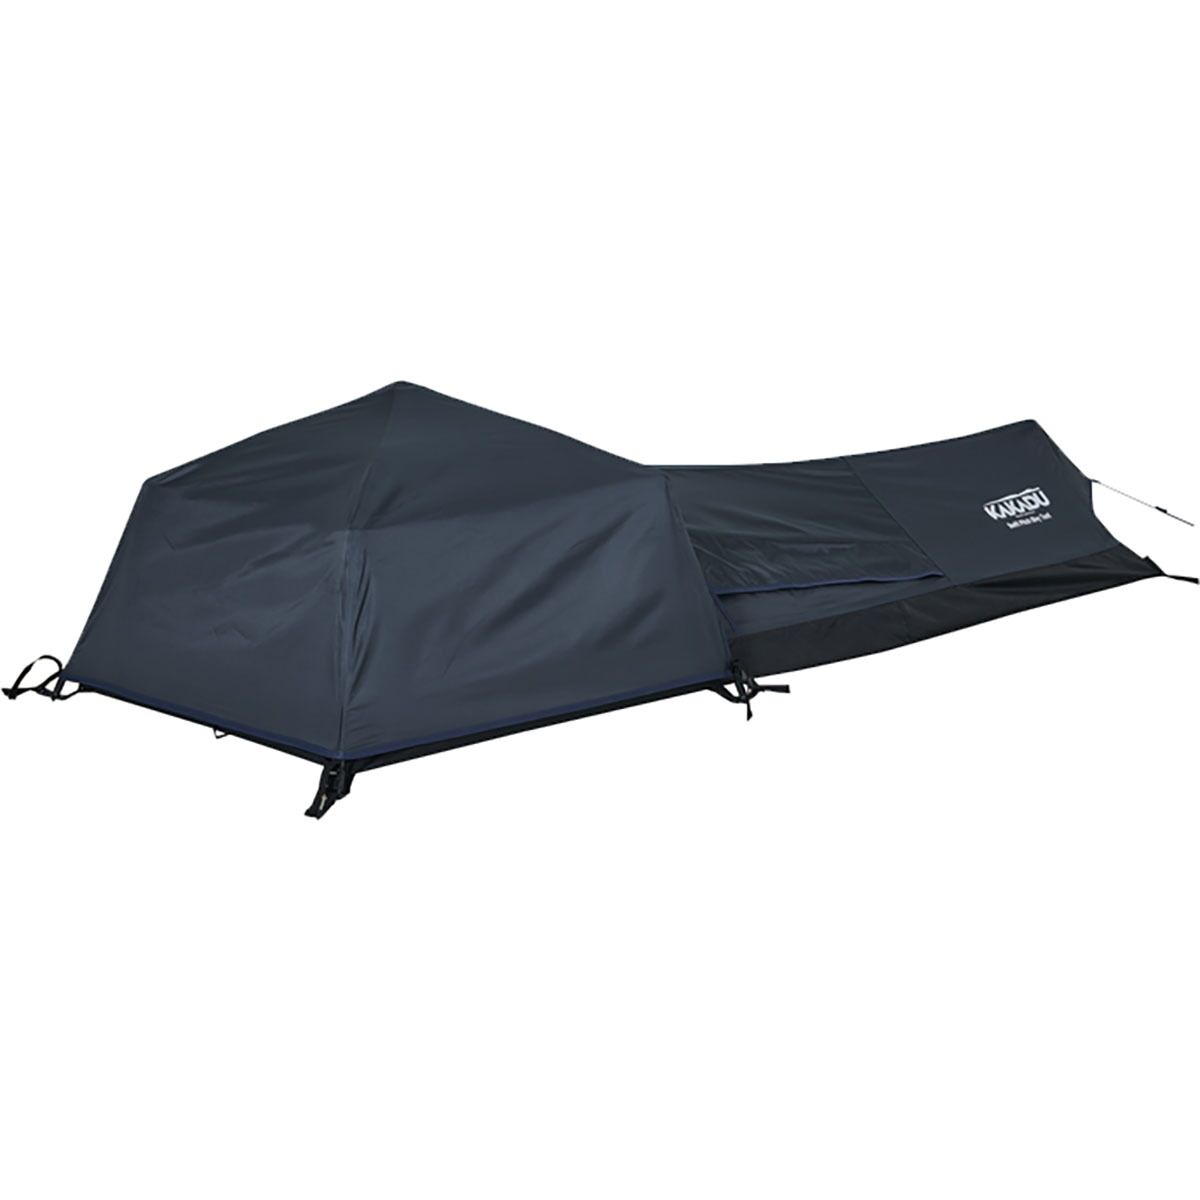
For a permitted overnight trip, focus on sleep systems, food storage, precipitation protection and enough backpack capacity to carry an honest safety margin without compromising climbing agility. Use the second gear collection only when those product functions match your actual plan.
Overnight and Scrambling Equipment
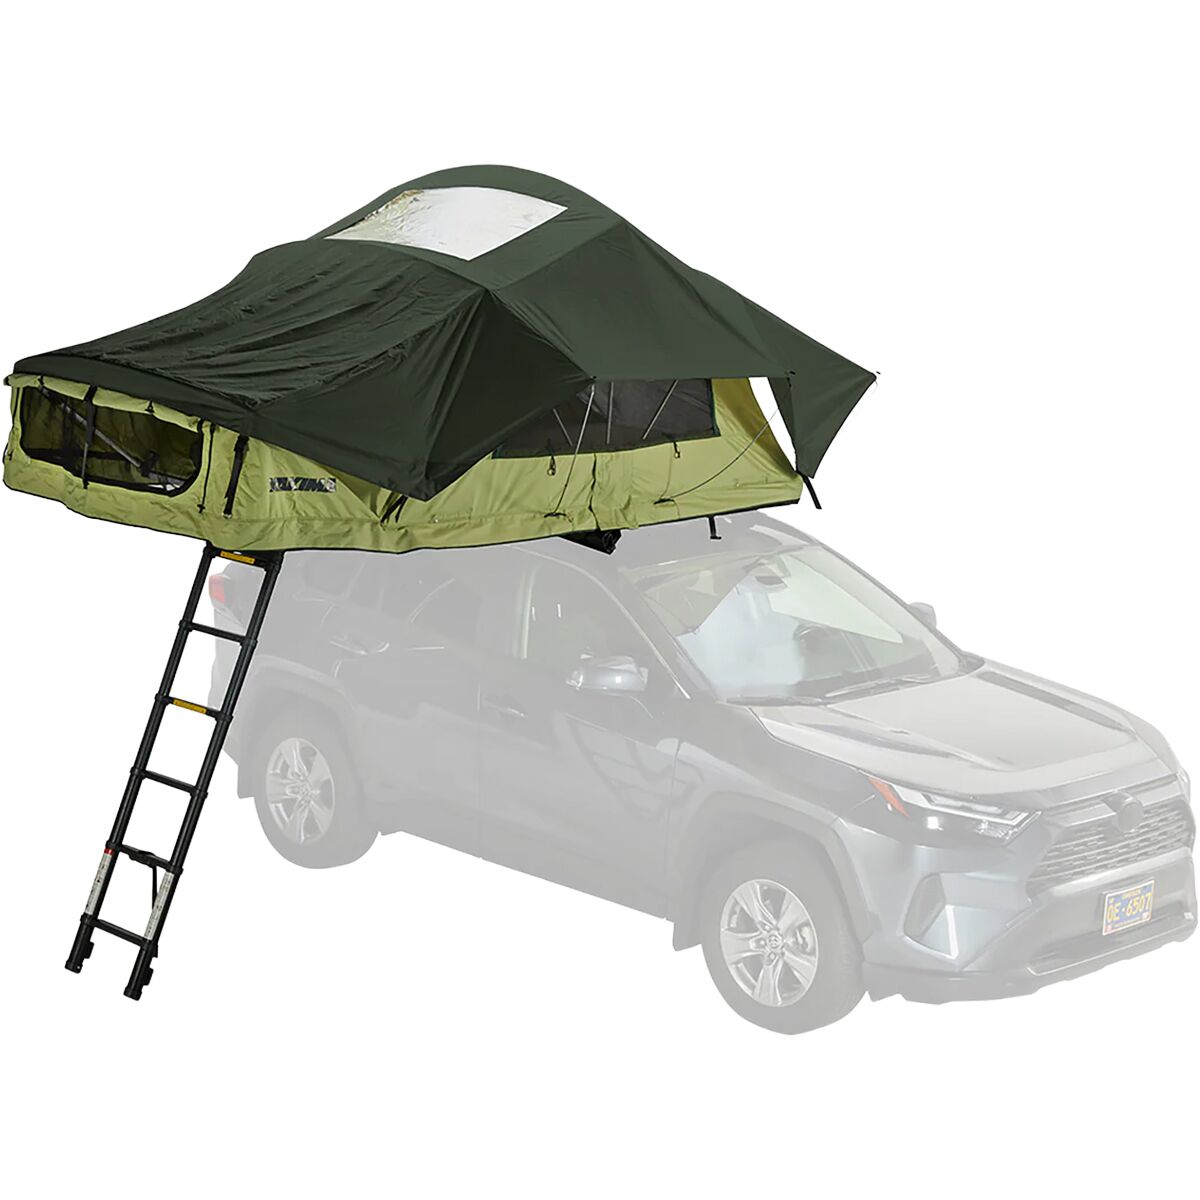
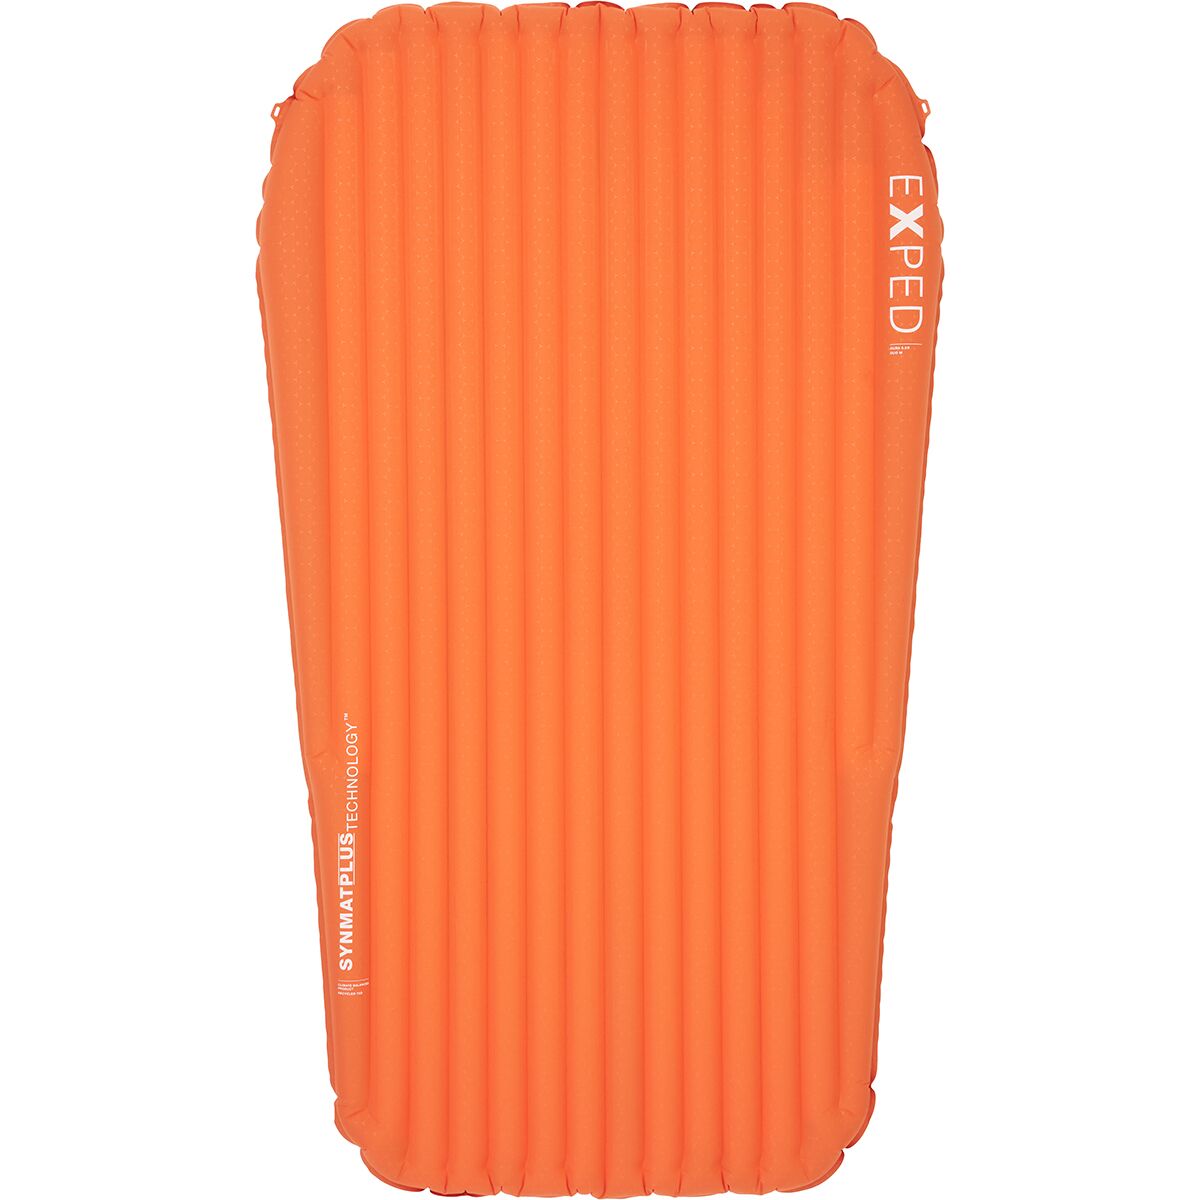
East Slopes versus West Slope
The shorter West Slope is a different mountain problem, not the “easy way” up.
| Question | East Slopes — standard | West Slope |
|---|---|---|
| Published length | 22 miles round trip | 9 miles round trip |
| Published gain | 5,800 ft | 4,500 ft |
| Difficulty | Class 3 | Class 3 |
| Technical character | Long wilderness approach, seasonal snow or talus, exposed final ridge | Steep rugged terrain with high rockfall, route-finding and commitment |
| Planning consequence | Snowmass Lake permit is central to the normal overnight plan | Different access and approach; requires independent route study |
| Who should consider it? | Experienced Class 3 teams willing to manage a long remote approach | Experienced parties that understand the distinct terrain, access and rockfall issues |
Route figures and qualitative risk factors follow 14ers.com’s published Snowmass route listings. Neither approach should be selected solely on total distance.
Snowmass Creek, Snowmass Lake and the summit
This map is orientation only; it marks the summit and surrounding terrain, not a navigable plotted trail. Download a verified GPX and bring offline navigation.
Know the route before cell service ends.
Summit: 39.11875, −107.06644. The approach starts north of Snowmass Lake and follows Snowmass Creek through a long forested valley. The technical summit route begins beyond the lake and rises toward the southeastern ridge.
The scenic Maroon Bells shuttle reservation system is not the Snowmass Creek trailhead access process. Consult the correct trailhead directions and make wilderness permit arrangements separately if camping.
Open annotated route photographs →Should Snowmass be your next fourteener?
A short practical filter before you spend effort on reservations.
You already own Class 3 movement
You have climbed and descended exposed, often-loose Class 3 terrain without losing route discipline under fatigue.
You can carry and recover
You are comfortable with a fully loaded eight-plus-mile approach and a technical summit day the next morning, or with an exceptionally long continuous effort.
You will cancel on conditions
You can explain why firm snow, unstable talus, weather, a dangerous logjam or a too-late ridge arrival would end the attempt before you start.
Solve the underlying problems, not just this summit
Supporting pages broaden the skill base while this guide retains ownership of Snowmass Mountain planning.
The Elk Mountains and Colorado 14ers cluster
Snowmass Mountain owns its specific East Slopes approach, Snowmass Lake permit logistics and summit hazards. These related pages broaden the decision without duplicating the route guide.
Snowmass Mountain planning questions
The answers below refer to the standard East Slopes unless otherwise stated.
How hard is Snowmass Mountain?
The standard East Slopes route is Class 3, about 22 miles round trip with approximately 5,800 feet of gain. 14ers.com identifies high exposure, considerable rockfall and route-finding demands, and high commitment. It is not a beginner 14er.
How high is Snowmass Mountain?
14ers.com lists a LiDAR summit elevation of 14,105 feet. Older sources may show 14,092 feet.
Do I need a permit to camp at Snowmass Lake?
Yes. Overnight camping in the Snowmass Lake permit zone requires a permit for every night of camping, reserved through Recreation.gov. A day hike from Snowmass Creek does not require that overnight wilderness camping permit.
Can I climb Snowmass Mountain in one day?
A single-day climb is possible for exceptionally fit, experienced parties, but the standard East Slopes route is about 22 miles with 5,800 feet of gain and technical scrambling; many parties use a permitted overnight camp near Snowmass Lake.
Is snow gear necessary on the East Slopes route?
That depends on conditions. Seasonal snow may require an ice axe, crampons and practiced self-arrest; later-season talus may be loose and strenuous. Check current route reports and do not enter steep snow without appropriate training.
Can I bring my dog?
Dogs must remain on leash in the Maroon Bells-Snowmass Wilderness, except they are prohibited in the Conundrum Hot Springs permit zone. Snowmass Mountain’s Class 3 upper terrain may be unsuitable for many dogs.
Are campfires allowed at Snowmass Lake?
No. Recreation.gov says campfires are prohibited above 10,800 feet throughout the Maroon Bells-Snowmass Wilderness, including Snowmass Lake.
Is the West Slope easier because it is shorter?
No. The West Slope is listed at approximately 9 miles and 4,500 feet of gain, Class 3, with high exposure, rockfall, route-finding and commitment. It has distinct access and hazards and is not an easy shortcut.
Verify conditions again when you book and when you leave
Distances and difficulty are route-description estimates; snow, stream flow and regulations can change.
- 14ers.com — Snowmass Mountain East Slopes: standard route distance, gain, trailhead elevation, exposure, route sequence and final ridge.
- 14ers.com — Snowmass Mountain route comparison: East Slopes versus West Slope figures.
- 14ers.com — Snowmass Mountain peak profile: LiDAR summit elevation, coordinates and up-to-date condition reports.
- Recreation.gov — Maroon Bells-Snowmass Wilderness Overnight Permits: Snowmass Lake zone requirements, food storage, leash and campfire rules.
- US Forest Service: land manager notices and changing wilderness/road rules. Confirm specific orders with the Aspen–Sopris Ranger District before travel.
Photograph accuracy: The lead photograph is from Global Summit Guide’s media library and specifically depicts Snowmass Mountain and Capitol Peak. Other photographs are GSG-owned/licensed illustrative photographs; their captions explicitly distinguish general alpine, weather, gear and nearby-peak illustrations from actual Snowmass route images.
Was this helpful?
🏔Related peaks nearby
🧭Explore & compare
Global Summit Guide is an independent mountaineering resource founded in 2026. The team combines first-hand trekking and climbing experience with in-depth research and professional health and nutrition review to help climbers choose objectives, prepare properly, and stay safe.
Health, altitude, and nutrition content is reviewed by Taylor Ludlow (Registered Nurse) and Brigg Hoopes (Nutritionist).
What We Don't Know Yet
Mountain information changes quickly. This box explains the limits of what this page can responsibly promise.
- Weather, snowpack, avalanche risk, road access, and route conditions can change quickly and may be different on your climbing dates.
- Visa, passport, vaccination, border, insurance, and local transportation rules may change before your trip.
- Route conditions, snowpack, closures, and weather can change quickly after this page is updated.
- Permit rules, fees, quotas, and reservation windows may change between review cycles.
- Operator availability, pricing, guide ratios, and cancellation terms can change by season.
Verify current conditions with official land managers, guide services, local forecasts, and current route reports before booking or climbing.
Mountaineering, rock and ice climbing, glacier travel, and high-altitude activity are inherently dangerous and can result in serious injury or death. The information on Global Summit Guide is provided for general informational and educational purposes only and is not a substitute for professional instruction, qualified guiding, proper equipment, or your own judgment and experience.
Route conditions, weather, snowpack, permits, regulations, and hazards change constantly and may differ from what is described here. Details may be incomplete, out of date, or contain errors. Always verify current information with local authorities, certified guides, and official sources before making any decision in the mountains.
Nothing on this site is medical, legal, or financial advice. Our fitness, acclimatization, altitude, and nutrition content is general in nature; consult a qualified physician before beginning any strenuous exercise program or exposing yourself to high altitude.
You are solely responsible for your own safety and decisions. To the fullest extent permitted by law, Global Summit Guide and its team accept no liability for any loss, injury, damage, or expense arising from use of, or reliance on, this information. By using this site you acknowledge these risks and accept these terms.
Some links on this site may be affiliate links. If you buy through them we may earn a small commission at no extra cost to you; this never affects our recommendations.
Global Summit Guide recommendation path
Next Best Mountain to Research
Use these recommendations to continue the right planning path instead of stopping on one page.
Use current permit, weather, route, and operator information before booking or climbing.